Chicken wings are one of the most popular cuts of chicken, especially for grilling, smoking, baking, or frying. But like a lot of meat and poultry lately, the price—especially for pre-cut options like drummettes and party wings—has gone up quite a bit over the past few years. Because of that, I usually buy whole chicken wings and trim them myself to save a little money.
The good news is that trimming chicken wings is as simple as making two cuts and doesn’t take much time. It’s also a useful basic skill that helps your wings cook more evenly, crisp up better, and match the cuts most recipes are designed for.
In this guide, I’ll walk you through how to trim chicken wings, whether you should trim them before cooking, and a few straightforward tips to make the process easier.
Jump to:
Understanding the Parts of a Chicken Wing
Before you start to cut chicken wings, it helps to understand how a wing is structured. A whole chicken wing has three sections connected by joints:
Drumette
The drumette is the meatiest portion of the wing and resembles a small drumstick.
Flat (Wingette)
The flat is the middle section of the wing. It consists of two thin bones with meat between them, and it becomes especially crispy when cooked.
Wing Tip
The wing tip is the small end section of the wing. These don’t do a lot for you from an eating standpoint — they have very little meat and are usually removed before cooking. Some people save wing tips for making chicken stock because they add great flavor, but most of the time, I just toss them in the trash for ease.
Whole Wings vs Party Wings
You’ve probably noticed that some chicken wings at the store are labeled “party-style” wings. This is just a fancy name that lets you know the wings are already split into flats and drumettes, with the wing tips removed, whereas whole chicken wings come with all three sections still attached. The option you pick really comes down to whether you want the most cost-effective option or the convenience option, because any pre-trimmed wings will cost you at least twice as much as whole wings at the store.
Why Trim Chicken Wings Before Cooking?
While you can cook wings whole, most recipes call for trimming them first. There are a few simple reasons for that. First, separating the wings helps them cook more evenly and exposes more of the skin to heat, making it easier to get crispy chicken wings when grilling, smoking, or frying. Second, removing the wing tips also prevents burning, especially since most people discard them anyway. Third, it’s just easier to handle for whoever is eating the wings. Instead of having to break things into their respective sections, pre-trimmed wings are just ready to eat.
Equipment You'll Need
All you need is a couple of tools you likely already have on hand to break down whole chicken wings.
- Sharp chef’s knife or Cleaver — A sharp, heavy knife allows you to cut cleanly through the wing joints. I go back and forth between my cleaver and chef’s knife, but I know most people only tend to have the latter, which works perfectly fine. Just make sure you’re not using a dull knife, as that slows the process.
- Cutting board
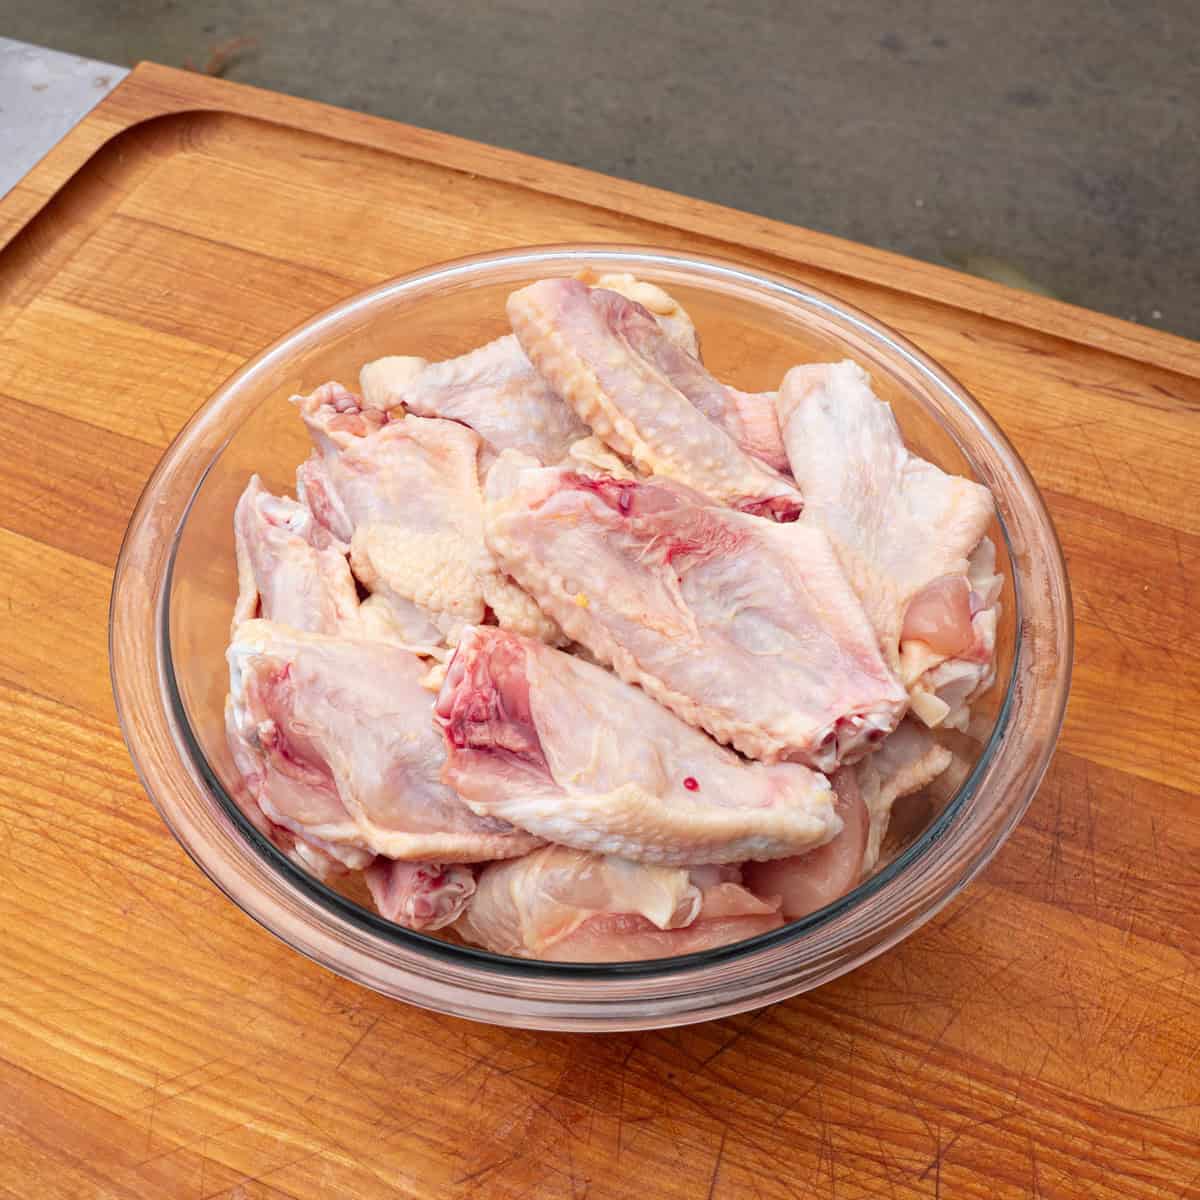
- Prep bowl & trash bag — I keep a prep bowl with me for the trimmed wings and a trash bag so I can take the wing tips straight to the garbage can when I’m done.
Step-by-Step Guide: How to Trim Chicken Wings
When starting with whole chicken wings, the trimming process is very straightforward.
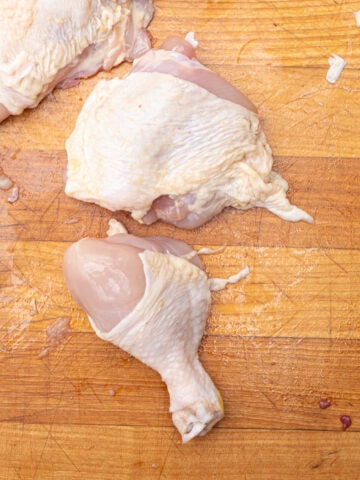
Step 1: Place the Wing on a Cutting Board
Lay the whole chicken wing flat on your cutting board. You should be able to clearly see the three sections of the wing we have discussed.
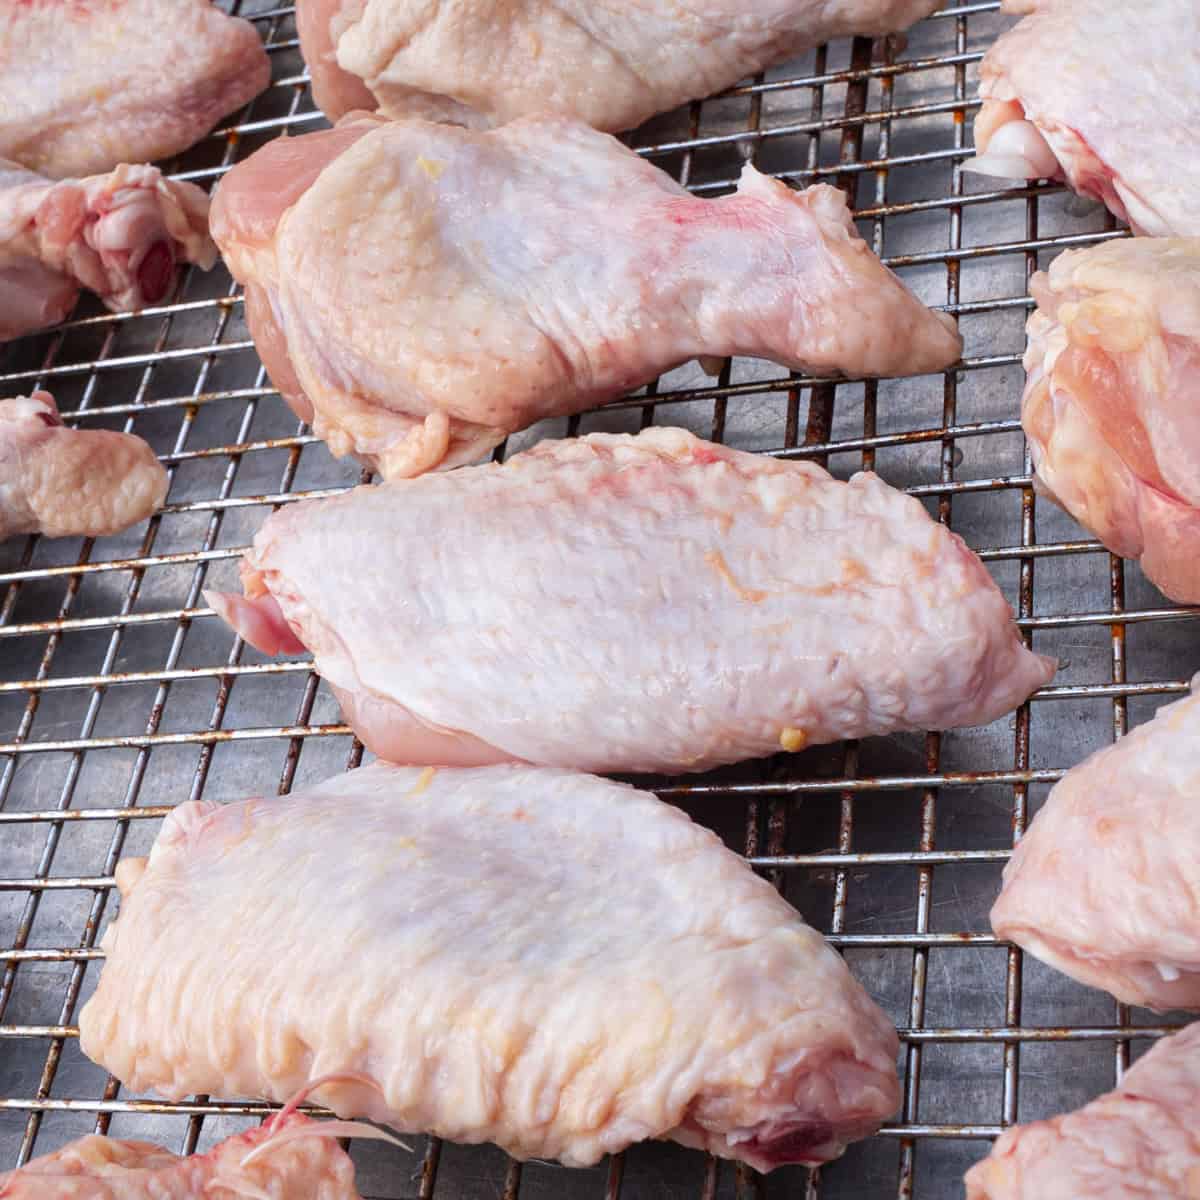
Keep the Wings Dry
Make sure to pat the wings dry with a paper towel before placing them on the cutting board. This not only helps them stay stable on the cutting board while trimming, but also helps them crisp up better during cooking.
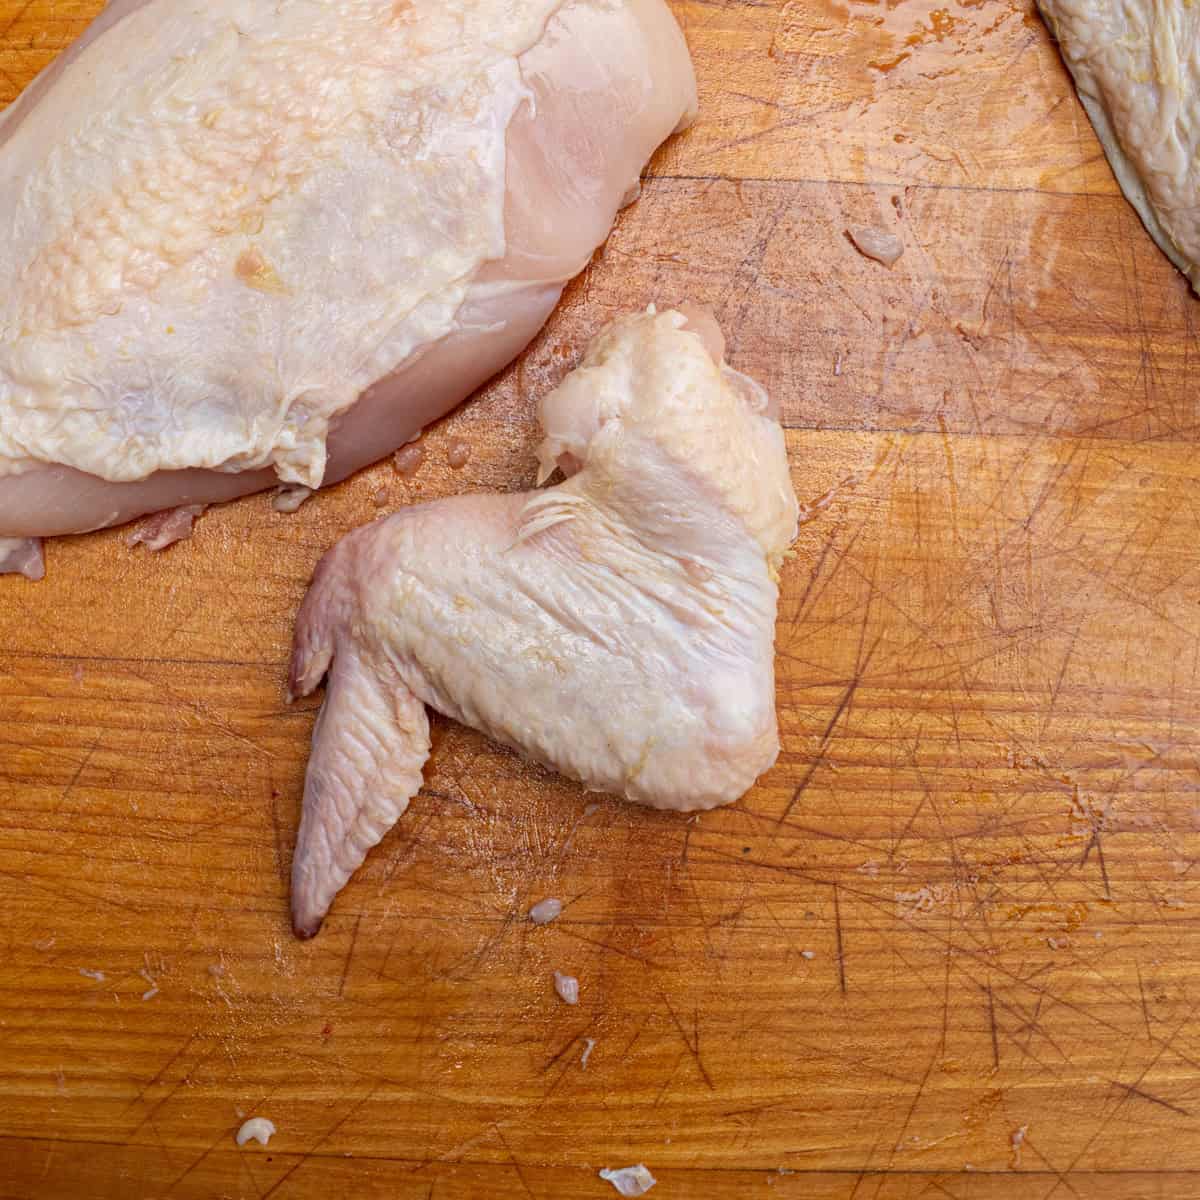
Step 2: Separate the Drumette and Flat
Next, locate the joint between the drumette and the flat. Align the knife where you see and feel the slight indentation between the drumette and flat—this is the location of the joint—and then slice through this point.
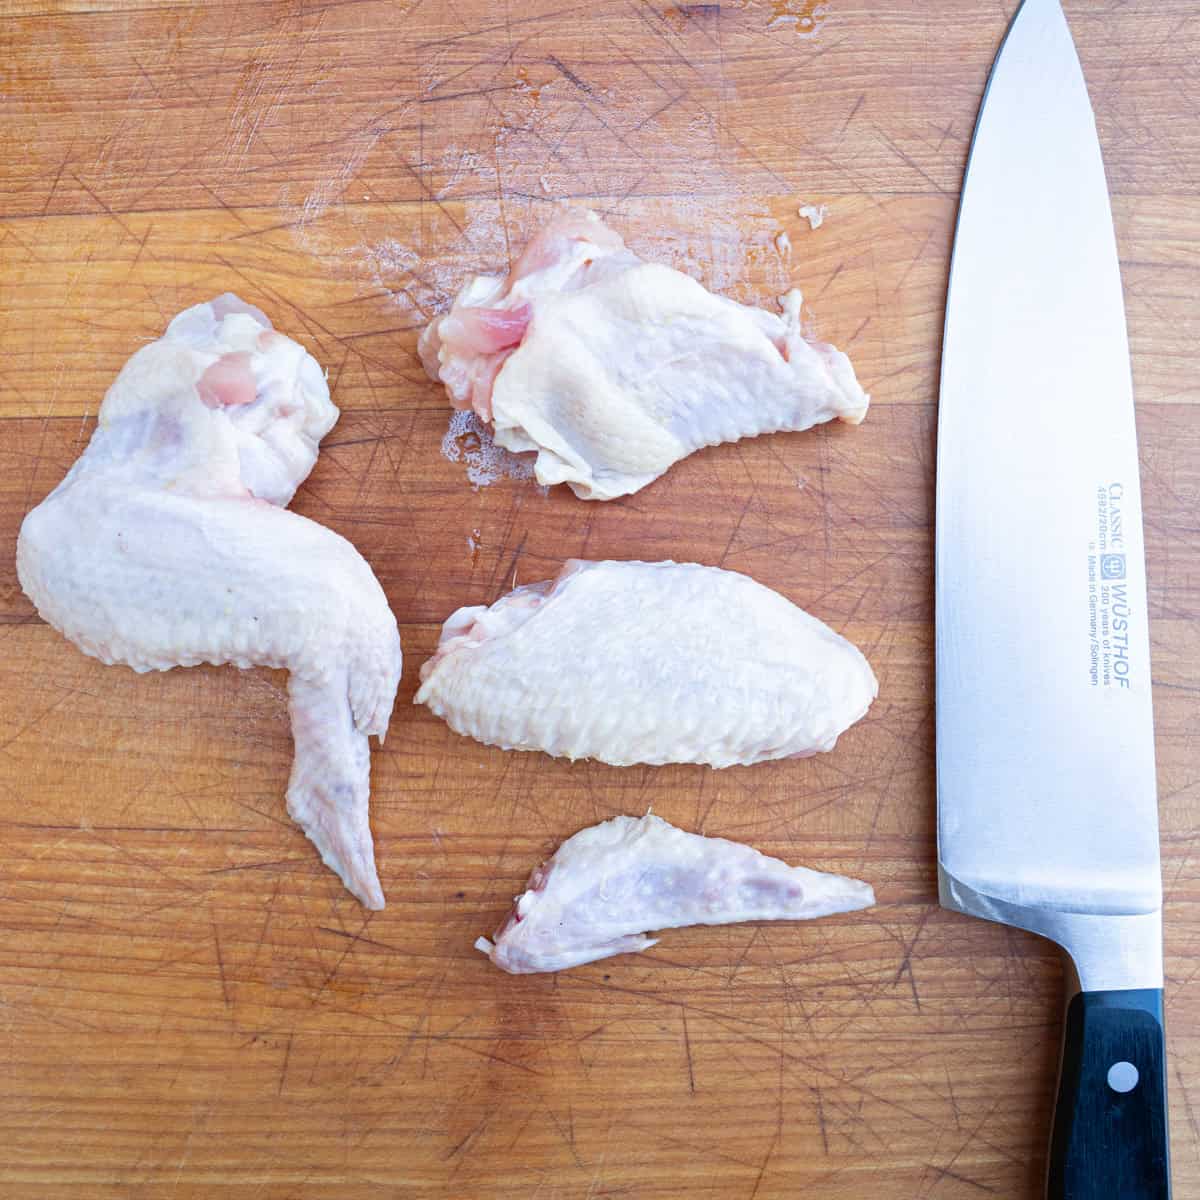
Once cut, the wing separates into two pieces:
- drumette
- flat
How to Find the Joint When Cutting Wings
If you’re having trouble locating the joint, try gently bending the wing first. This exposes the natural gap between the bones where the cartilage sits. When your knife is positioned correctly, it should slice through the joint easily with very little resistance. If the knife feels stuck, adjust the angle slightly until you find the joint. This may take some practice, but by the time you're done with four or five wings, you’ll start to get the hang of it quickly!
Step 3: Remove the Wing Tip
The last step I do when trimming chicken wings is removing the wing tip. And the good news is, this is incredibly easy. Simply locate the small joint between the flat and the wing tip. Using a sharp knife, carefully position the blade at the joint and apply steady, even pressure to cut through the cartilage connecting the two sections without severing any bone. If you cut through the joint rather than the bone, the wing tip should separate easily.
If your knife hits bone or gets stuck, don't force it—simply pull back and adjust the angle of your blade slightly until you find the softer spot where the joint is located. This makes it easier to cut through and helps prevent slipping.
After that, you’re done with the first wing! Now you can repeat this process until all of the wings have been trimmed.
Pro tip
You can save wing tips in a freezer bag and use them later for homemade chicken stock. They can be stored in the freezer for up to 3 months, so you can collect several before making a batch of stock.
How Many Chicken Wings Should I Cook?
Once your chicken wings are trimmed, they’re ready to season and cook. As a general guideline, I like to plan on serving about 4 to 6 whole wings (or about 8 to 12 pieces, once separated) per person for a meal, or 2 to 3 whole wings per person as an appetizer or party snack. That’s obviously going to vary depending on your audience, but you can use it as a starting point when deciding how many wings you’ll need for your family dinner or gathering.
What to Do After Trimming Chicken Wings
The great thing about chicken wings is that there are so many good options for how you want to cook them. Some popular ways to cook trimmed wings include:
Grilling
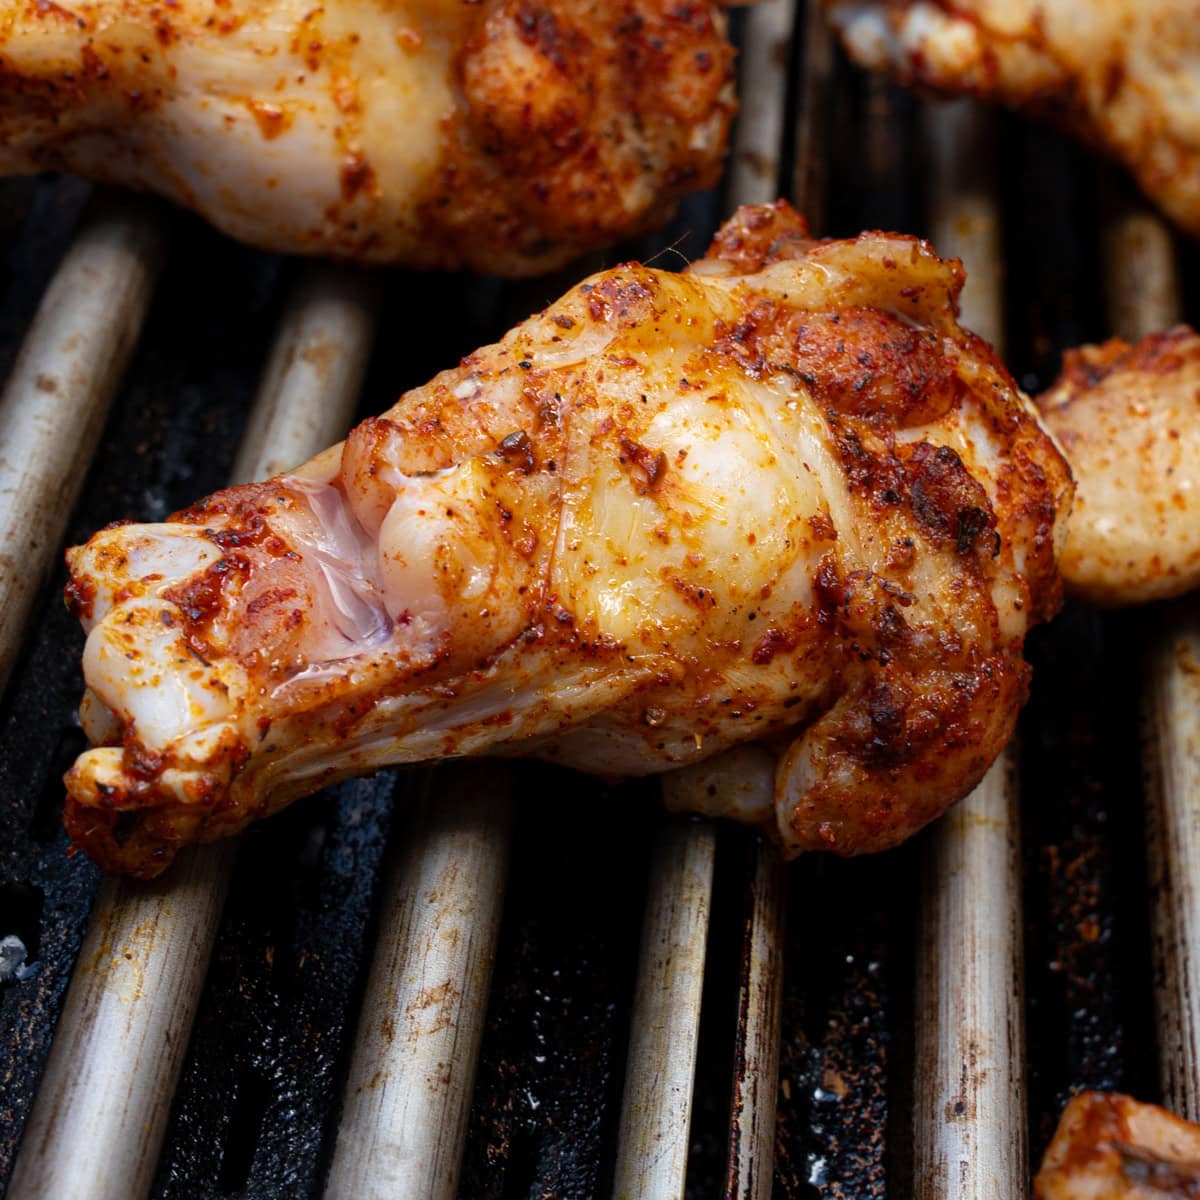
This is what I tend to gravitate towards more often than not. They’re quick, easy, and pretty foolproof this way. Check out my grilled wings with Alabama white sauce or fig jam wings for some easy recipes!
Smoking
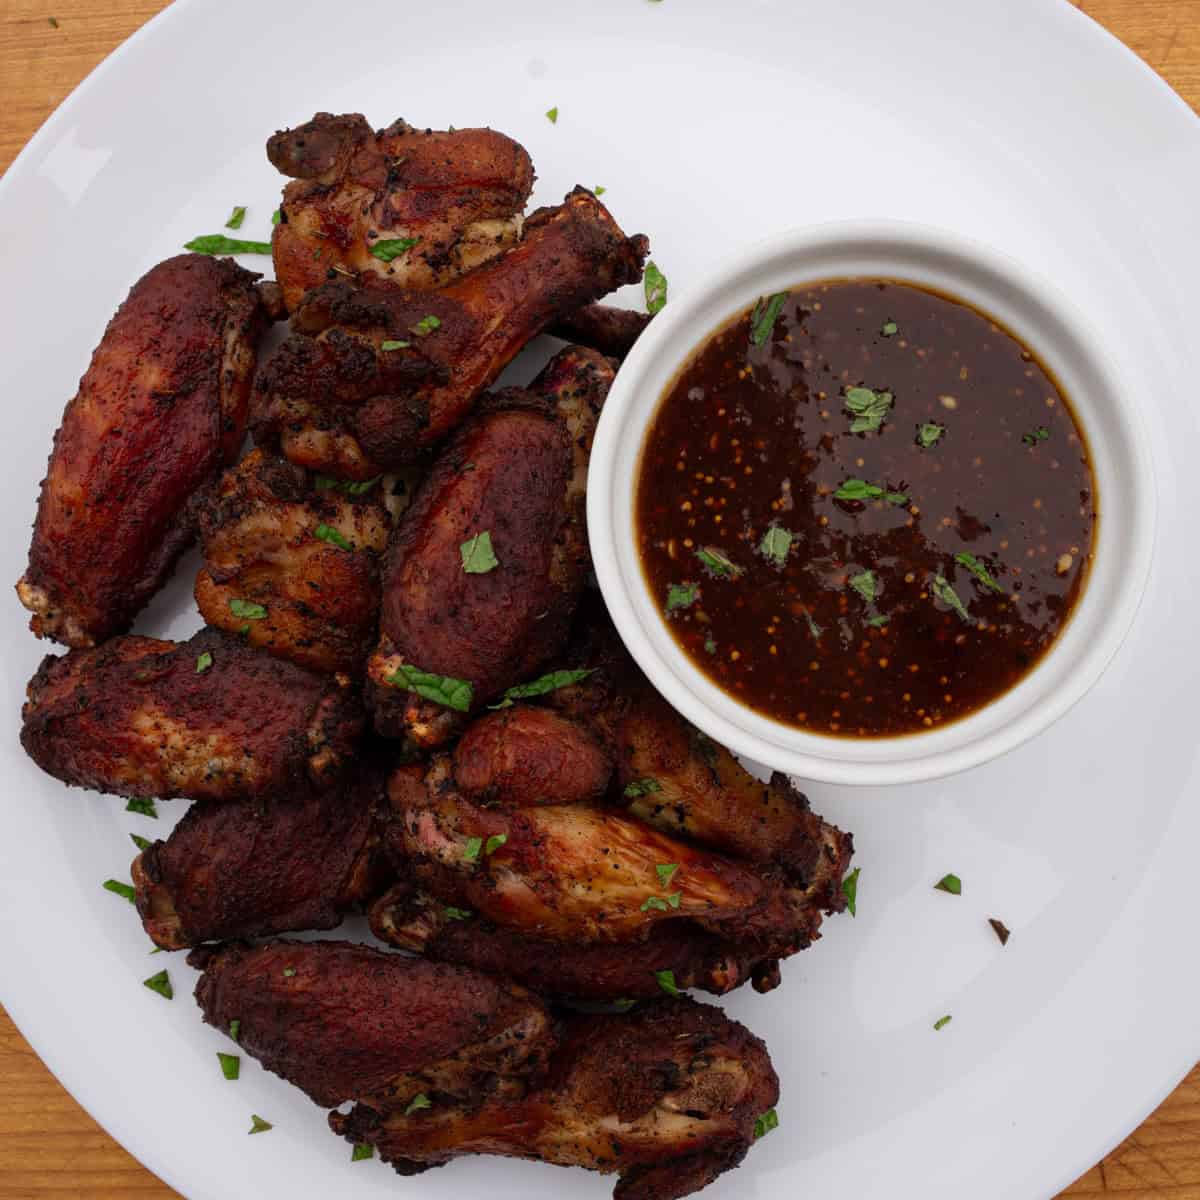
This is another solid option I enjoy and delivers fantastic flavor, but it takes longer than grilling since you’re cooking at lower temperatures. Just keep that in mind when deciding what route you want to go. My favorite way to make these, though, is in a direct-heat cooker, where I get the combination of grilling and smoking all in one. You can check out the technique here to replicate at home.
Air Frying
This is becoming increasingly popular, and honestly, using an air fryer for wings works really well. If you’re in a hurry or just want convenient wings, this is the way to go. You just won’t get the same smoky or char-grilled flavor you would from the former options.
Deep Frying
There simply is not a better way to get crispy skin on your wings than deep frying them. This is what restaurants tend to do more often than not. If you want to take it a step further and get the best of both worlds, smoking your wings and then frying them is considered the true gold standard by a lot of wing lovers.
Baking
You can bake wings, but this is my least recommended option because it lacks flavor and texture. If you do go this route, I recommend placing the wings on a wire rack set on a baking sheet to maximize airflow.

Leave a Reply