If you’ve been trying to figure out how to grill chicken thighs, you’ve probably noticed that they can be deceivingly hard to cook if you don’t know the right cues to look for. A lot of times, people struggle with them because of a few small mistakes, like running the grill too hot, pulling the chicken too early, and adding sauce at the wrong time.
In this post, I’ll walk you through exactly how to grill chicken thighs the way that’s worked consistently for me, so you can replicate the approach at home. It all boils down to a few things: making sure you’re cooking at the right temperature, cooking the chicken thighs long enough, and knowing when to actually sauce them (if you even choose to do so). Once you start to figure out those key principles, you’ll quickly see why chicken thighs are actually one of my favorite cuts to cook.
Jump to:
Why Chicken Thighs Work So Well on the Grill

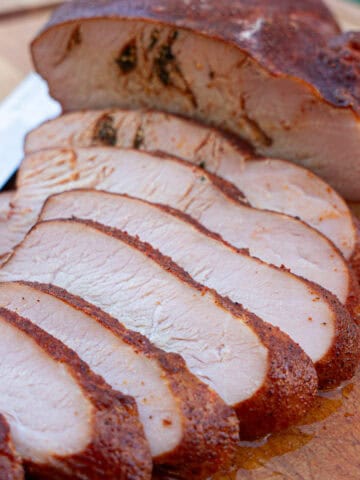
Chicken thighs are one of the easiest cuts to grill, and they actually helped me make a name for myself in the social media world. They work really well because they can withstand heat longer than other cuts of poultry and are extremely forgiving because of their high fat content. That said, you do need to treat them differently from other cuts, like a chicken breast. While the high-fat content I mentioned does make them juicier, it also means they need a bit more time on the grill for the fat to render properly. But it also allows chicken thighs to withstand longer cooking without drying out, which is also why the grilling strategy for them differs from that for other cuts.
When you grill chicken thighs, you can actually cook them until their internal temperature reaches ~180–190°F, whereas many people make the mistake of pulling them at 165°F, like you would a chicken breast. That additional time on the grill allows the skin to crisp up, too, so you’re not dealing with a rubbery skin texture that’s difficult to chew (if you’re using bone-in chicken thighs).
Boneless vs. Bone-In Chicken Thighs for the Grill
Before we go any further it’s important to point out that there are two distinct types of chicken thighs that you can buy at the store, and while they are the same cut of meat, thy cook very differently, and if you’re figuring out how to grill chicken thighs, you need to understand the key differences so you can figure out which one you need depending on the circumstances.
Bone-In Chicken Thighs
Bone-in chicken thighs are exactly as the name suggests — chicken thighs without the bone removed. Plus, they usually have the skin intact. Because of that, they tend to take longer to grill (35-45 minutes depending on how you go about cooking them), but they are slightly more forgiving because they have less total surface area touching the grill, and they are cheaper than boneless chicken thighs because the butcher hasn’t had to remove the bone.
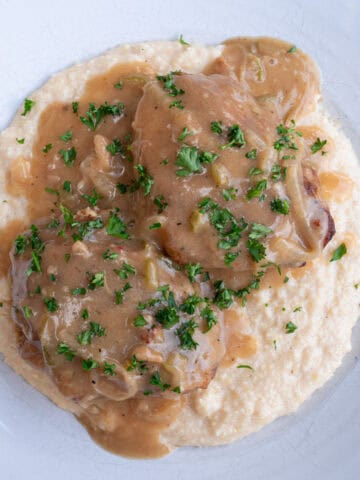
Bone-in chicken thighs are slightly less versatile for serving than boneless options. Typically, they are braised (check out my smothered chicken recipe if you’re curious how), grilled, baked, BBQ’d, or served on their own. These are what I use for this particular recipe.
Boneless Chicken Thighs
Boneless chicken thighs are generally boneless and skinless by a butcher. Because of that, they tend to be a little thinner, as they can lie flat, helping them cook faster. While you still cook them to the same temperature range I mentioned earlier, the shorter cook time (no more than 20 minutes) means you need to keep a closer eye on them, as they will dry out more quickly than bone-in chicken thighs. However, they are more versatile than the former option because not only can you cook them using the same methods, but they can also be served in other meals like salads, sandwiches, and pastas, because they are boneless.
While they aren’t expensive, they cost more than bone-in chicken thighs because of the extra work required to prepare them.
Which Should You Pick?
What you go with will depend entirely on your preferences, the amount of time you have to cook, and how you want to serve them. Personally, I prefer bone-in chicken thighs because I love the BBQ and grilling process, but if you want more versatility or a quicker cook, go with boneless chicken thighs. Just keep in mind that this recipe calls for bone-in thighs, so adjust your cook time accordingly.
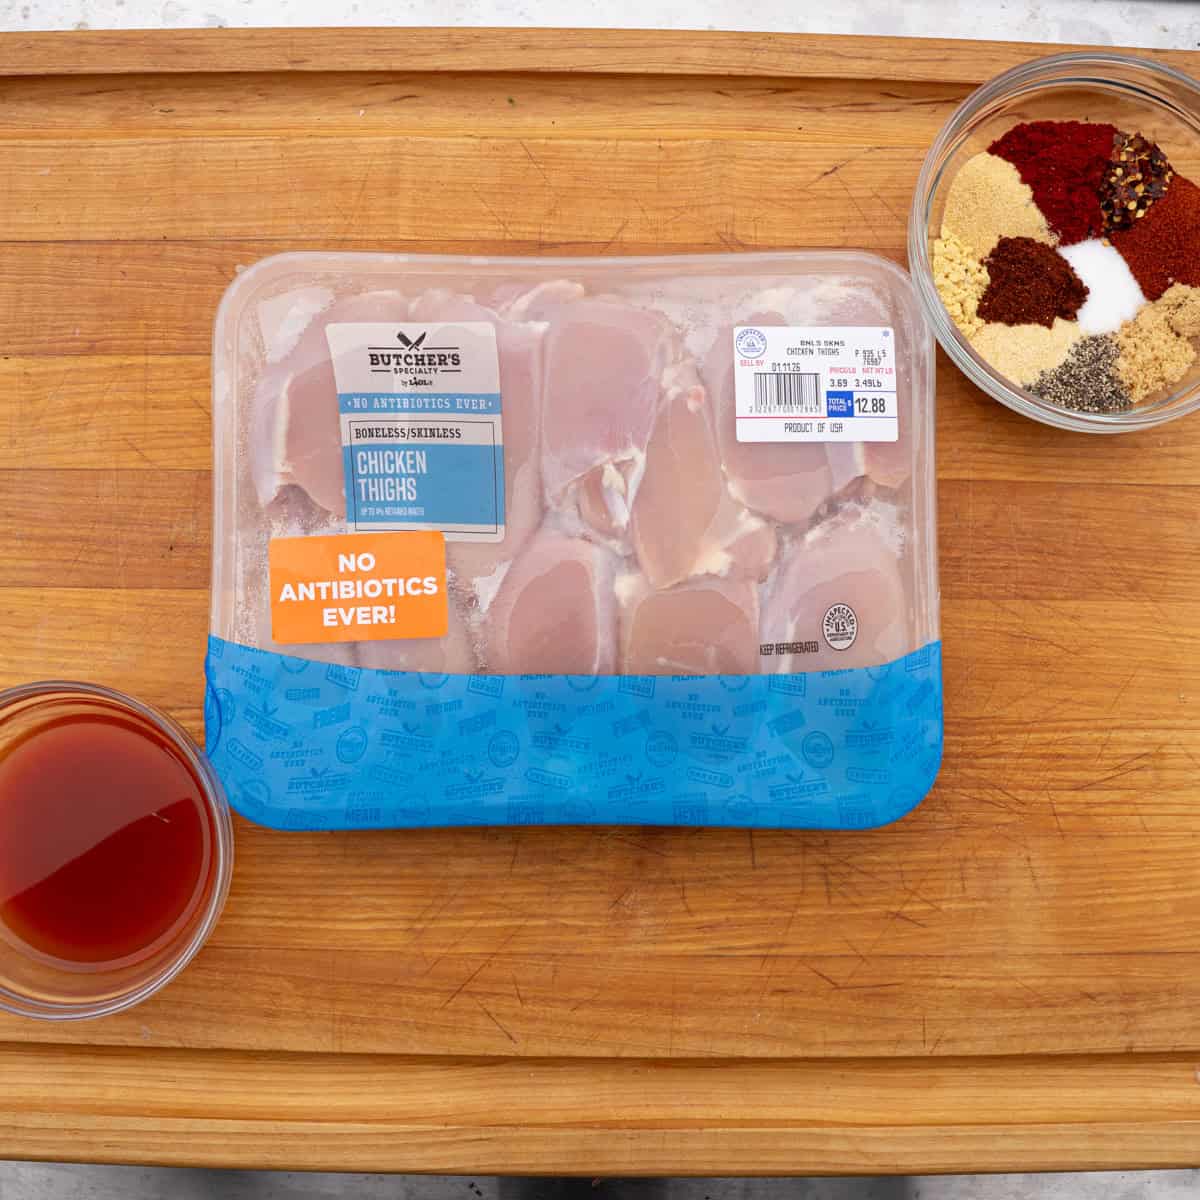
Ingredients
For the Chicken:
- 2–3 lbs chicken thighs (bone-in, skin-on) — If you prefer dark meat chicken and are curious why I like chicken thighs more than drumsticks ,I’ve written a full article on it here.
- BBQ rub of choice — For bone-in chicken thighs, you can go a variety of ways with the rub. Since you grill them at moderate heat, you don’t need to worry quite as much about the sugar burning, as you might with boneless chicken thighs, which you can cook hotter. Personally, I always tend to fall back on a few options like Brad Prose’s Sedona Sand and Heath Riles’s Competition BBQ Rub, or Malcolm Redd’s The BBQ Rub if I’m not going with salt and pepper. It depends on what I have in the pantry, though. They are easy to experiment with, so don’t think too hard about this part.
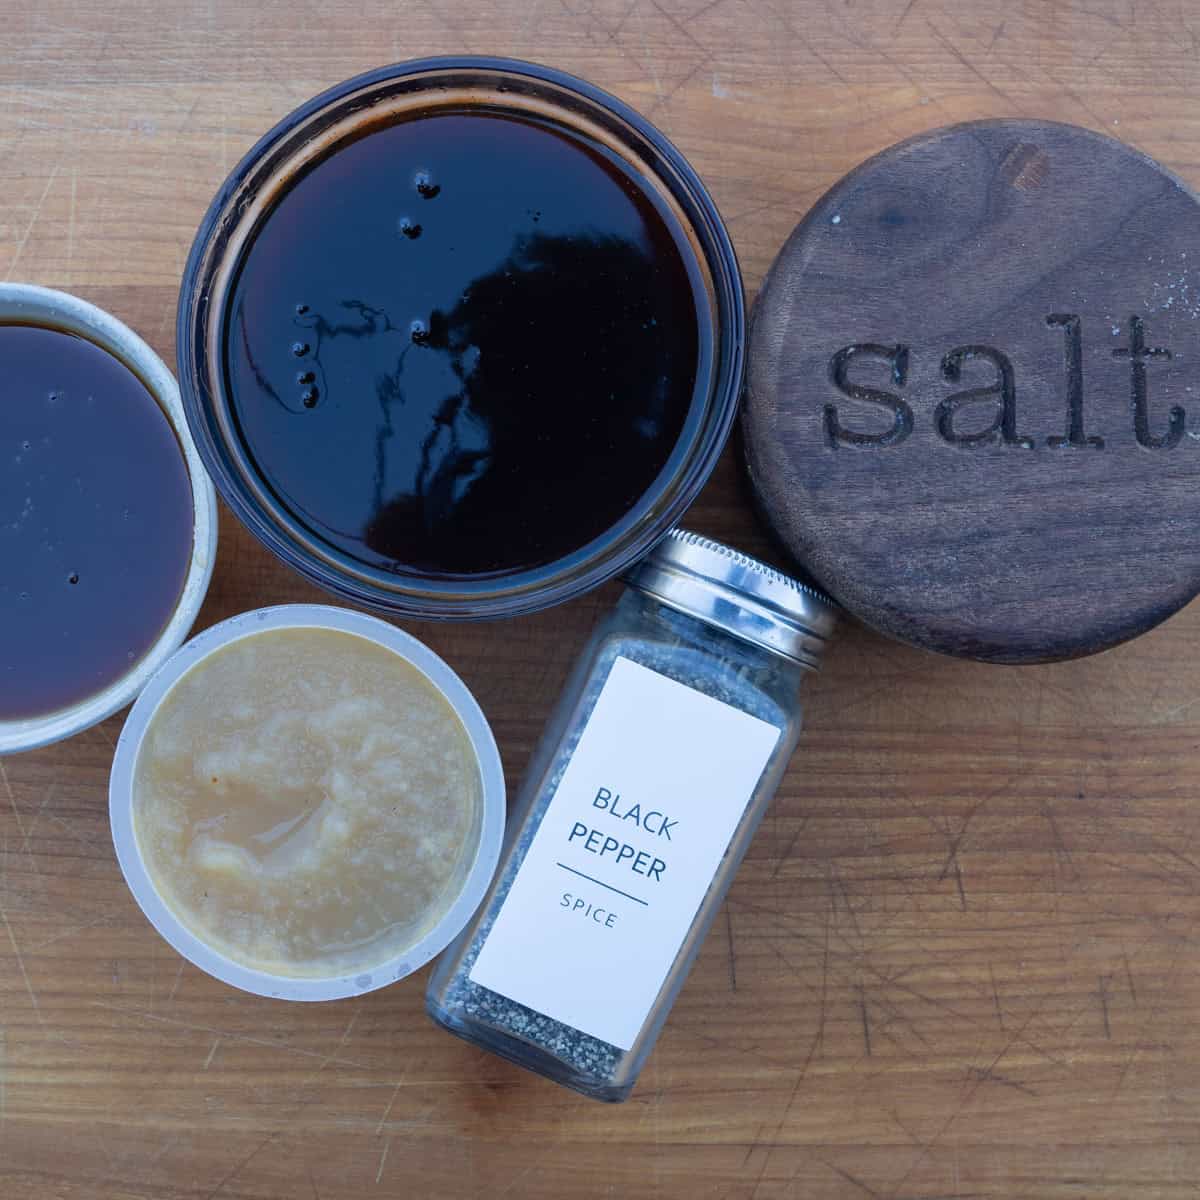
For the Apple Cinnamon BBQ Glaze:
- cinnamon applesauce
- BBQ sauce — I intentionally leave this open so you can use whatever is most convenient for you, but I do recommend a sweeter sauce over a mustard- or vinegar-based BBQ sauce. I like to use Blue’s Hog’s line of products, especially their original sauce or champions blend for this sauce.
- molasses
- hot honey
- Spices (salt & black pepper)
What’s great about this glaze is that there is no cooking involved, and it packs a ton of flavor. I have plenty on the site that takes a little more work, but the simplicity of this one has always made it one of my favorites. Plus, it tastes great on chicken.
How to Grill Chicken Thighs
Step 1: Preheat the Grill
No matter the kind of grill you are cooking on, I like to cook chicken thighs between 325-375°F. I know it’s a wide range, but it depends on the type of grill you’re cooking on, which I’ll explain below.
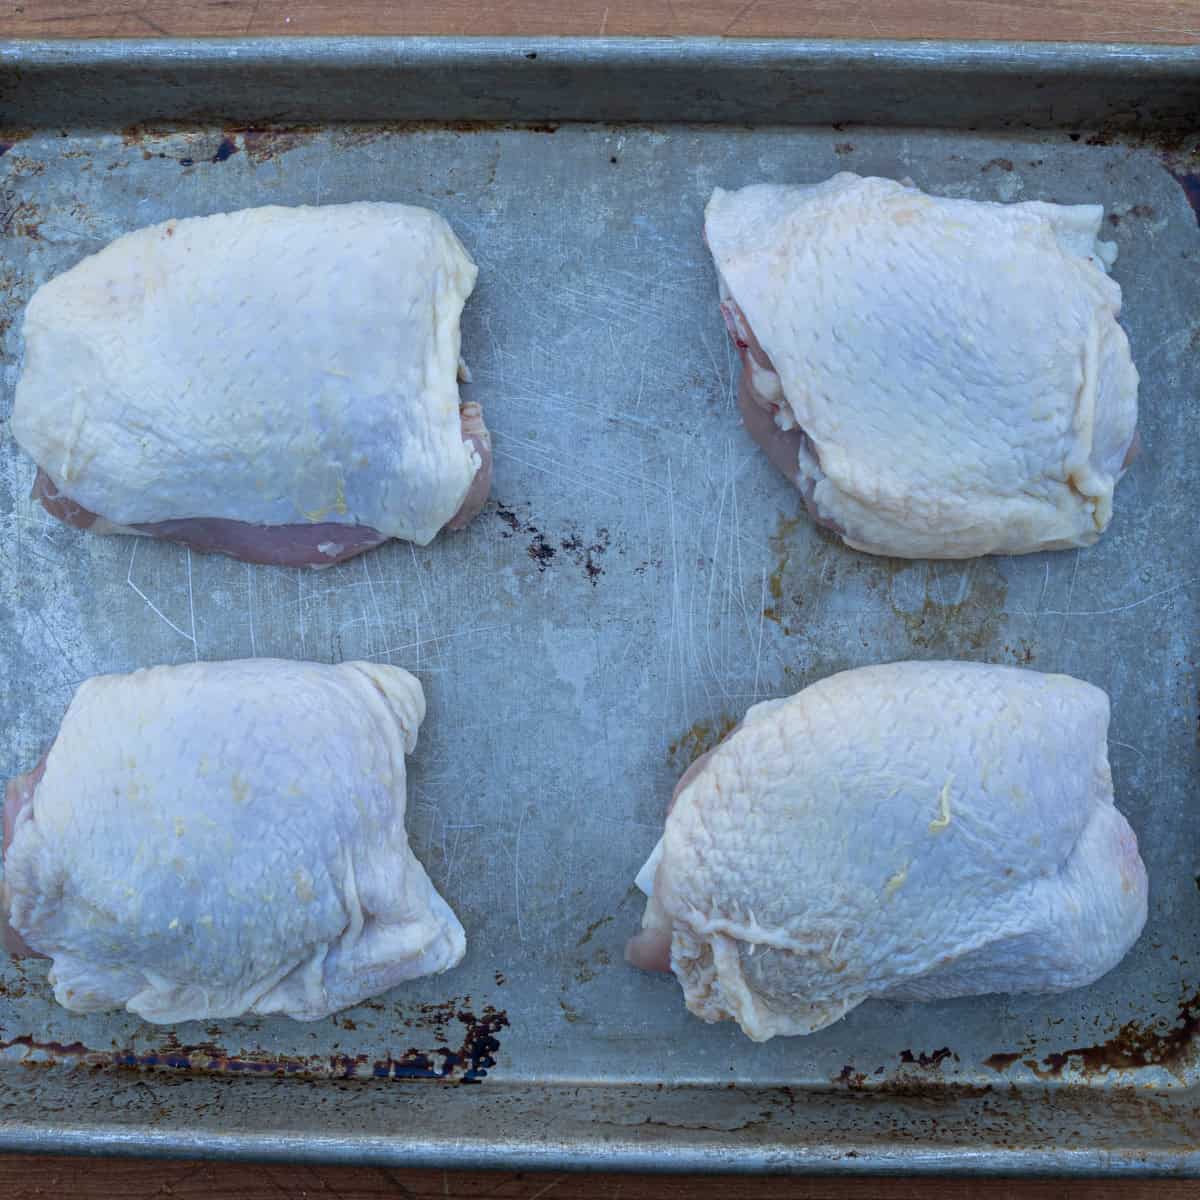
Step 2: Trim and Season the Chicken Thighs
One of the great things about bone-in chicken thighs compared to boneless ones is that there’s hardly any (if any) trimming that needs to be done. Just trim any fat or loose skin that is clearly excessive, and that’s all the trim work you’ll need to do.
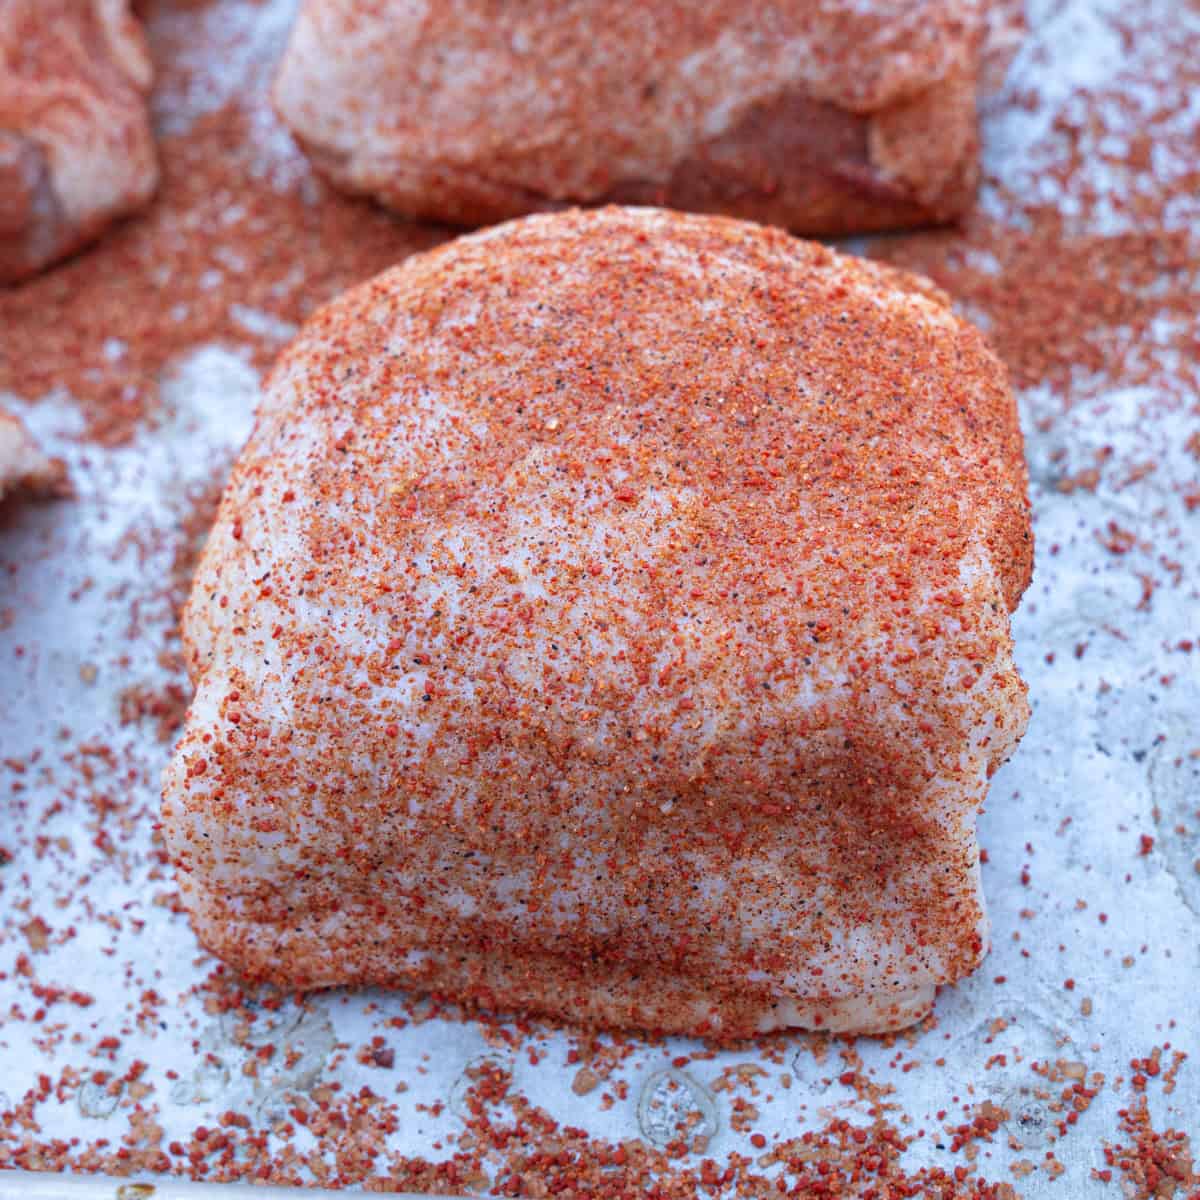
After that, just season evenly with your BBQ rub, making sure all sides are covered.
Step 3: How to Grill Chicken Thighs Based on Your Grill
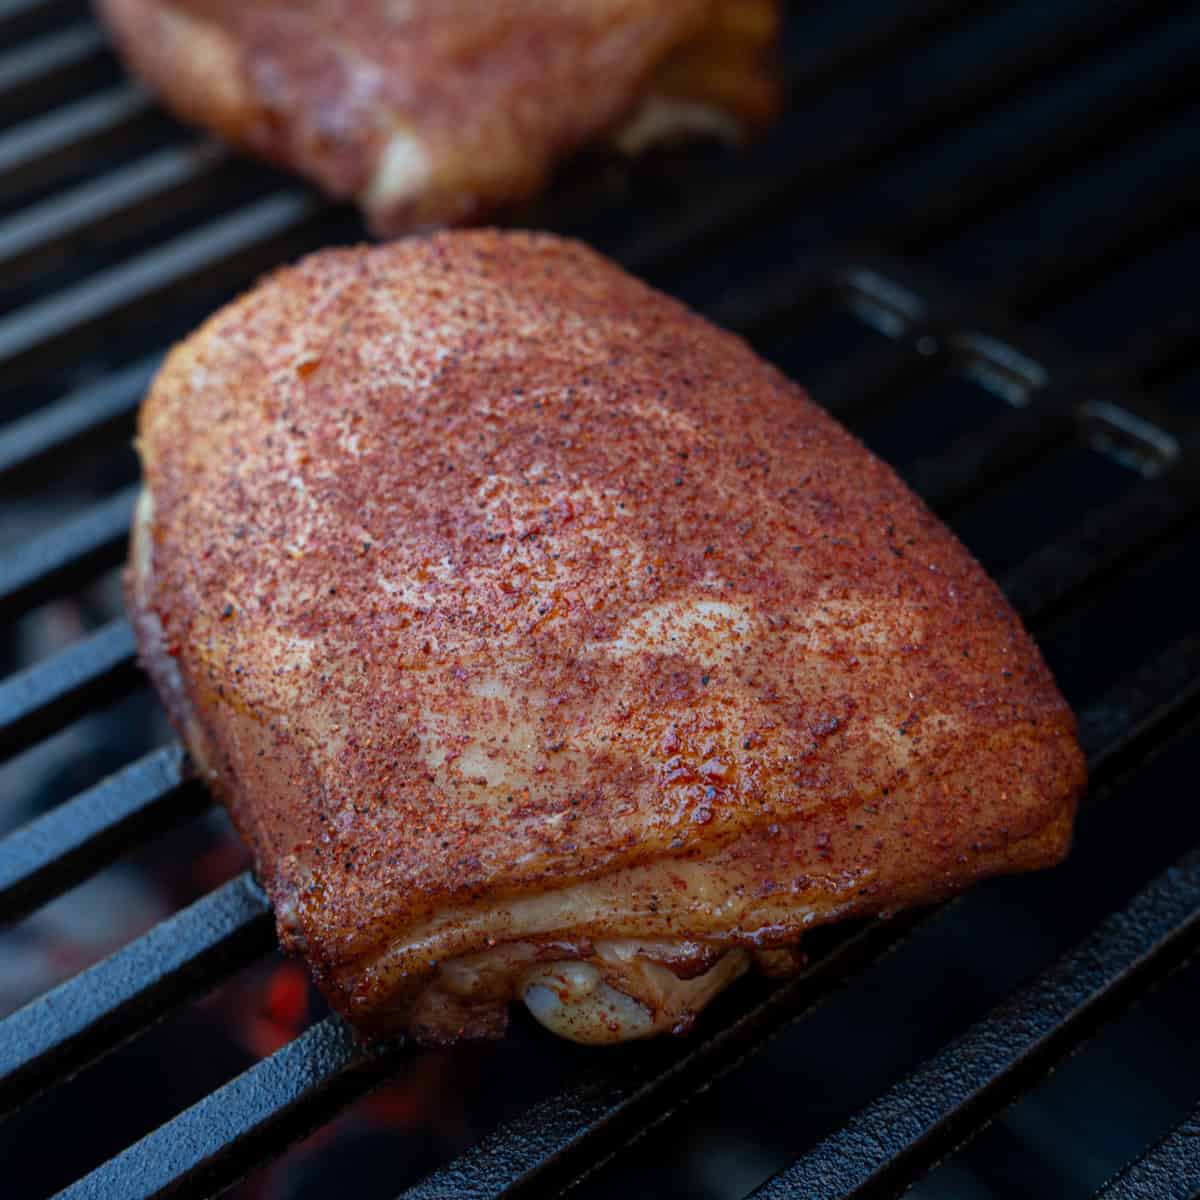
Charcoal-Based Grills
Making bone-in chicken thighs on a charcoal grill is my favorite way to make them, and it’s what I do in this recipe. For some people, cooking this way can be intimidating because charcoal can be more difficult to handle than propane or gas, but cooking chicken thighs is actually easier this way.
Once you have your charcoal lit, adjust your dampers so your grill holds a steady temperature in the range I mentioned above. Because the heat is more moderate, you don’t even need to flip the chicken with this method — the skin still crisps up perfectly fine.
Traditional Gas Grills
That being said, I know more people are comfortable cooking on a gas grill and are more likely to have access to one. The thing about gas grills, though, is that the heat source is typically directly under the grates, much closer to the chicken than on a charcoal grill. Because of that, you need to adjust the cooking process and use two-zone cooking.
I still recommend keeping the temperature in the same range on the direct-heat side, but I’d leave the burners off on the indirect side so you can move the chicken over to finish cooking once it's crisped up on the direct-heat side. Indirect heat helps the thighs cook through gently, without burning the outside, so the inside cooks all the way through without burning the exterior. I also recommend flipping the chicken skin-side down to start when cooking on a gas grill, to help it crisp before flipping it over, since gas grills don’t cook with convection like a charcoal grill does.
Pellet Grills
Pellet grills are the easiest to use, and I like to cook on them the same way I do on a charcoal grill. The only difference is that I increase the heat to 375-400°F, which helps the skin get crispier on a pellet grill. It’s a solid and foolproof way to grill chicken thighs for those who have access to them.
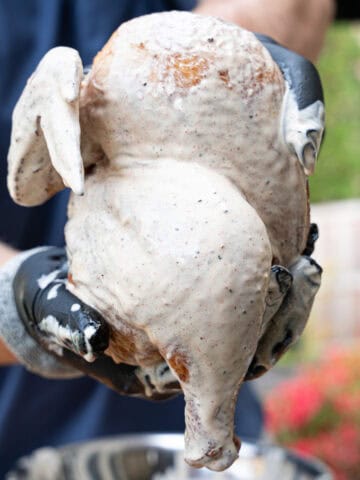
Step 4: Make the Glaze
While the chicken is on the grill, combine the applesauce, BBQ sauce, molasses, hot honey, salt, and pepper in a bowl and mix until smooth. Set it aside until you’re ready to use it.
Step 5: Apply the Glaze
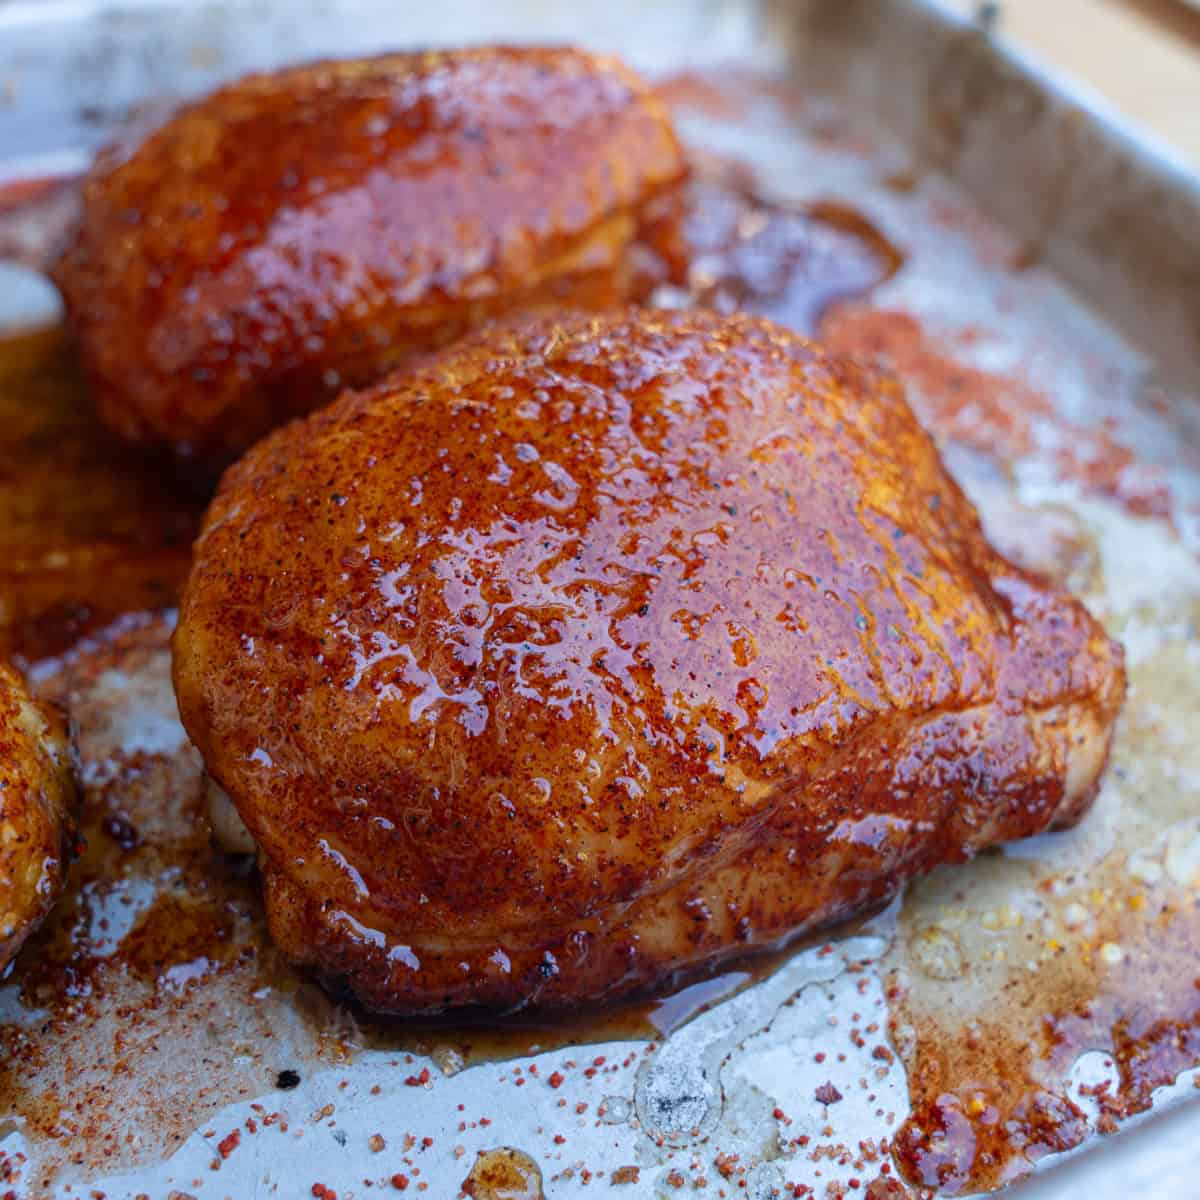
Let the chicken cook until it reaches an internal temperature of 165°F. To check, insert a meat thermometer into the thickest part of the thigh, making sure not to touch the bone. Touching the bone can give you a falsely higher reading, so aim for just the meat to get an accurate temperature and ensure your chicken is cooked safely and stays juicy. This usually takes about 25–30 minutes, depending on size and grill consistency.
Once the chicken reaches 165°F, coat it with the glaze from step 4. You can brush it on, but I like to make enough sauce so that I can dunk them. I do this because it’s faster, the grill lid stays open for less time, and it provides a better coating than brushing the thighs alone.
Why This Glaze Goes on Late (And Why It Works)
A lot of recipes avoid sugary sauces on the grill because they burn easily, which is true, but only if you add the sauce too early. The key is applying the glaze once the chicken thighs reach about 165°F. By then, the chicken is cooked through, the skin is already starting to crisp, and you’re not exposing raw or undercooked sugary-glazed chicken to high heat. You’re just letting the glaze tack on at that point.
You can even wait to add the sauce until it gets a little higher than the recommended finishing temperature if you like, but that’s based on preference. The nice thing is that when you’re cooking at this heat level, the glaze tacks on quickly. The real benefit of waiting to glaze the chicken until late, though, is that it allows the sauce to thicken and caramelize rather than burn.
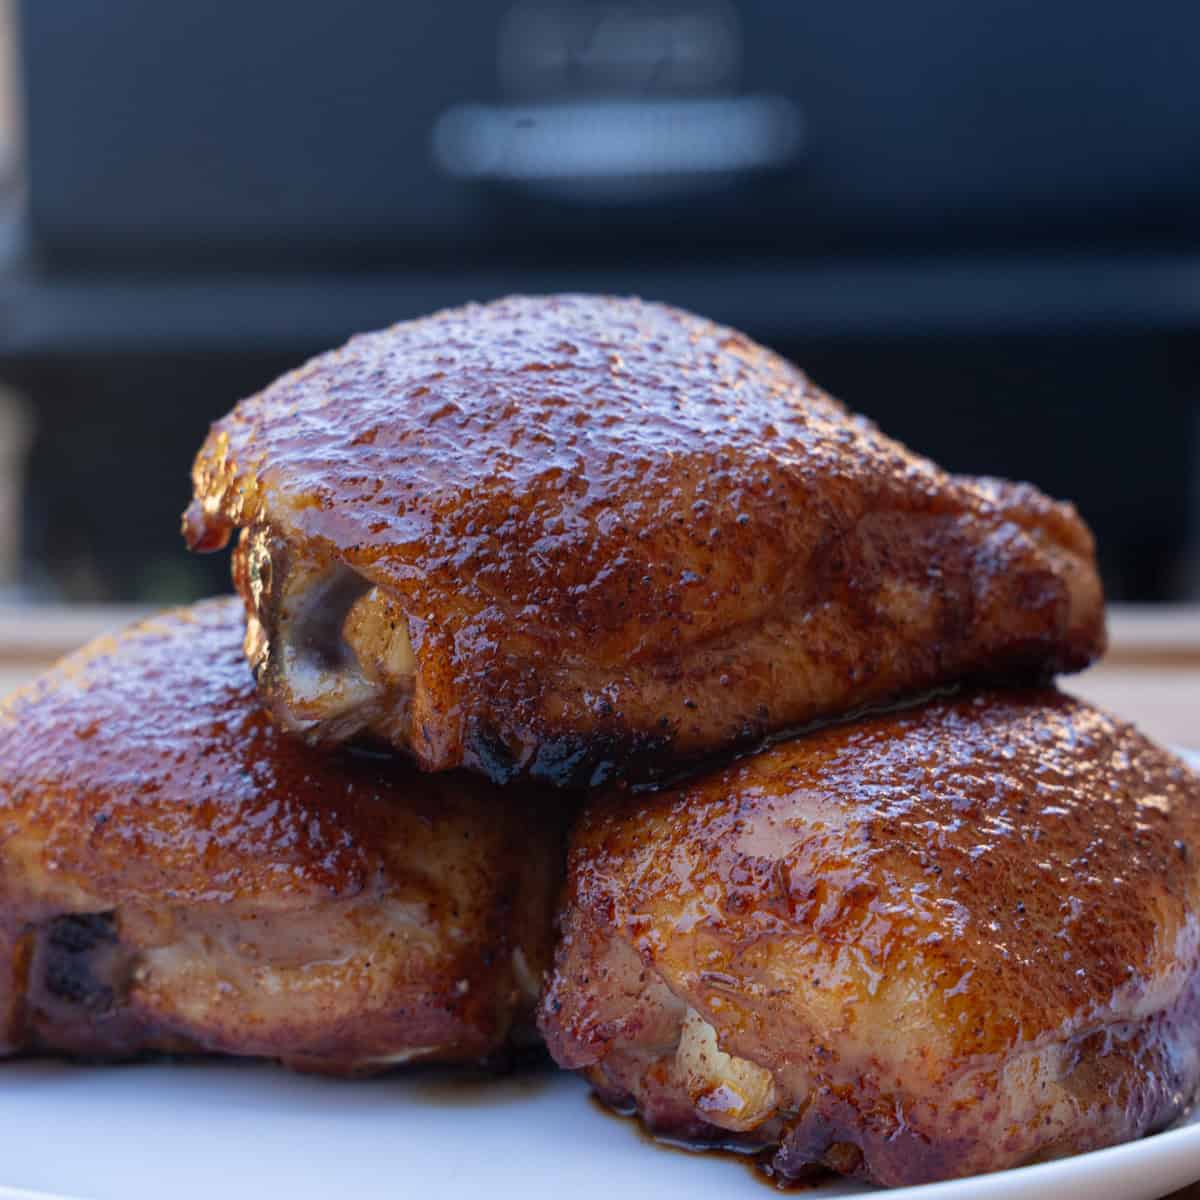
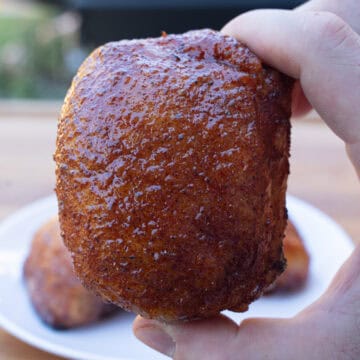
Step 7: Finish Cooking
Continue cooking until the chicken reaches 180–190°F. This tends to take another 15 minutes or so to finish after the chicken has been glazed. Then you can pull the chicken from the grill, let it cool for 5-10 minutes, and serve!
Where Most People Go Wrong
As I mentioned in the beginning, if your grilled chicken thighs aren’t coming out the way you want them to, it usually comes down to a few things:
- Pulling the chicken at 165°F and stopping there
- Adding sauce too early
- Running the grill too hot (especially on gas grills)
- Not giving the glaze time to set
But the biggest issue really all comes down to stopping the cook too early. The take-home message is this: Chicken thighs need a little extra time for the fat to break down. Give them that time to finish cooking so you can maximize both the flavor and texture. That’s what separates average chicken thighs from those you are really proud of and want to show off to your friends.
Equipment
- Grill
- Meat thermometer
- Tongs
- Prep bowls and measuring cups
Storage and Reheating
Stored chicken thighs are still tasty, but it is hard to restore their texture. to life. If you do store grilled chicken thighs, though,do so in an airtight container in the fridge for no longer than 4 days.
To reheat, just place them in an Oven or an air fryer at 350°F until they are warmed through. Then they’ll be ready to re-serve.
Interested in More Chicken Recipes? Make Sure to Check Out Some of My Favorites!
- Korean-Style Grilled Chicken Thighs (Boneless)
- Smoked Chicken Halves with Alabama White Sauce
- Grilled Nashville Hot Chicken Sandwiches
- Beer Can Chicken on a Gas Grill
Recipe
Apple Cinnamon Glazed Chicken Thighs
Equipment
- grill
- tongs
- saucepan
- wooden spatula
- BBQ mop or brush
- cutting board
- knives
- instant read thermometer
Ingredients
- 2-3 lbs. bone-in skin-on chicken thighs
- BBQ Rub of Choice
- ½ C cinnamon-flavored applesauce
- ½ C BBQ sauce
- ¼ C molasses
- ½ C hot honey
- ¼ teaspoon salt + more to taste
- ¼ teaspoon black pepper
Instructions
For the Apple Cinnamon Glaze:
- Add the applesauce plus the next 4 ingredients in a bowl and mix until well combined. Season with salt to taste and set aside until ready to use.
For the Chicken:
- Preheat the grill to 350-375 degrees. Meanwhile, trim the chicken thighs of any excess fat or skin, discarding waste as needed. Next, season the chicken with the BBQ rub. Repeat this step until all thighs have been seasoned.
- Once the grill has preheated, add the chicken skin-side up. Once the chicken registers ~165 degrees, liberally apply the sauce using a pastry brush, mop, or dunk method (my favorite) until all the thighs are thoroughly coated. Continue to cook until the internal temperature registers ~180-190 degrees and the sauce has tacked on. Once this occurs, set the chicken thighs aside and shut off the grill.
To Finish:
- Plate the chicken thighs and serve with sides of choice. Enjoy!

Leave a Reply