
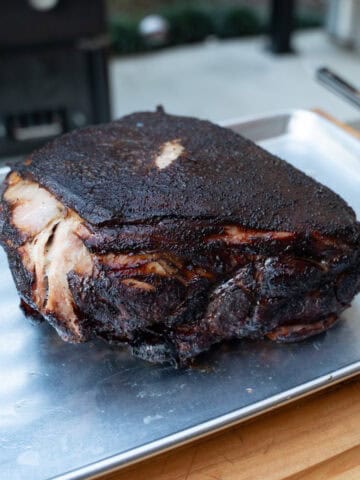
Most of the time, I stick to the traditional route—whole racks of pork ribs on the smoker. But sometimes, you just don’t have the better part of a full day to babysit ribs. That’s where this recipe comes in. It’s built for speed without giving up flavor. Plus, I pair it with a maple bourbon glaze that has a ton of flavor: sweet from maple syrup, a little depth from brown sugar, tang from Dijon, umami from soy sauce, and a warm finish from bourbon. It cooks down into something rich and sticky that tacks on perfectly to the party ribs. Below, I’ll walk through the full recipe for this party ribs recipe so you can learn how to make them at home.
Jump to:
Party ribs are just racks of ribs cut into individual bones before cooking, which helps them cook faster and pick up more seasoning and sauce. Most party ribs take about 1.5 to 2 hours at 275–300°F, then finish around 195–205°F once they’re tender and ready to eat.
What Are Party Ribs?
Party ribs are just regular racks of ribs—usually spare ribs—individually sliced into pieces before cooking. Instead of smoking or grilling a full rack and slicing it later, you’re starting with smaller sections from the jump. That gives you more surface area for seasoning and sauce, and it also helps them cook a bit faster, more evenly, and with better caramelization. They’re called “party ribs” because they’re easier to serve and grab—no slicing, no mess, just pick one up and go.
How Long Do Party Ribs Take to Cook?
As you would imagine, party ribs cook faster than full racks since they are pre-sliced, but they still need enough time to break down properly. For reference, I cooked this recipe on a grill, and it took me about 1.5 to 2 hours total. Just remember that time will vary depending on the size of the pieces and the consistency of your heat. Since they’re cut smaller, you don’t need a full low-and-slow timeline, but you still want to give them enough time to render and tenderize.
Are Party Ribs Worth the Hype?
It really depends on preference, but party ribs are great if you’re big on ribs with a lot of “bark” flavor and you want more of that with every bite. The trade-off is you lose that classic “full rack” presentation, and you don’t get as much (if any, depending on how you’re making them) smoke flavor as you’d get from a traditional cook. But for convenience, and overall flavor, they’re a great option.
Ingredient Highlights
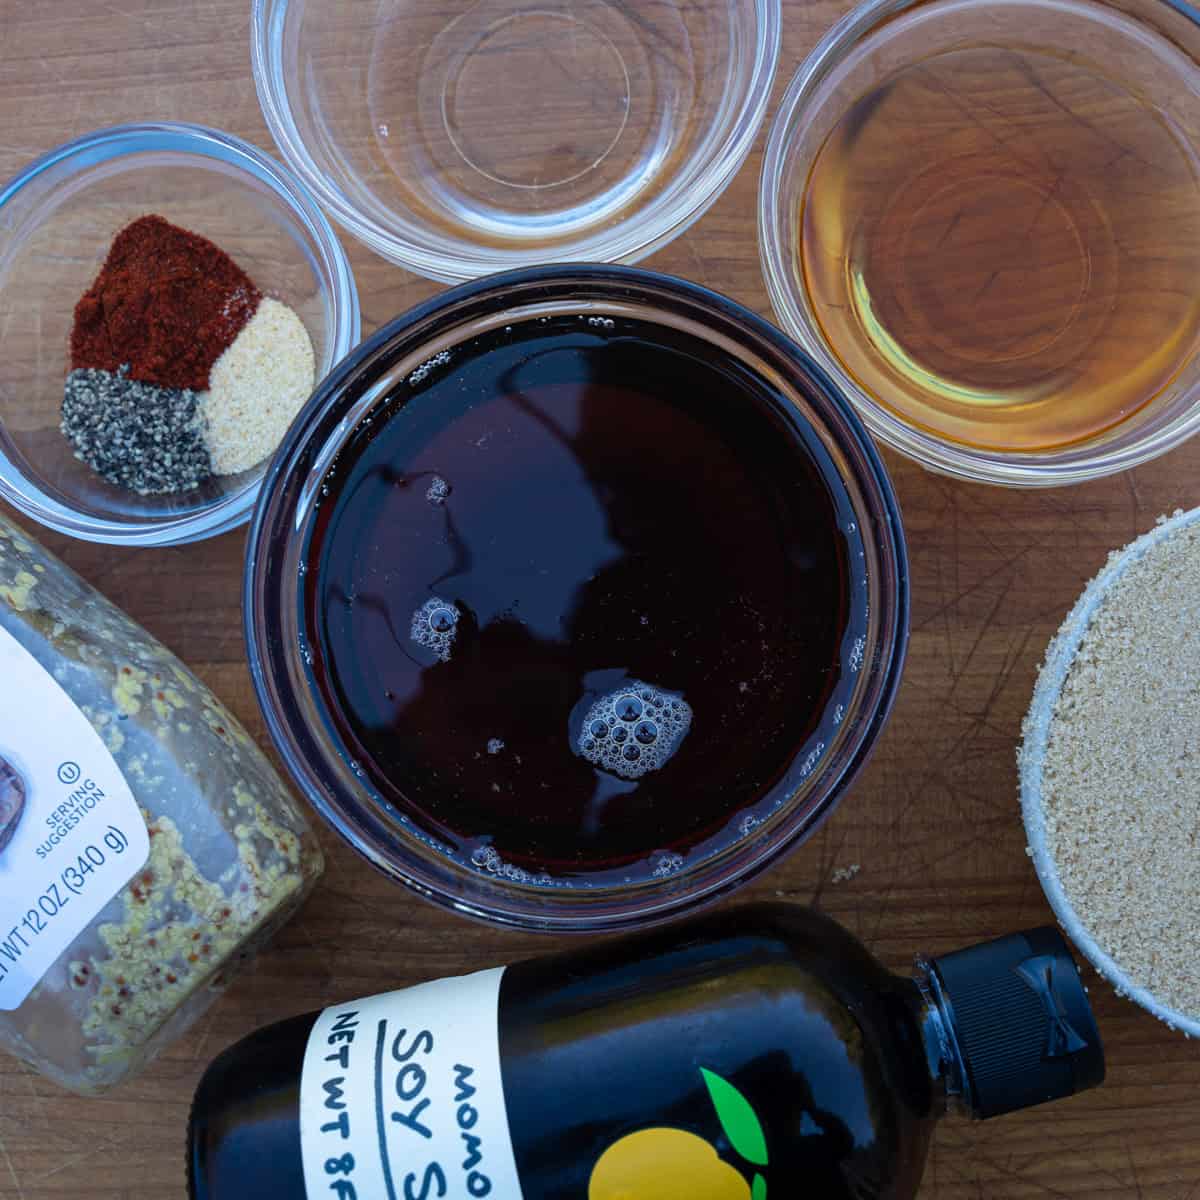
Baby back ribs – I typically start with two to three racks of ribs because I purchase my ribs from Costco, and that's the standard size they usually pack. Baby back ribs are shorter, leaner, and cook a bit faster than spare ribs. Perfect for cutting into individual bones and grilling hot and fast when you want a lot of flavor but don't have much time to cook. I usually opt for baby backs because they’re lean and tender, but St. Louis-style or spare ribs work too if that’s what you have.
Maple syrup – I'm a big fan and add it to many of the bbq sauce varieties and glazes I make. It provides the glaze with its sticky-sweet base and creates an unbeatable lacquer when heated.
Brown sugar – Adds molasses-like depth and helps the glaze thicken and caramelize.
Dijon mustard – This cuts through the sweetness and balances the glaze with a sharp, tangy flavor.
Soy sauce – A little salty and savory, it gives depth and umami to the glaze.
Bourbon – Don’t worry about the alcohol—it cooks off. What stays behind is a warm, smoky richness that pairs wonderfully with pork.
Take a look at the recipe card for the full list of ingredients.
How to Make Party Ribs
STEP 1: Prep the Ribs
Take out your ribs and pat them dry with paper towels. Using a sharp knife, slice the rack of ribs into individual ribs. This step ensures maximum surface area for browning and sauce coverage.
Note: I don't worry about removing the membrane on ribs that I'm cooking over direct heat because I prefer the texture it provides. However, if you prefer to remove it, do so before slicing the ribs.
STEP 2: Season the Meat
Season the meat with your favorite BBQ rub, or a mix of equal parts coarse salt and pepper works just as well. Coat each rib liberally on all sides. Let them sit while you prep the glaze.
Step 3: Make the Glaze
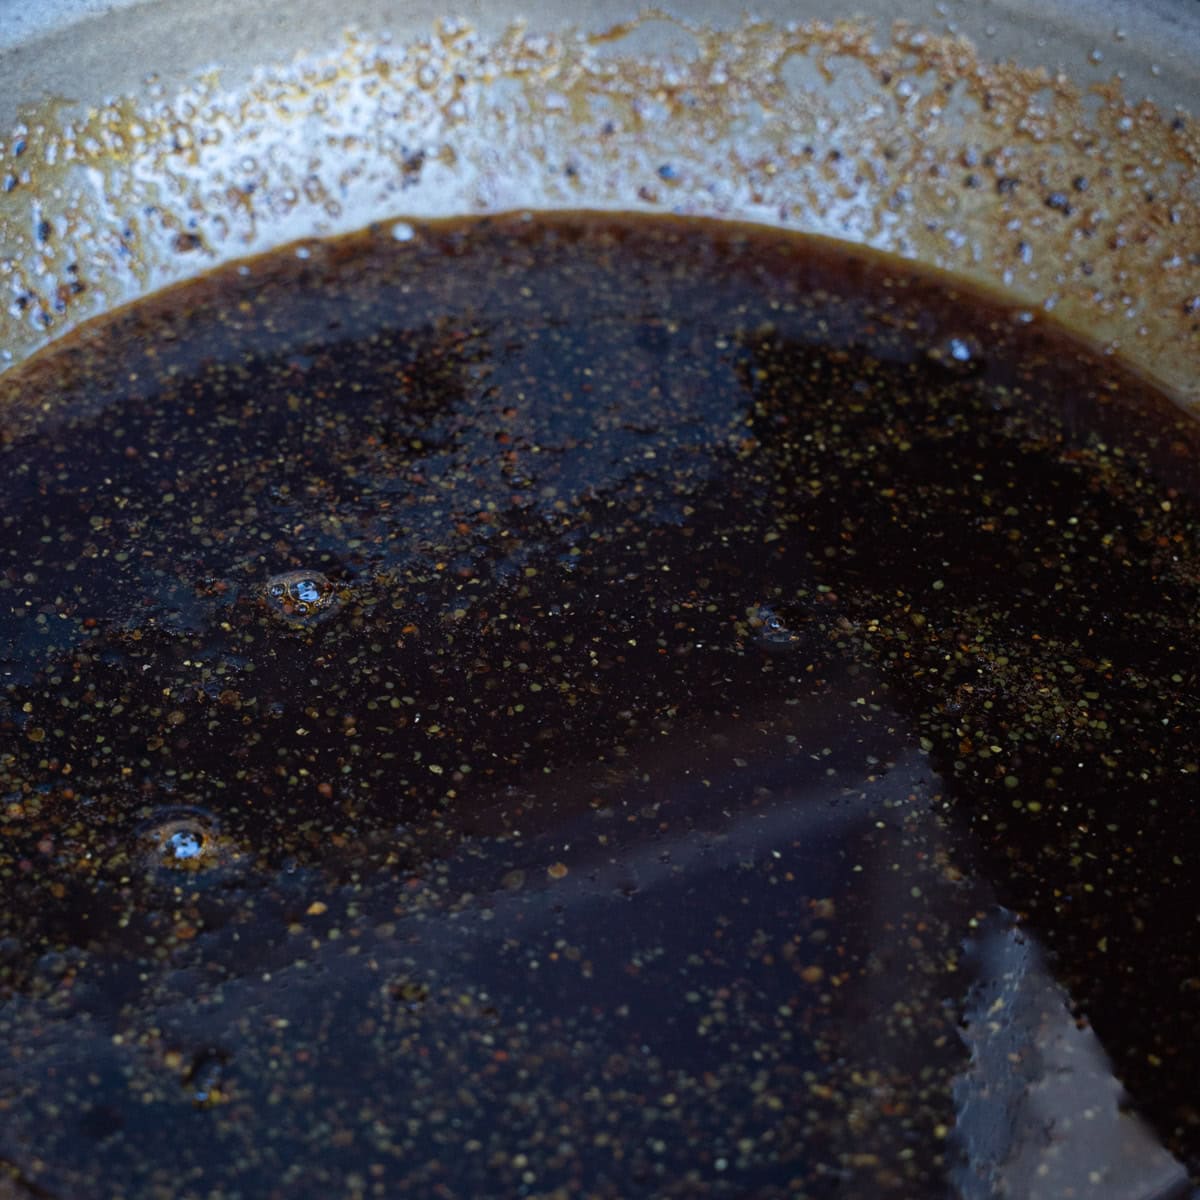
In a saucepan over low heat, combine maple syrup, bourbon, brown sugar, Dijon mustard, soy sauce, apple cider vinegar, black pepper, garlic powder, and paprika. Stir and simmer for 10–12 minutes, or until the glaze has thickened slightly. Remove the ribs from the heat and let them cool while you prepare them for the grill.
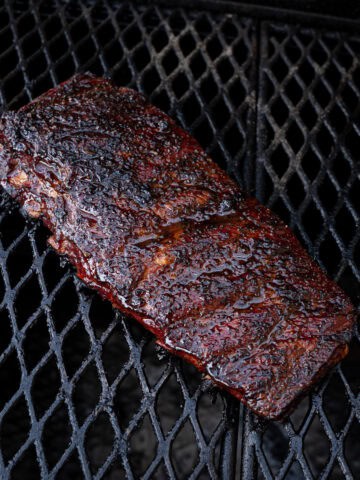
STEP 4: Grill the Ribs
Preheat your grill to medium to medium-low heat, around 300°F. You don't want high heat, but you can go higher than you would with a more traditional method of smoking ribs. Place ribs directly over the flame and grill for ~45-60 minutes, flipping as needed. Since I'm making these over direct heat on my gas grill, I flip them every 20 minutes or so. If I were to make these on a smoker, I could go significantly longer without flipping the ribs. Either way, you’re looking for golden edges, char marks, and some early caramelization.
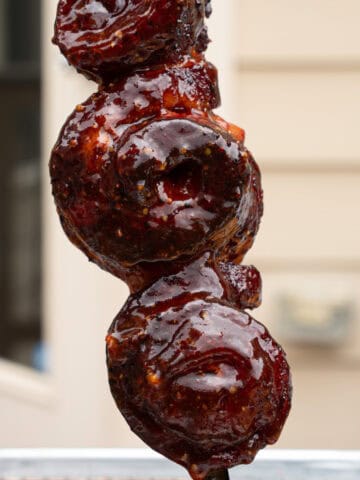
STEP 5: Glaze and Finish
Once the ribs reach an internal temperature of 170-175 degrees using a meat thermometer, transfer them to a deep aluminum foil pan with the glaze and butter, then cover them tightly with foil. Place the pan back on the grill to finish cooking.
When To Wrap The Ribs
I like to wrap party ribs the same way I do traditional ribs — after the rub has adhered well enough that it doesn’t come off when you run your finger over the ribs. For party ribs, this usually happens around the 45–60 minute mark.
STEP 6: Uncover & Caramelize
Once the ribs register ~200-205 degrees, remove the foil to allow the glaze to tack up for the final 10 minutes of the cook.
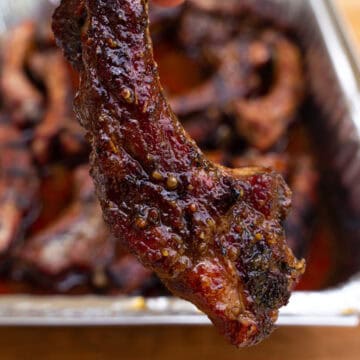
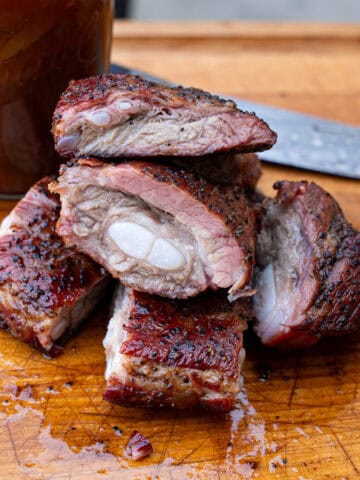
Step 7: Serve
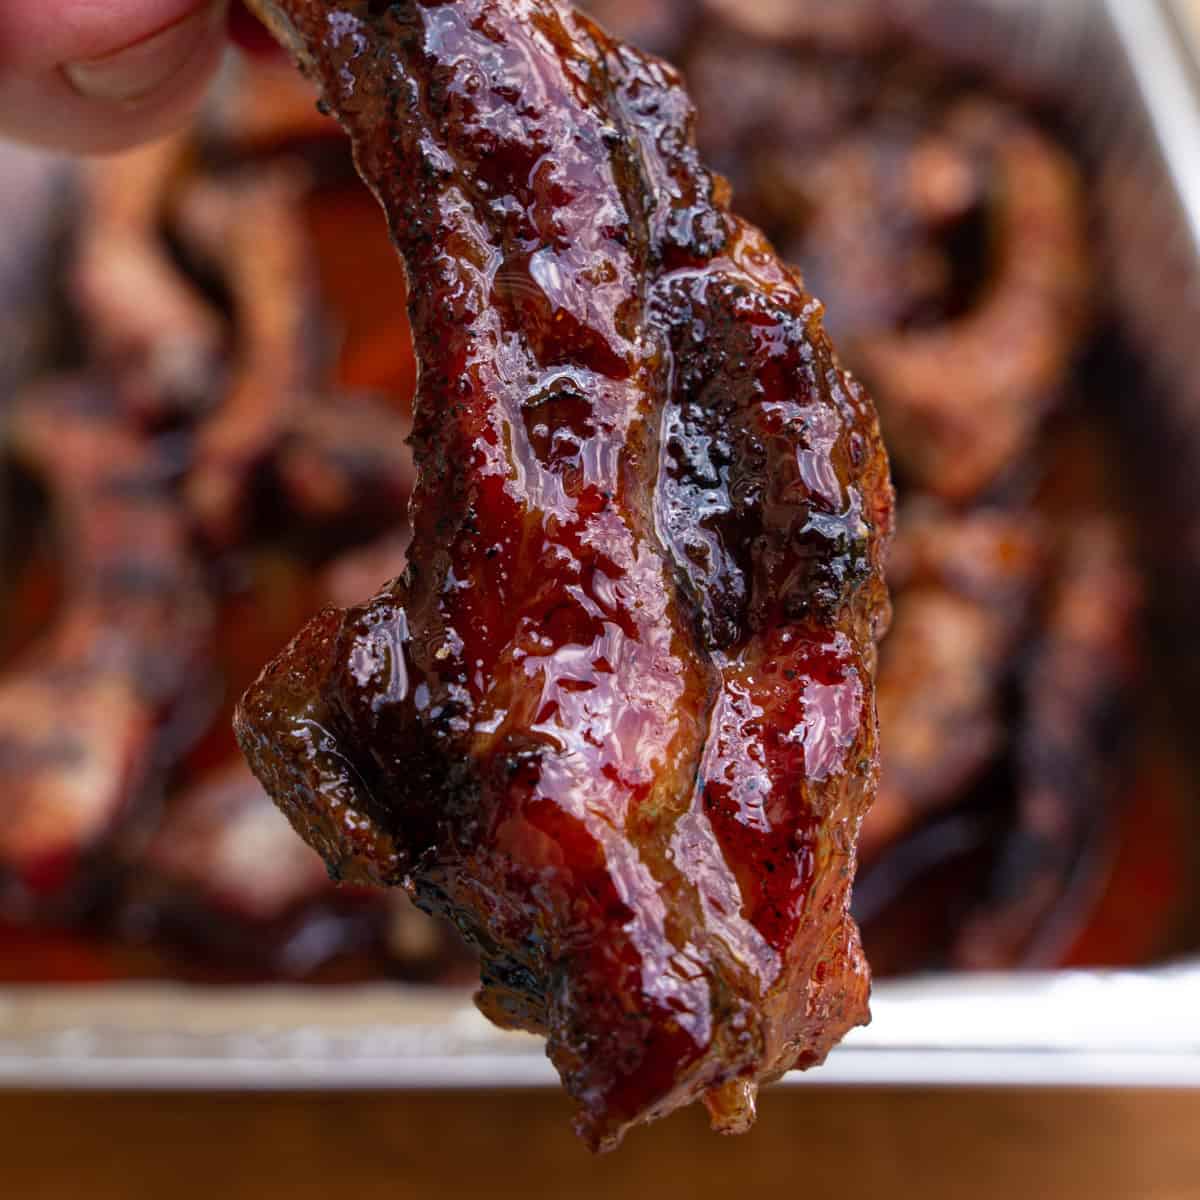
Serve the ribs hot from the grill and serve!
What Goes with Party Ribs?
There are tons of options you can choose from, but here are a few of my favorite sides to serve with party ribs:
Storage & Reheat Tips
Once cooked, store leftover ribs in an airtight container in the fridge for up to four days. Want to keep them longer? Freeze the ribs after they’ve cooled completely—wrap them tightly in foil and place them in a freezer bag or vacuum-seal them (the latter being what I've found to be the best way). They’ll hold up for about two to three months.
Either way, when you're ready to reheat, thaw in the fridge overnight (You can catch my blog post here for an in-depth overview of properly thawing ribs). The defrost time will vary, but I recommend using the general rule of 24 hours per 4-5 lbs. of meat that I mentioned earlier. Then wrap the thawed ribs in foil and warm in a 300°F oven until heated through. As I mentioned earlier, don’t discard that maple bourbon glaze—it can last up to 2 weeks in the refrigerator. It pairs well with a variety of foods, including large cuts like chicken halves and pork chops, as well as roasted vegetables. You could even use it on my grilled chicken thighs, just substitute the glaze.
Recipe
Party Ribs with Maple Bourbon Glaze
Equipment
- tongs
- Foil Pan
- knife
- cutting board
- saucepan
- Measuring Cups & Utensils
- Aluminum Foil
- instant read thermometer
Ingredients
- 1 rack baby back ribs or St. Louis/spare ribs
- BBQ rub or 50/50 mix of coarse salt & pepper
- 1 tablespoon unsalted butter
- ½ cup maple syrup
- ¼ cup bourbon
- ½ cup brown sugar
- 2 tablespoon Dijon mustard
- 2 tablespoon soy sauce
- 1 tablespoon apple cider vinegar
- 1 teaspoon black pepper
- ½ teaspoon garlic powder
- ½ teaspoon paprika
- salt as needed
Instructions
- Pat ribs dry. Slice between the bones to separate into individual ribs. (Removing the membrane is optional; I leave it on for direct grilling.)
- Coat ribs on all sides with BBQ rub or salt and pepper. Let sit while you prep the glaze.
- For the sauce: In a saucepan over low heat, combine all glaze ingredients. Simmer for 10–12 minutes until slightly thickened. Set aside.
- Preheat grill to medium to medium-low (around 300°F). Grill ribs directly over the flame for 20–30 minutes total, flipping every 5–6 minutes until they hit ~170–175°F internally.
- Place ribs in a foil pan with glaze and butter. Cover tightly with foil. Return to grill and cook until they reach ~200–205°F and are probe tender.
- Remove foil and let the glaze caramelize for a final 10 minutes on the grill.
- Serve hot with your favorite sides.
Leave a Reply