You know how disheartening it can be if you’ve ever lifted your grill lid only to find half your chicken left behind on dirty grill grates. We all prefer a good sear—plus those grill marks that promise great flavor—but too often, food sticks in a way that rips off the skin or tears the meat. The result is a dry, patchy-looking chicken that’s a far cry from the finished product you envisioned. So, the question is: How do you keep chicken from sticking to the grill?
For many backyard cooks, learning how to keep chicken from sticking to the grill is a real challenge- but once you learn how to master the skill, it can be a true game-changer—especially if you love hosting weekend barbecues. The good news is that you can fix it quickly once you understand the main reasons chicken sticks (usually a combination of cold grill issues, insufficiently oiled grill surface, or the wrong cooking oil). In this guide, I'll give you simple tips to avoid that pesky, sticky poultry, plus share some insight on high smoke point oils, grill cleaning, and an ideal internal temperature approach to guarantee that your chicken stays moist and releases cleanly from the grates.
Jump to:
Choosing Your Grill: Gas, Charcoal, or Pellet Grills
One of your first decisions is whether to use a gas grill, charcoal grill, or pellet grill. Each has its advantages:
Gas Grill
Offers moderate temperature control (although they do tend to run hot) and easy ignition, meaning you can quickly adjust from high heat to indirect heat by turning a knob. Gas grills are commonly used by folks who want convenience and fewer variables to fuss with. They are a great option, with some excellent value at a reasonable price.
Charcoal Grill
Delivers that unmistakable smoky aroma for a great flavor, especially if cooking with wood chunks. However, controlling heat might be trickier, and you need more practice to maintain consistent temperature zones (like having direct and indirect sides). Once you learn how to use one of these grills, it will be your best friend. I love my charcoal grills and use them regularly. I consider them better for intermediate to advanced cooks, so if you're new to grilling or uncomfortable, I'd start with a different product.
What About Pellet Grills?
Pellet grills take much of the guesswork out of temperature control by automatically feeding wood pellets and maintaining your set heat level. To prevent sticking, the consistent temperatures in a pellet grill can be a real game-changer—there’s less fluctuation that might cause food to latch onto the grates. Many pellet grill grates have a well-seasoned surface or are coated to reduce sticking. I think these are the easiest grills for a new griller, but they tend to come with a higher price tag. That being said, the "set it and forget it" capabilities make these a great option.
From a non-stick perspective, each grill can work beautifully if you manage your grill temperature properly and keep the grates clean. Sometimes, a common problem is thinking one or the other is automatically better at preventing sticking. But the truth is, all three are prone to issues if you skip the basics of clean grill maintenance and correct heat management.
Cleaning & Preparation
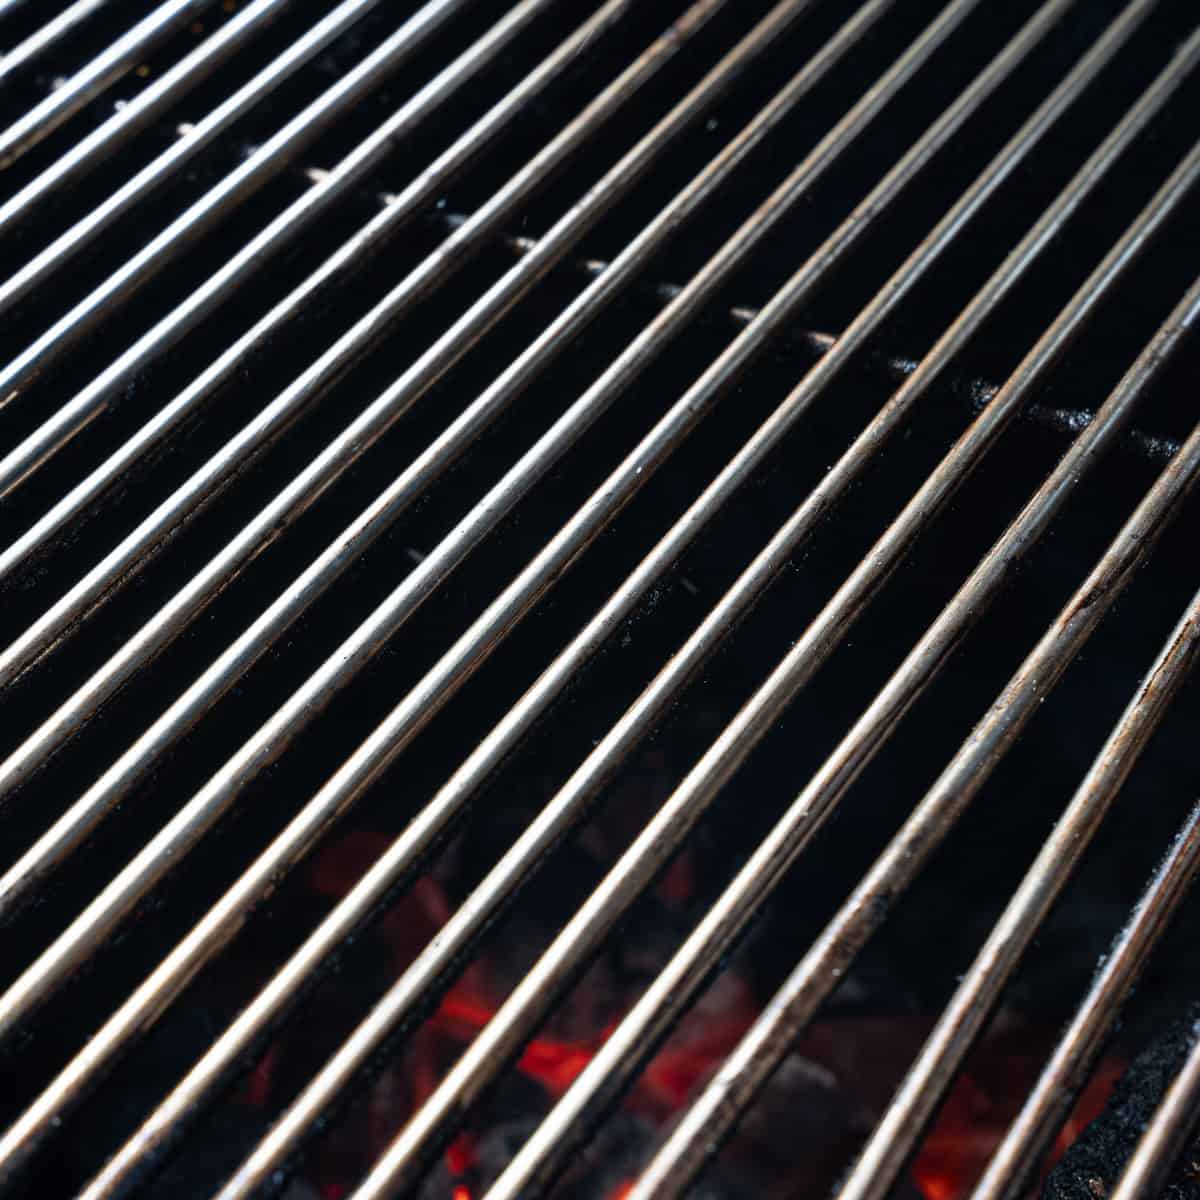
If you take one step from this entire article, make it a thorough cleaning regimen. A dirty grill means leftover char and carbon from the last time you cooked, which can latch onto new food like glue. A well-maintained grill surface, on the other hand, promotes an instant non-stick surface.
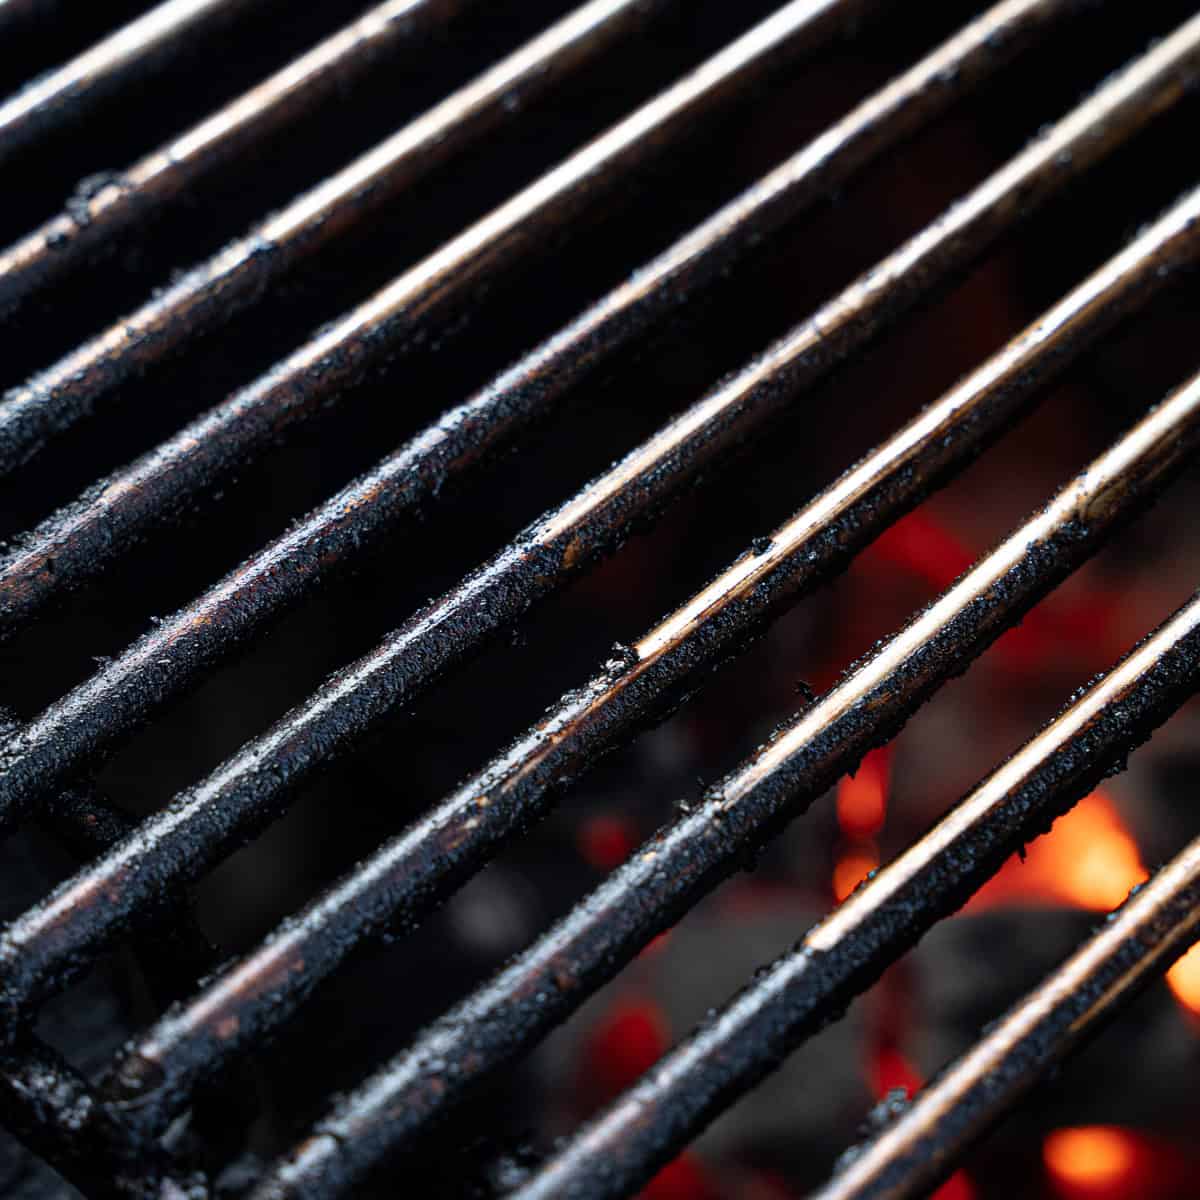
Proper cleaning often starts while the grill is warm: use a wire brush or grill brush to remove residue. Then, after the grill cools, a deeper clean might involve removing the grates and scrubbing them with warm soapy water, especially if they are well used. It's a good idea to do this consistently, especially if you're using the grill a lot. Plus, you'll need to do it more often if you're glazing or saucing your meat on the grill.
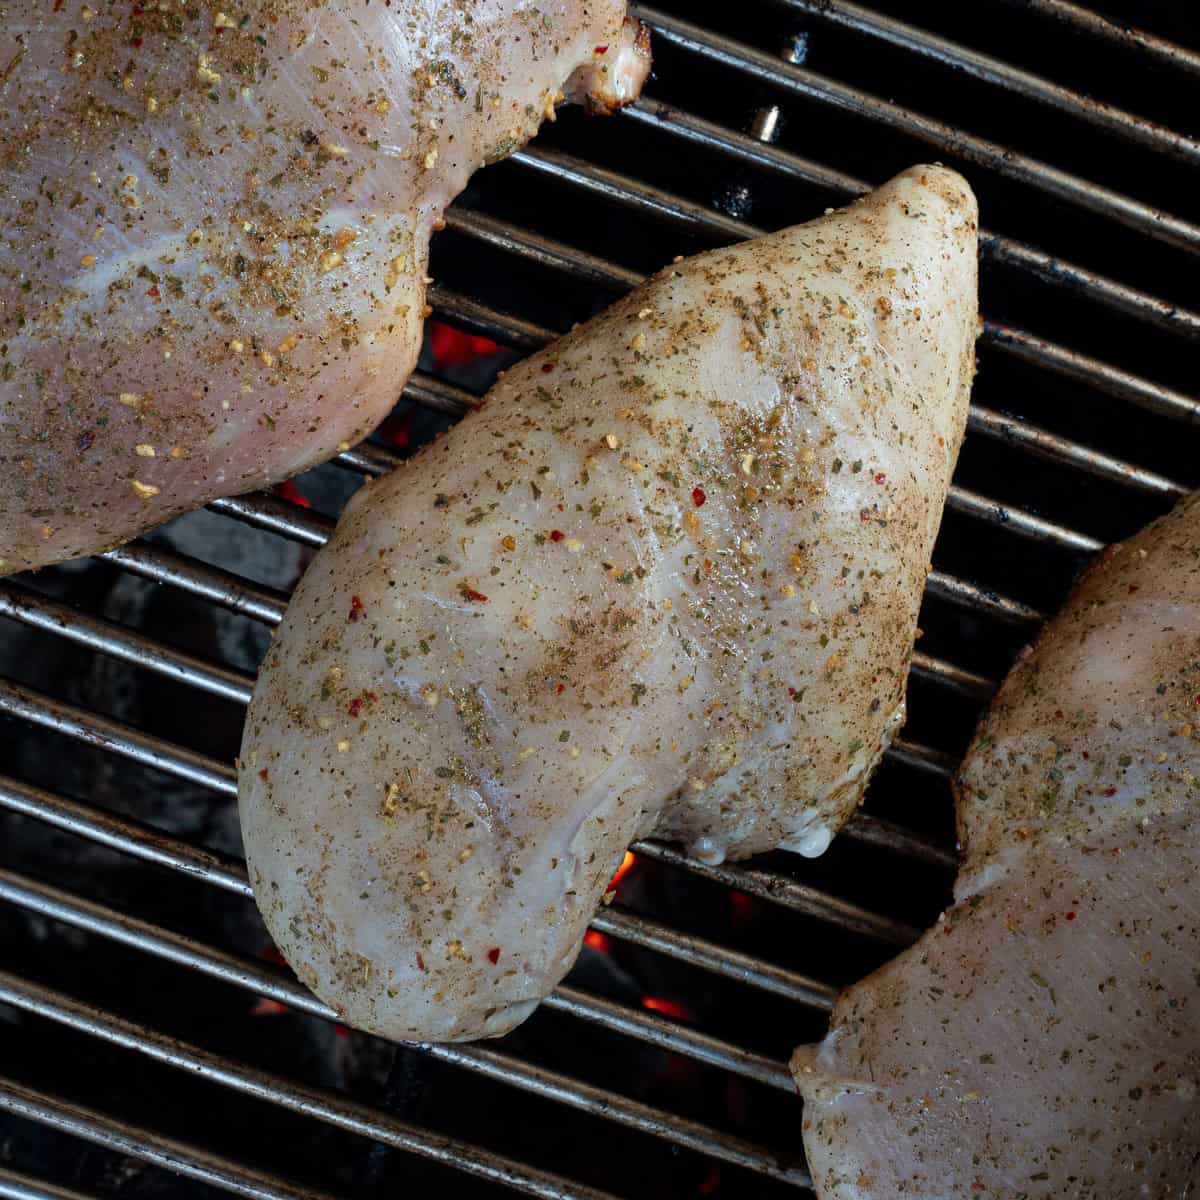
Next time you fire up the grill, preheat it, then wipe or spray it with your preferred method—some like a wad of paper towel dipped in vegetable oil or canola oil, others rely on a short burst of cooking spray. Either way, you’re creating a light film that helps close the pores on the metal, so your chicken is less likely to cling.
Practical Tips on How to Keep Chicken from Sticking to the Grill
Use High-Smoke-Point Oils
Oils like canola, avocado, grapeseed, or even refined extra virgin olive oil (labeled “high smoke point”) are perfect for hot grill grates. They can tolerate the hot temperatures (300–500°F) often needed to get that initial sear. Low-smoke-point oil - such as seed oils, traditional EVOO, butter, or coconut oil - might burn too quickly and make sticking worse.
Preheat to the Right Level
High heat is essential for a good sear, but don’t blast the burners or dump a chimney full of scorching coals and throw the chicken on immediately. Give your grill 10–15 minutes to get uniformly hot, then adjust if using indirect heat. Putting chicken on a partially hot or cold grill will still lead to uneven browning and sticking.
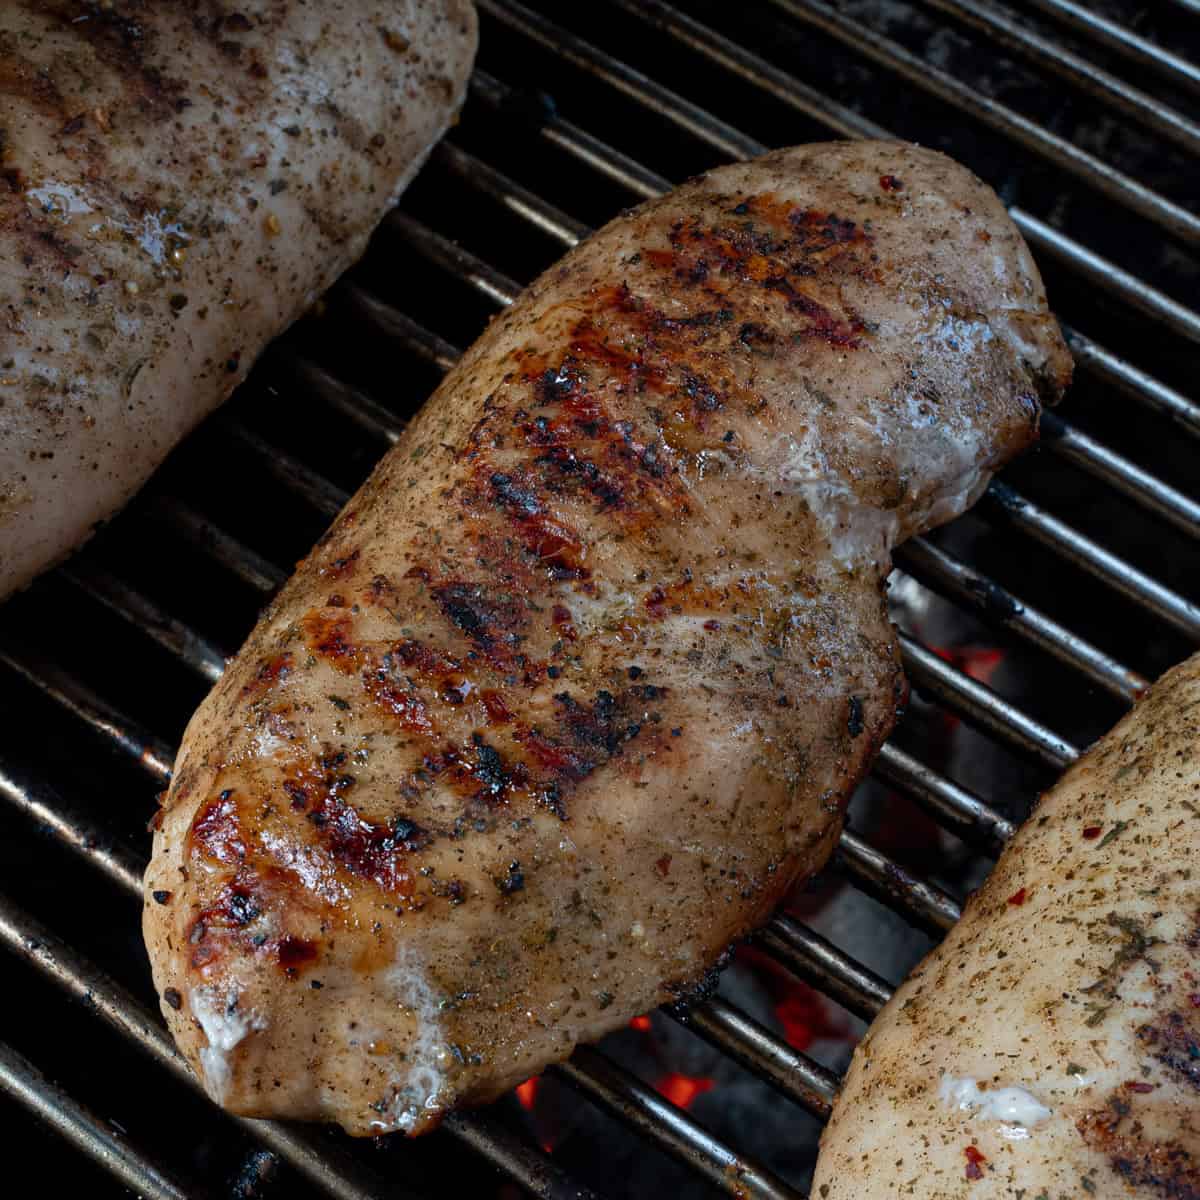
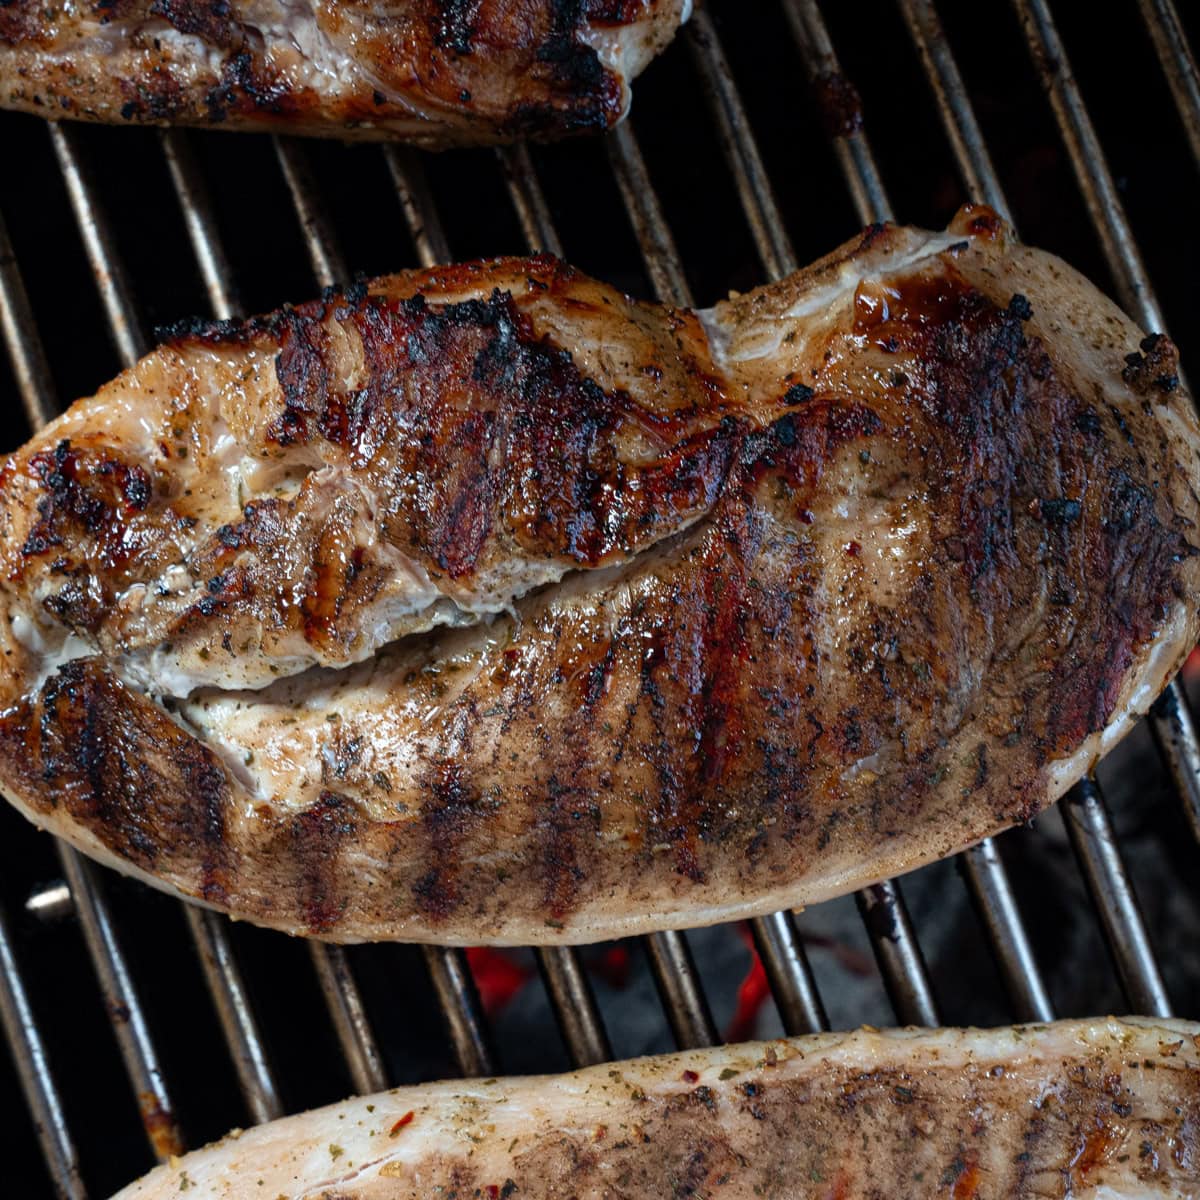
Don’t Move the Chicken Too Soon
It's easy to get impatient - I've been guilty of this on several occasions - but letting the chicken develop a crust is one of the best ways to ensure it’ll release easily. If you try lifting it too early, the protein on the grill surface hasn’t had time to form that non-stick boundary. Typically, you want about 4–5 minutes (or until you see clear grill marks) on the first side before flipping. Use a pair of tongs to test if it’s ready to lift gently.
Watch Your Marinades
Sugary marinades or barbecue sauces can caramelize fast, especially at high temperatures, leading to sticky spots. If you use a marinade heavy in sugar (like a honey glaze or sweet BBQ sauce), do it at the end of cooking chicken. This way, you reduce the chance of burnt sugar clinging to the grate and gluing the meat down. Just ensure you clean it well while the grill is still hot—it will make your life much easier the next time you use it.
Learn to Manage Two-Zone Cooking
Even if your marinade isn’t especially sweet, understanding the difference between direct and indirect heat can work wonders for preventing sticking. In direct cooking, the chicken is placed directly over the flame or coals for an intense sear, while in indirect cooking, the meat sits off to the side, letting heat circulate around it more gently. Sear the chicken briefly on direct heat to develop color, then move it to indirect heat to finish cooking. This two-step approach reduces the risk of burnt edges or buildup on the grates, ensuring a cleaner release when it’s time to flip or remove the chicken.
If two-zone cooking isn’t an option (for instance, if your grill is too small or doesn’t allow for variable heat placement like on a pellet grill), your best practice is to lower your heat setting or adjust the distance between the grates and fire source once you’ve achieved that initial sear. By reducing the intensity of the direct heat, you avoid scorching the chicken while still allowing it to cook through without sticking.
My Equipment Non-Negotiables
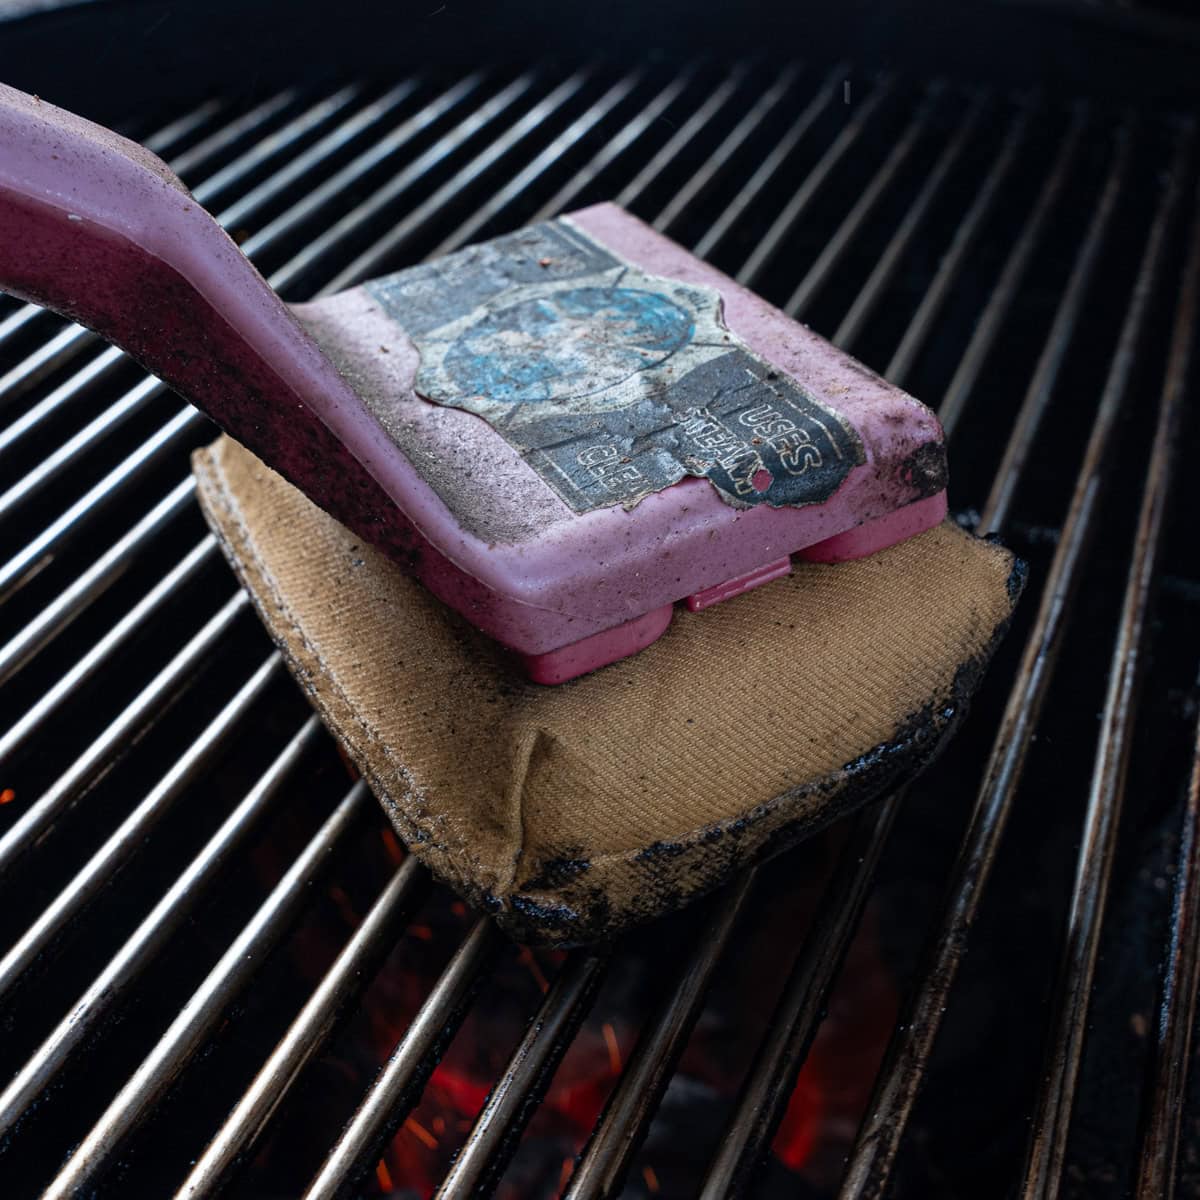
Wire Brush/Grill Brush
This is essential for scraping off leftover debris, ensuring a smooth cooking surface for your next session. I find it beneficial to have two—one traditional version to get the majority of debris off and another brush that can get in more precise areas to really clean the grates well (especially if your grill has unorthodox grates). I'll link my favorites here.
Cooking Oil with High Smoke Point
I prefer canola oil, avocado oil, grapeseed oil, or a dedicated grill spray (such as PAM products). Some folks prefer dipping a wad of paper towel in oil and using tongs to wipe the surface.
Instant Read Thermometer
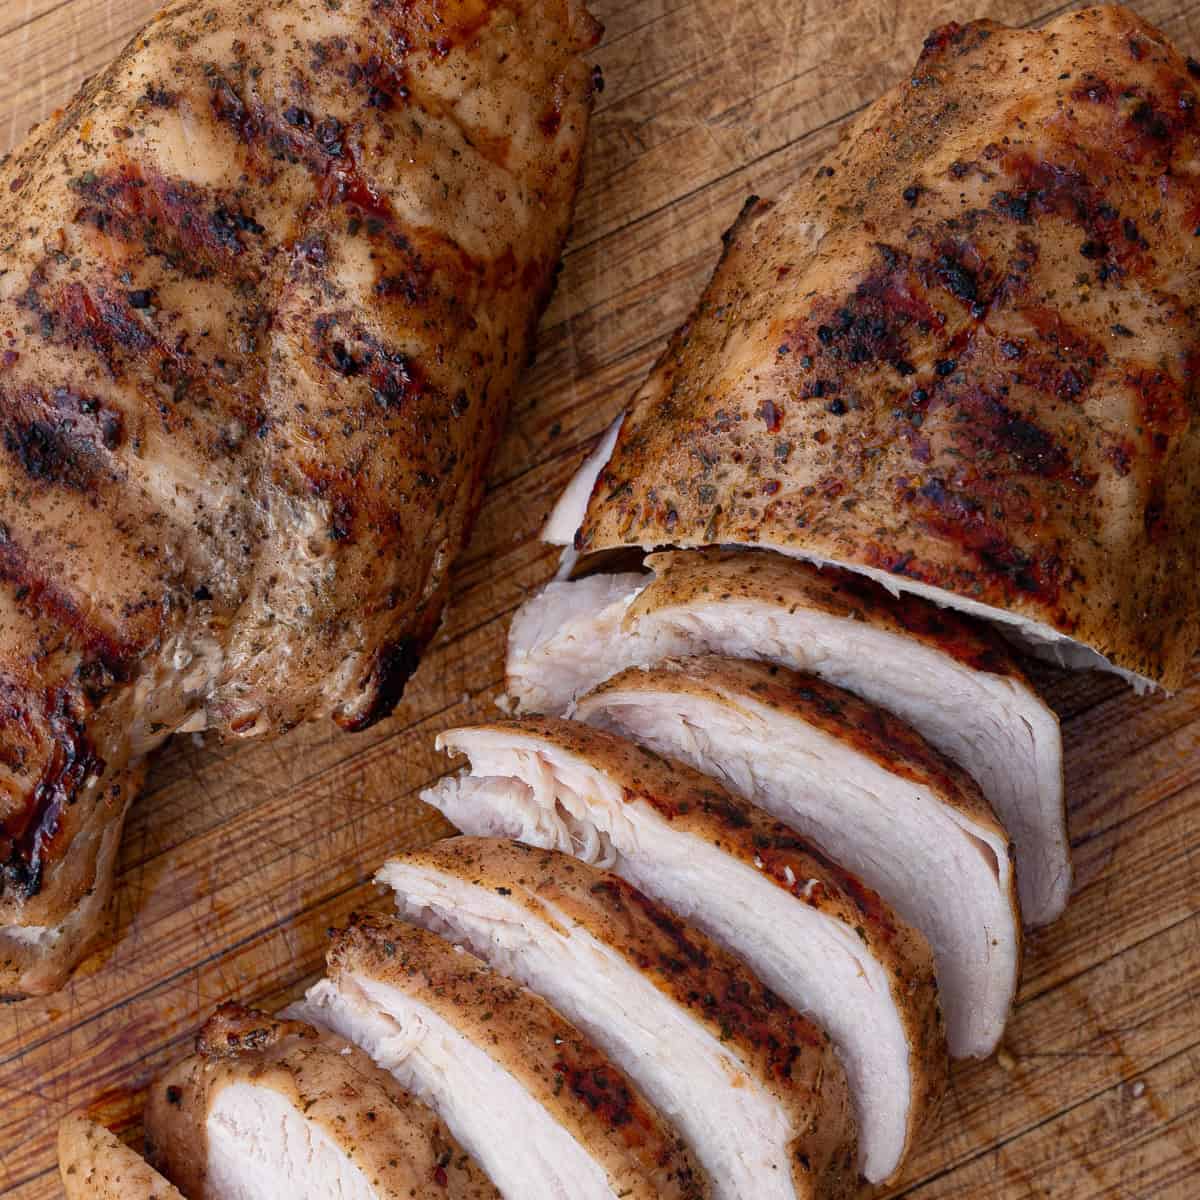
Checking internal temperature is crucial. Chicken is generally done at 165°F. If you overshoot, you risk dryness (though that doesn’t necessarily cause sticking, it reduces overall quality).
Pair of Tongs
You need a secure grip to flip the chicken without tearing the skin. Tongs that are too short or flimsy can cause you to fumble and inadvertently yank meat off the grill. Plus, longer tongs make dealing with the meat much more manageable when managing chicken over a hot cooking surface.
Mastering How to Keep Chicken from Sticking to the Grill
How to keep chicken from sticking to the grill boils down to a handful of key habits. First, ensure you’re working on hot grill grates that have been thoroughly cleaned and lightly oiled. Second, choose a high-smoke-point cooking oil or spray so it doesn’t burn off too quickly. Third, let your chicken remain undisturbed long enough to form that sear before flipping. Finally, keep an eye on any sugary marinades or barbecue sauce you plan to use— it’s best to brush them on toward the end to avoid the sauces from burning.
If you practice these grilling tips and integrate them into your routine, you’ll discover that delivering delicious, non-sticking chicken is easier than you thought! With each grill session, you’ll build confidence and develop your own nuances—maybe switching from canola to refined extra virgin olive oil or maybe exploring the technique of using indirect heat on a charcoal grill. Either way, you’ll enjoy a far more enjoyable cooking session, free from the hassle of torn chicken or blackened marinade residue.
The next time you cook, you can focus on refining flavors and exploring new rubs instead of stressing over whether your food will become one with the grates. Good luck, and happy grilling!
Related
Looking for other recipes like this? Try these:

Leave a Reply