
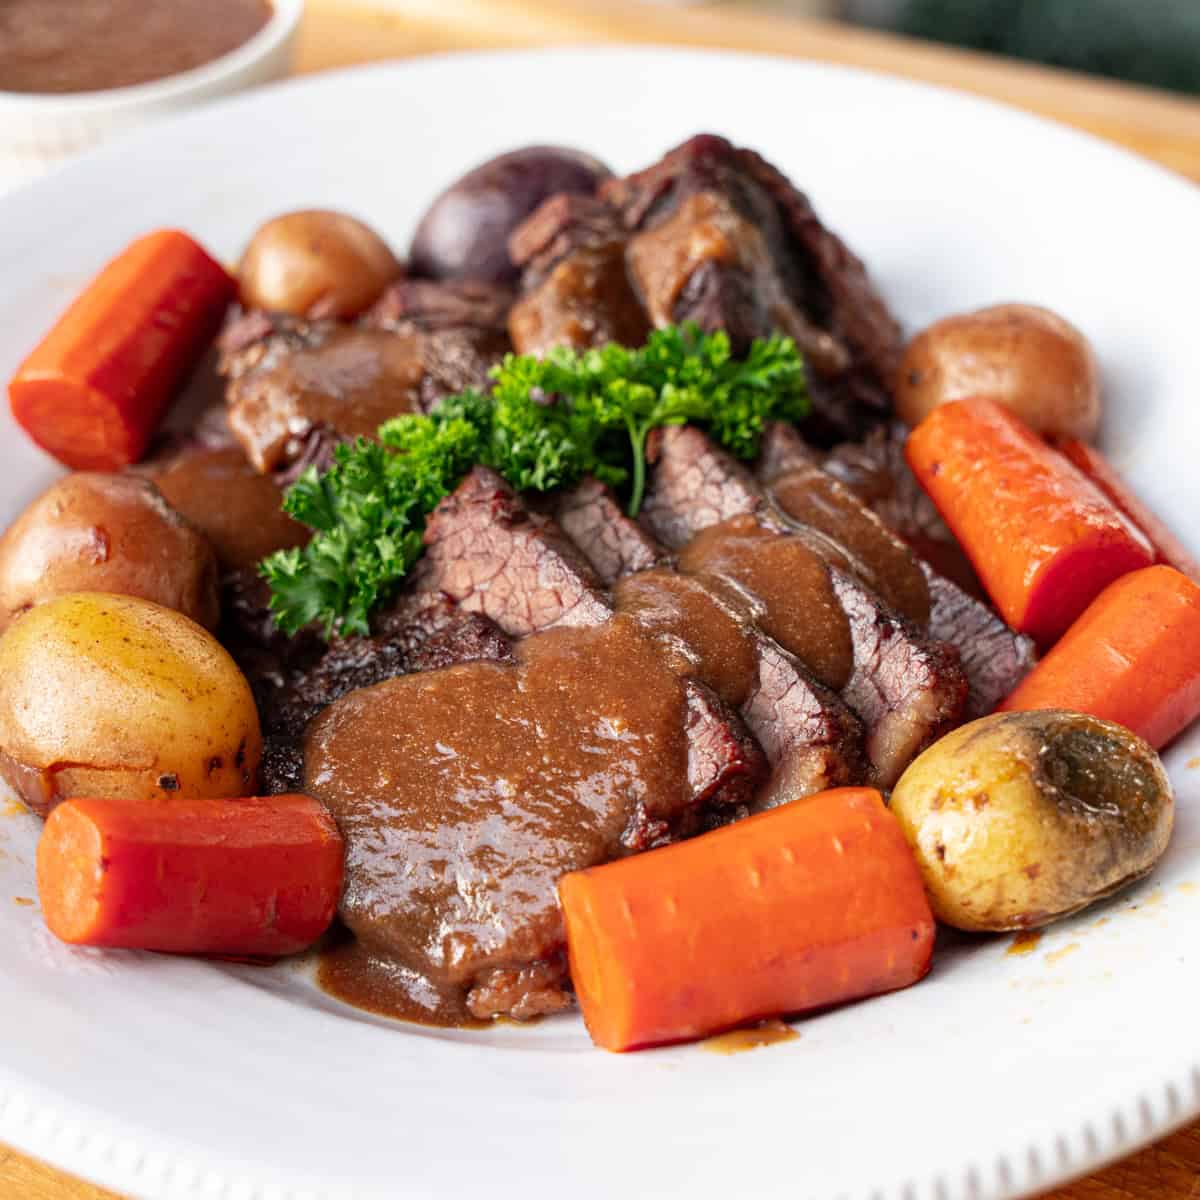
A smoked bottom round roast isn’t usually the first cut people think of when they’re planning a pot roast—and there’s a reason for that. Bottom round is significantly leaner than its close cousin, chuck roast, and if it’s cooked incorrectly, it can dry out fast. It also isn’t naturally fall-apart tender. That said, it’s typically much more affordable, and when treated like a pot roast rather than a steak, bottom round becomes a dependable, flavorful option that holds up well to smoke and longer cook times while still turning out plenty tender when done right.
One of my goals for 2026 was to save more money and focus more of my content around budget-friendly cuts. When I found bottom round for under $7 per pound at the store (for me, it was Lidl, which had it on sale), I decided to take it on as a challenge—and I’m glad I did. With the proper approach, this cut can deliver excellent flavor and texture without the higher price tag.
This bottom round roast recipe combines dry brining, searing, smoking, and braising to turn a tough cut of bottom round beef into a tender, sliceable roast perfect for Sunday dinner. Instead of chasing medium-rare, the roast is cooked to a higher internal temperature in a controlled, moist environment, allowing the connective tissue to break down to gelatin—what ultimately gives you a tender result—without sacrificing moisture.
If you’ve ever wondered whether you are able to effectively use a bottom round roast for pot roast on the smoker, the answer is yes. You have to approach it the right way, and I’ll walk you through exactly how to do that in this post.
Jump to:
Understanding Bottom Round Roast
Bottom round comes from the rear leg of a cow, making it a heavily worked muscle, similar to brisket. This gives it good beef flavor, like brisket, but very little internal fat, making it leaner like sirloin. Because of that, it behaves differently from chuck roast or brisket in a smoker, needing a combination of techniques to bring out its best qualities.
This cut does not benefit from a long, dry smoke on its own — believe me, I’ve tried before, and it did not go well. Instead, it performs best when dry-brined, and then the smoke is combined with braising. Dry brining not only flavors the meat from within but also tenderizes it with salt. Smoking and braising the meat allows it to cook steadily to a higher internal temperature without drying out. The smoke adds a light smoke flavor, while the liquid environment keeps the meat juicy and tender. The result leaves you with a tender cut of meat, but it is best served sliced.
Note: I use a pellet smoker to add smoky flavor (I cook mine on a pellet grill; I’ll list it here for those curious). That said, it is not required — just a minor enhancement I prefer. Use the cooking method most convenient to you.
Ingredients
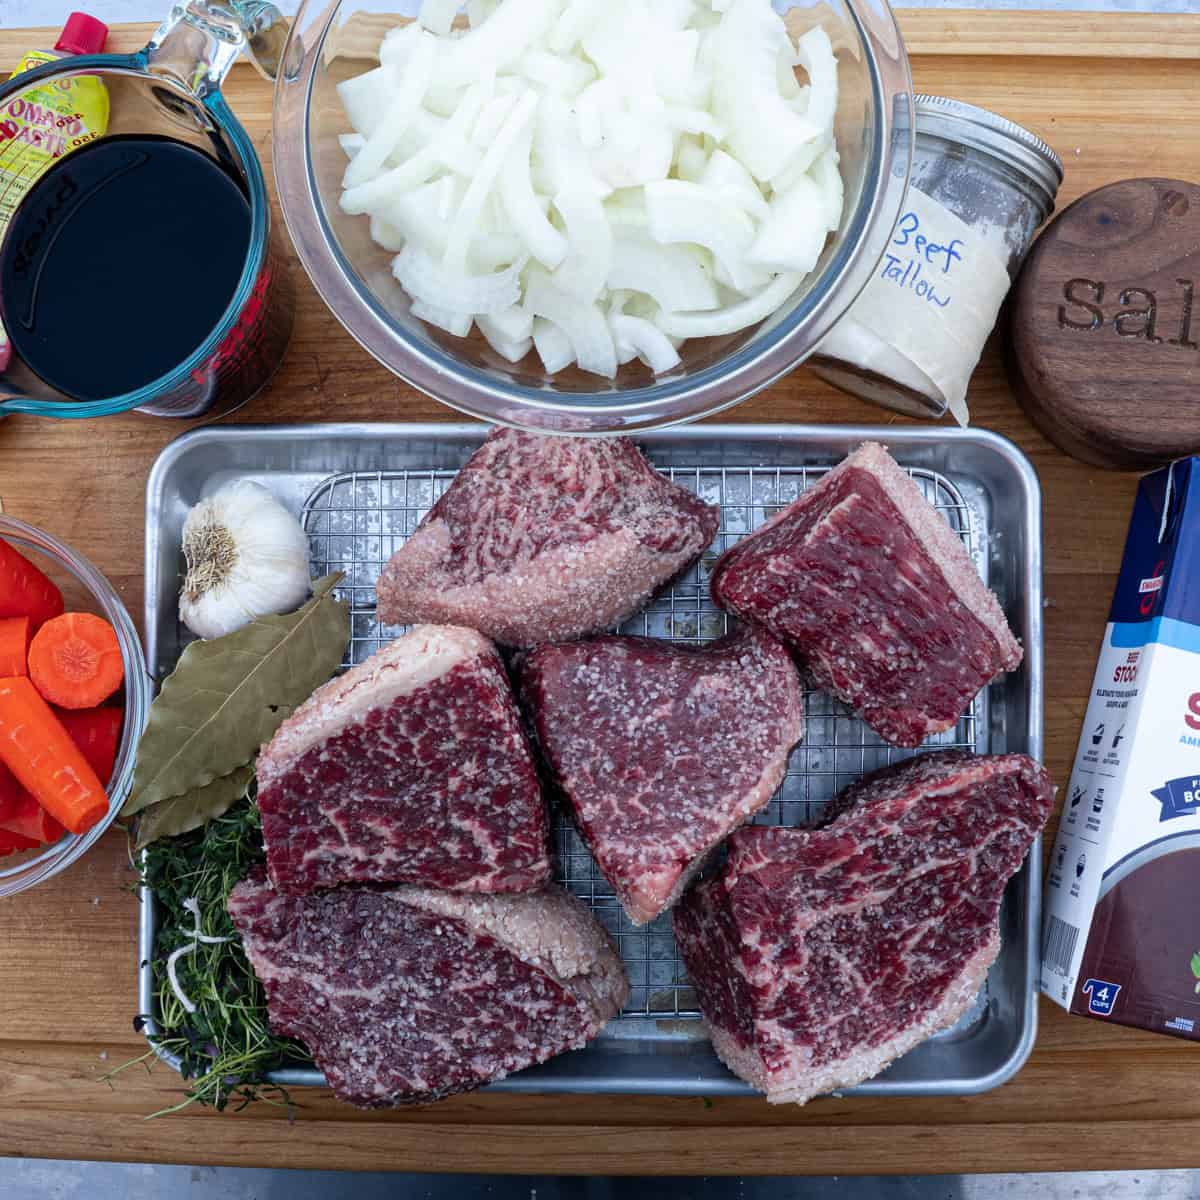
For the Pot Roast
- bottom round roast
- Kosher salt
- Black pepper
- Beef tallow
- Sweet onions
- Garlic
- Tomato paste
- Red wine
- Beef stock
- Worcestershire sauce
- Fresh thyme
- Bay leaves
- Carrots
- Baby potatoes
For the Gravy
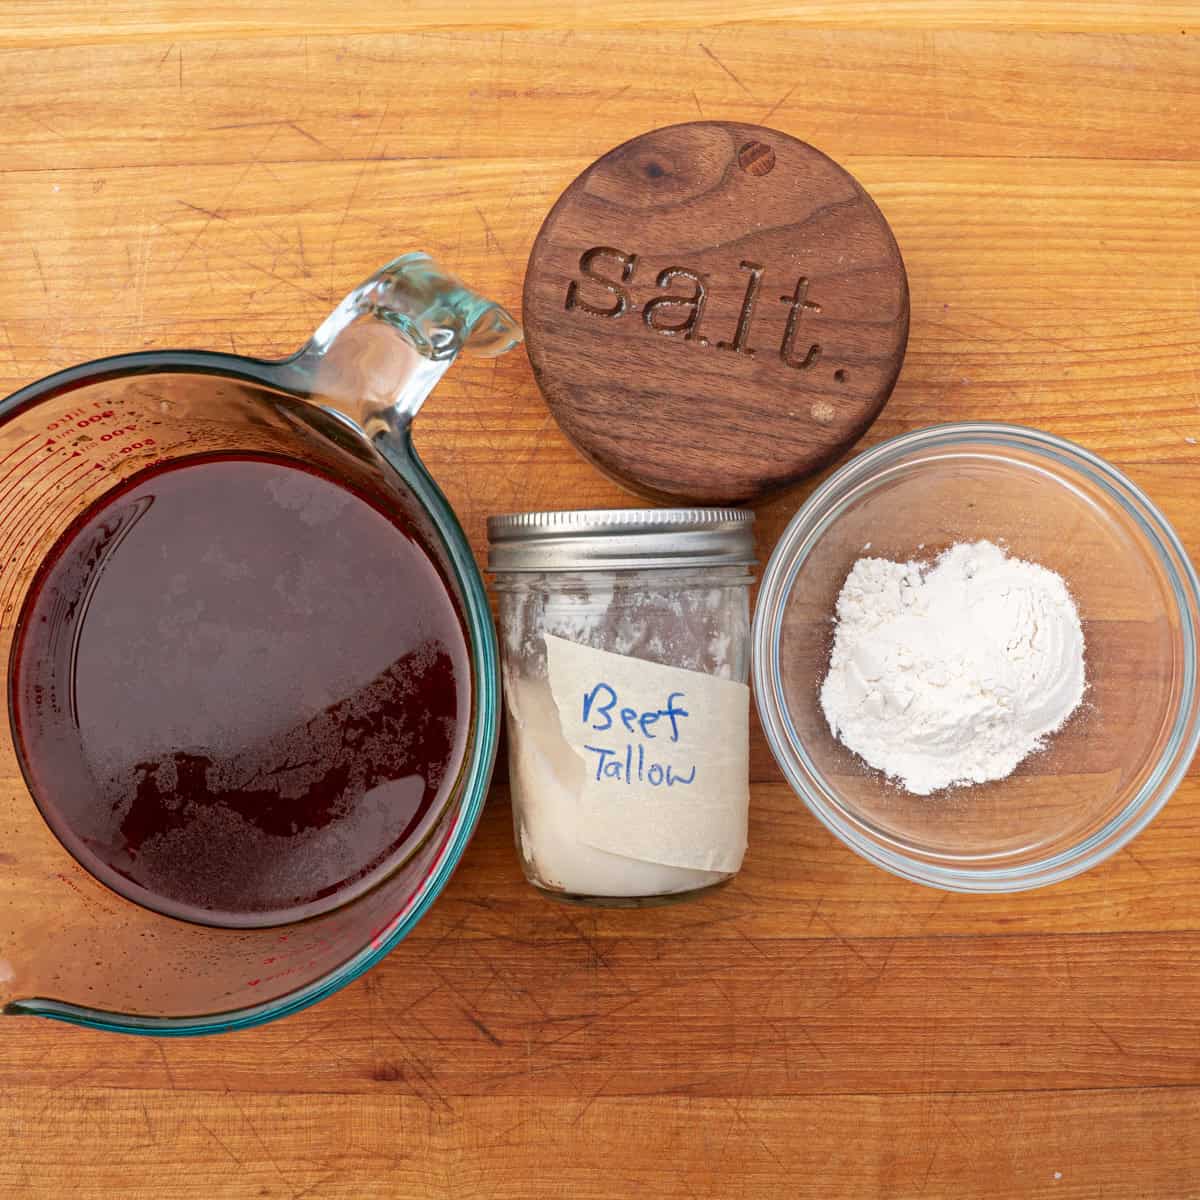
- Beef tallow
- Flour
- Reserved braising liquid from the pot roast
How to Smoke Bottom Round Roast (Pot Roast Method)
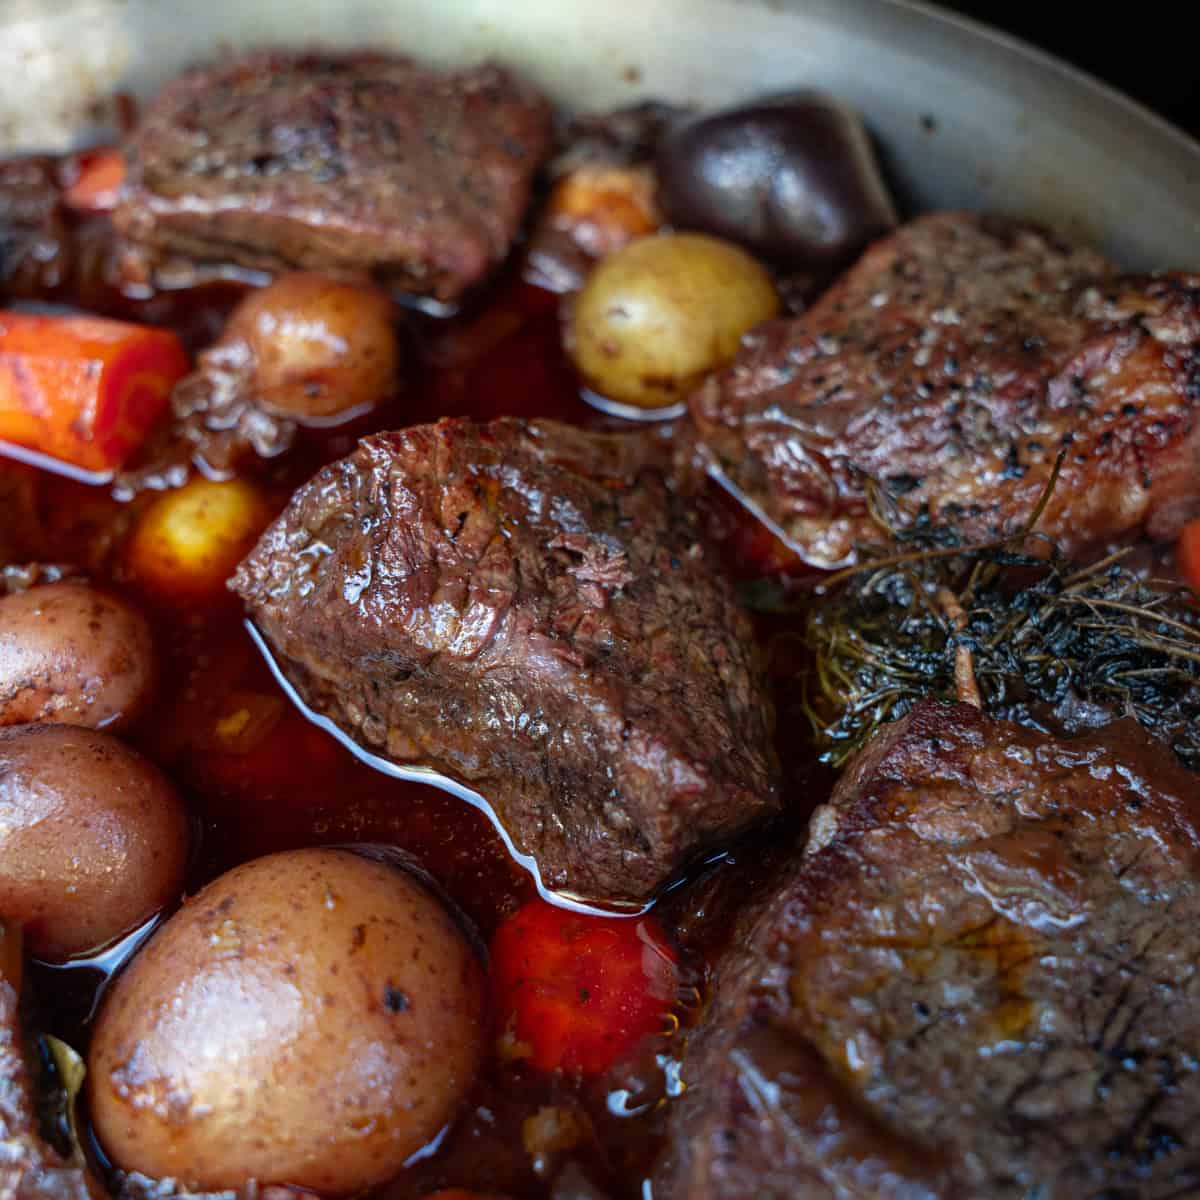
By the end of this guide, you'll confidently know how to smoke a bottom round pot roast, what the best temperature is, and how long you should expect the process to take.
Step 1: Dry Brine the Beef
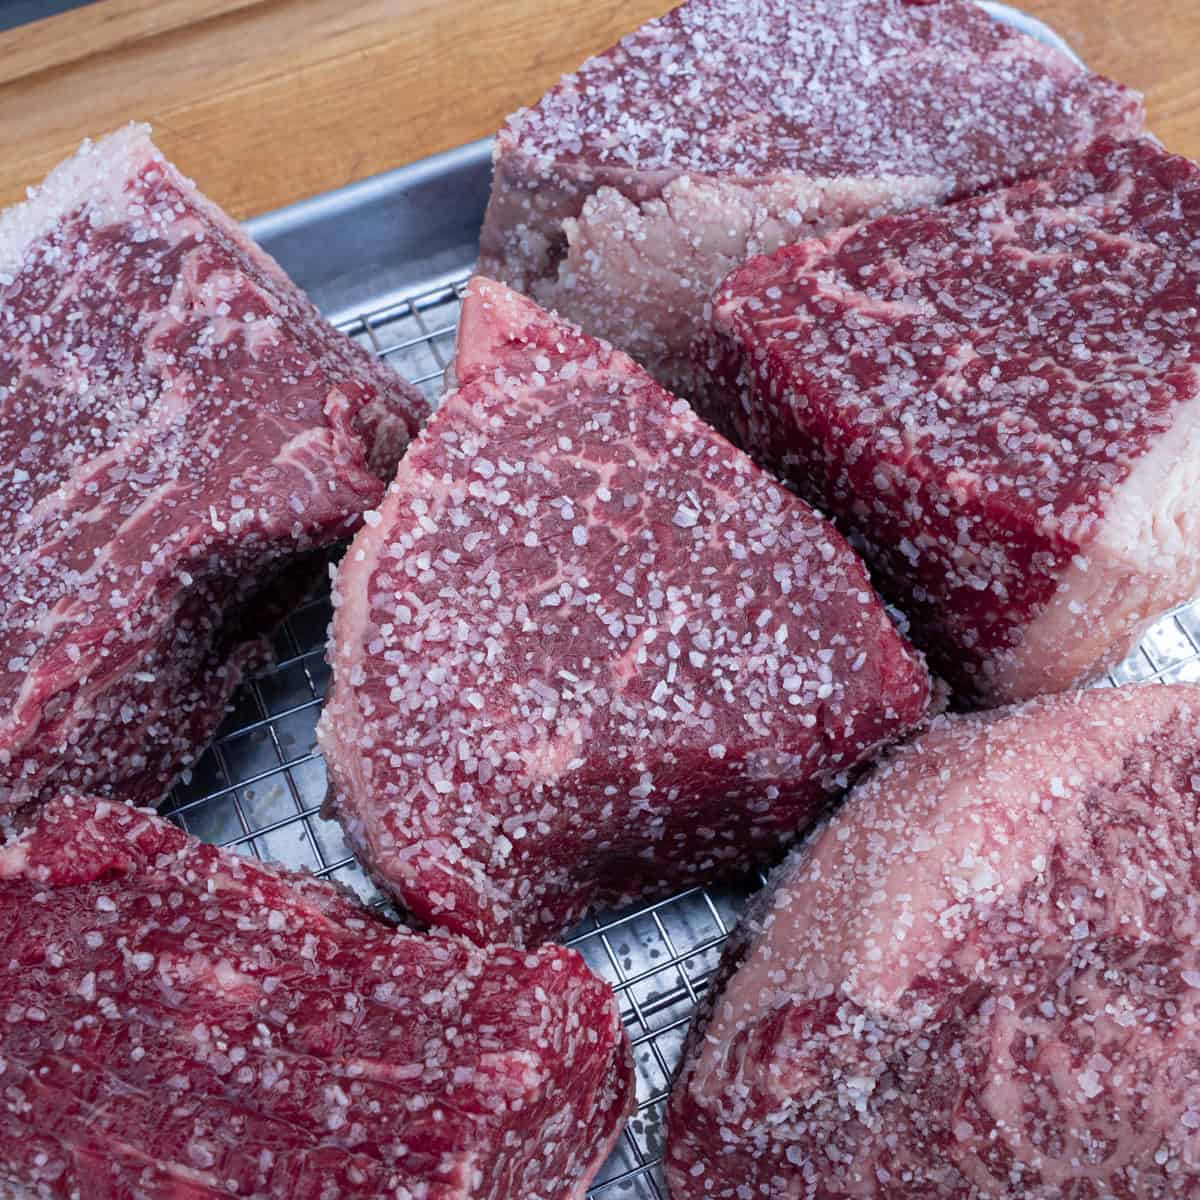
This is the step that I find most people either don’t do or forget about doing, but it makes a big difference. Dry brining is simply seasoning a cut of meat with salt ahead of time, which tenderizes it and adds flavor. For a bottom round roast, there are two ways to go about it: dry-brining the entire roast or cutting it into quarters and dry-brining each quarter. To properly dry-brine a 4-5 pound bottom round roast, you really need to do so for at least 12 hours, up to overnight. However, most people, including myself, don’t always have the time to make that happen. So, I like to quarter the bottom round roast into smaller segments, which expedites the dry brining process because there’s less surface area and meat to penetrate. Simply 1-4 hours if plenty is going this route.
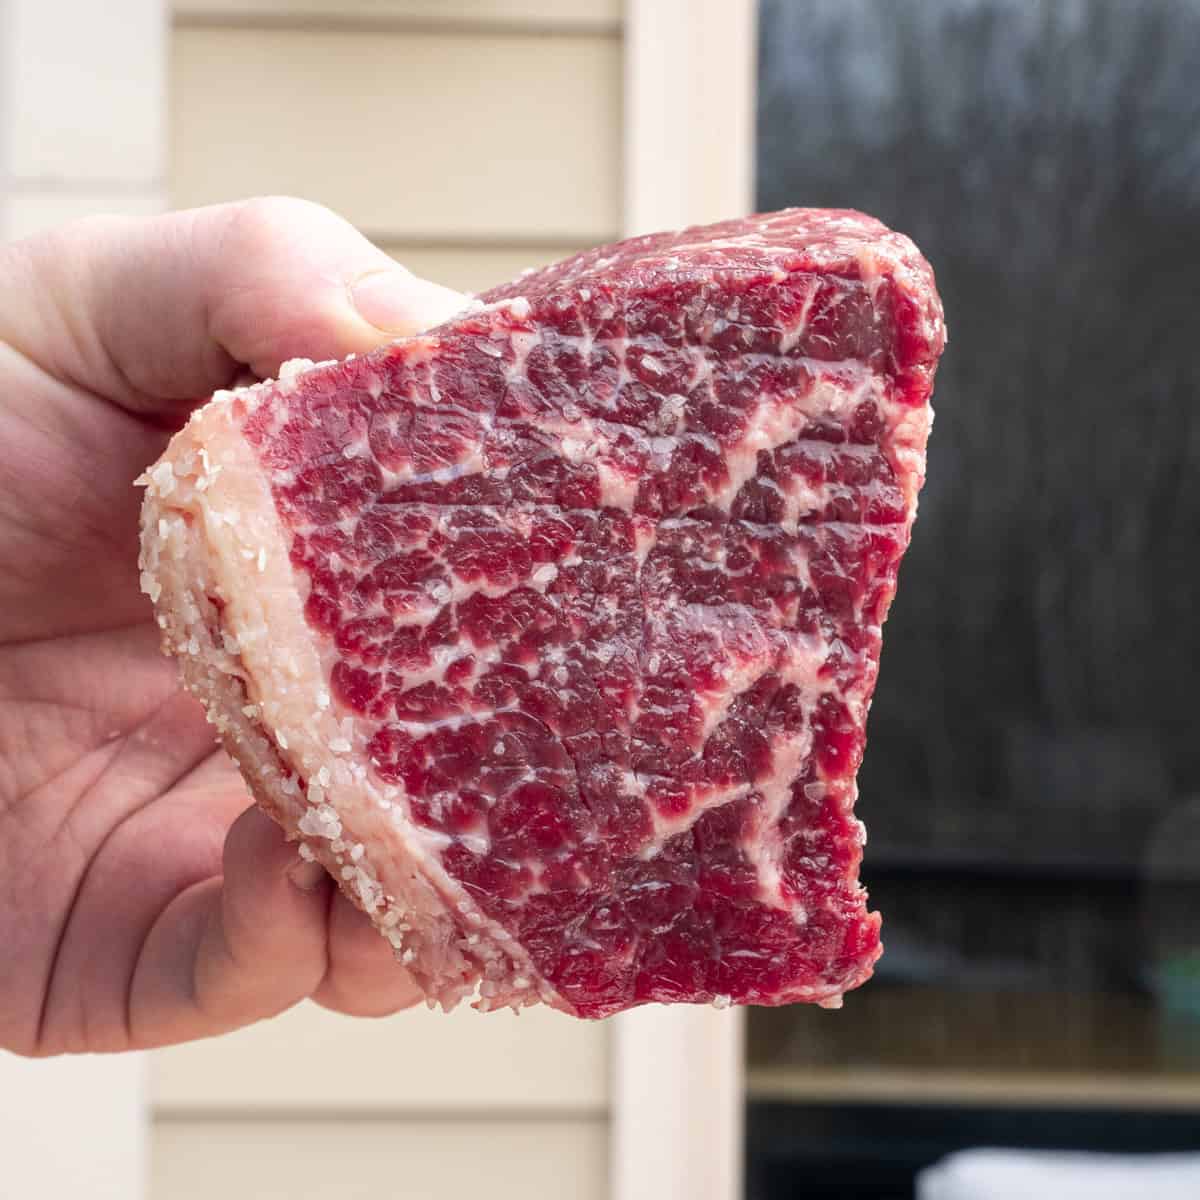
Either way you choose, this is the process: Season the roast with kosher salt on all sides, making sure of even coverage. Technically, you can use any salt to do this, but fine kosher salt works the best because it dissolves the fastest. Unfortunately, all I had on hand was the coarse variety, which works too; it just takes longer to dissolve. Either way, refrigerate the meat for the recommended time period I outlined, depending on how you’ve kept it, to prepare it for the next step.
Step 2: Sear the Roast
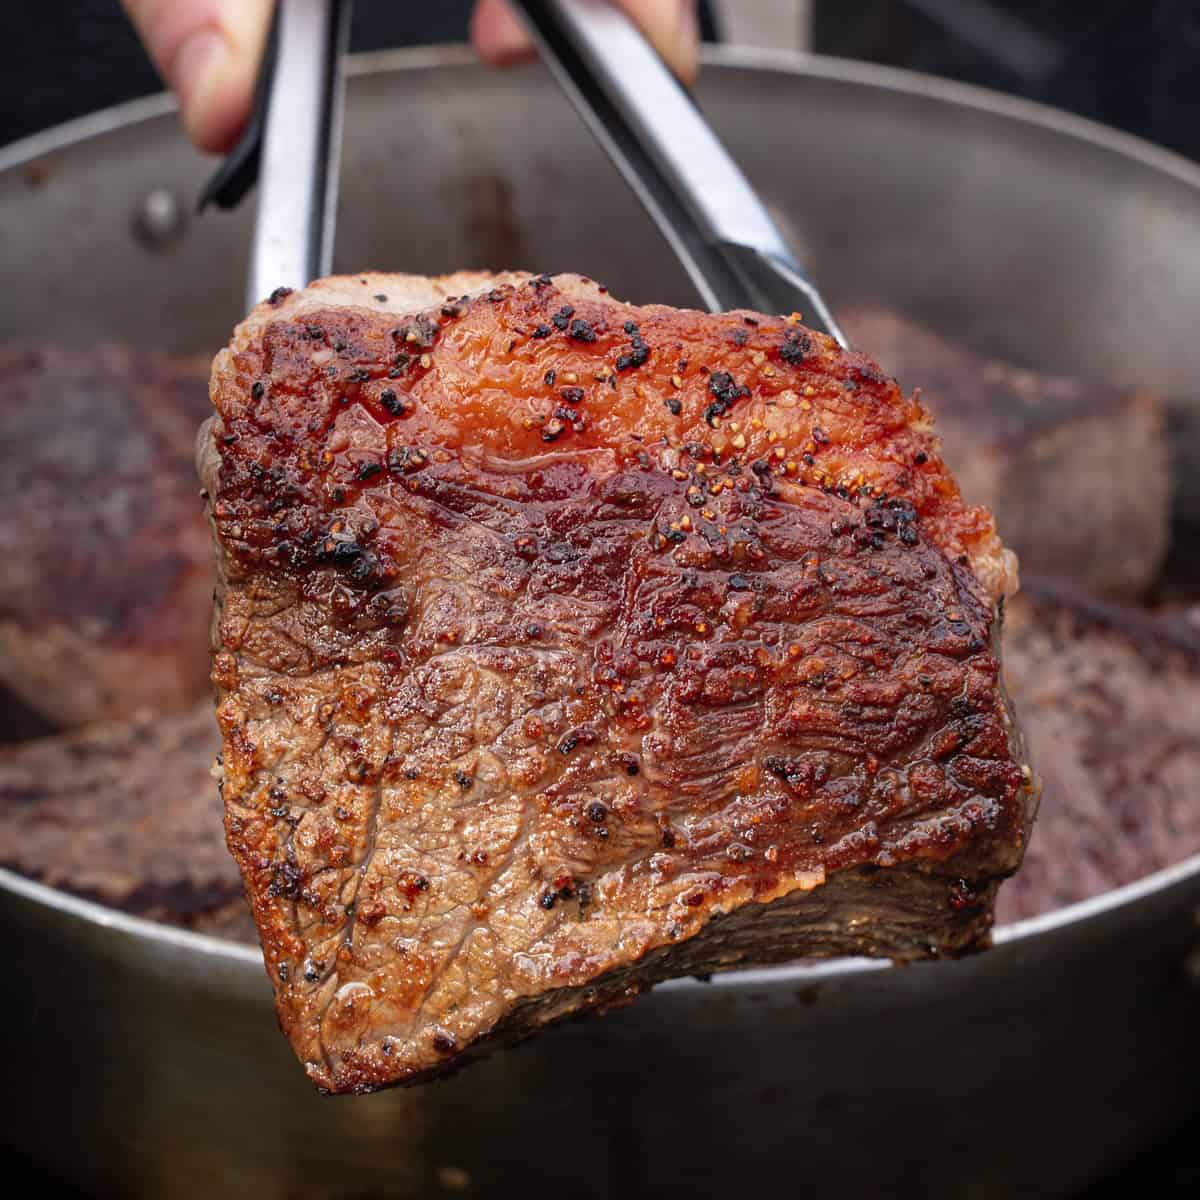
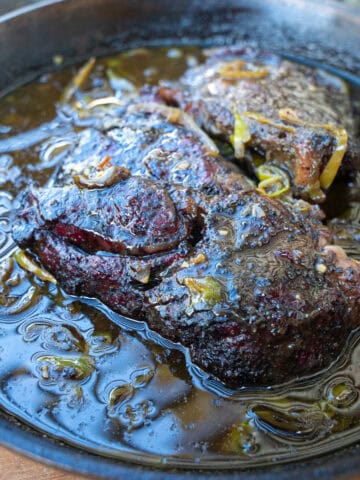
Remove the roast from the refrigerator and sear it thoroughly on all sides in melted beef tallow until deeply browned. As you see, pay attention to both visual and aromatic cues. The meat's surface should change from red to a rich brown, and its aroma should shift from raw beef to a more savory scent. If you smell anything burning, the heat is too high, or the pan has been left unattended (it’s also important not to use any sugary rubs, as this will happen much faster at lower temperatures before the beef can actually brown).
Like with most things in life, though, patience is vital here. Proper browning is essential for building flavor that carries through the entire cook. As moisture cooks off, you’ll often hear the sound change from a steady sizzle to a more aggressive crackle—an audible cue that the surface is properly searing rather than steaming.
Once the roast is well browned on all sides, remove it from the pan and set it aside.
Note: Make sure the pan is fully preheated before adding the beef. You should see light smoke rising from the skillet before the roast goes in. Starting with a hot pan is what allows true browning to occur and helps form a proper crust. Cooking at lower temperatures limits browning and results in less developed flavor. Here’s a quick guide to browning for those interested.
Step 3: Build the Braising Base
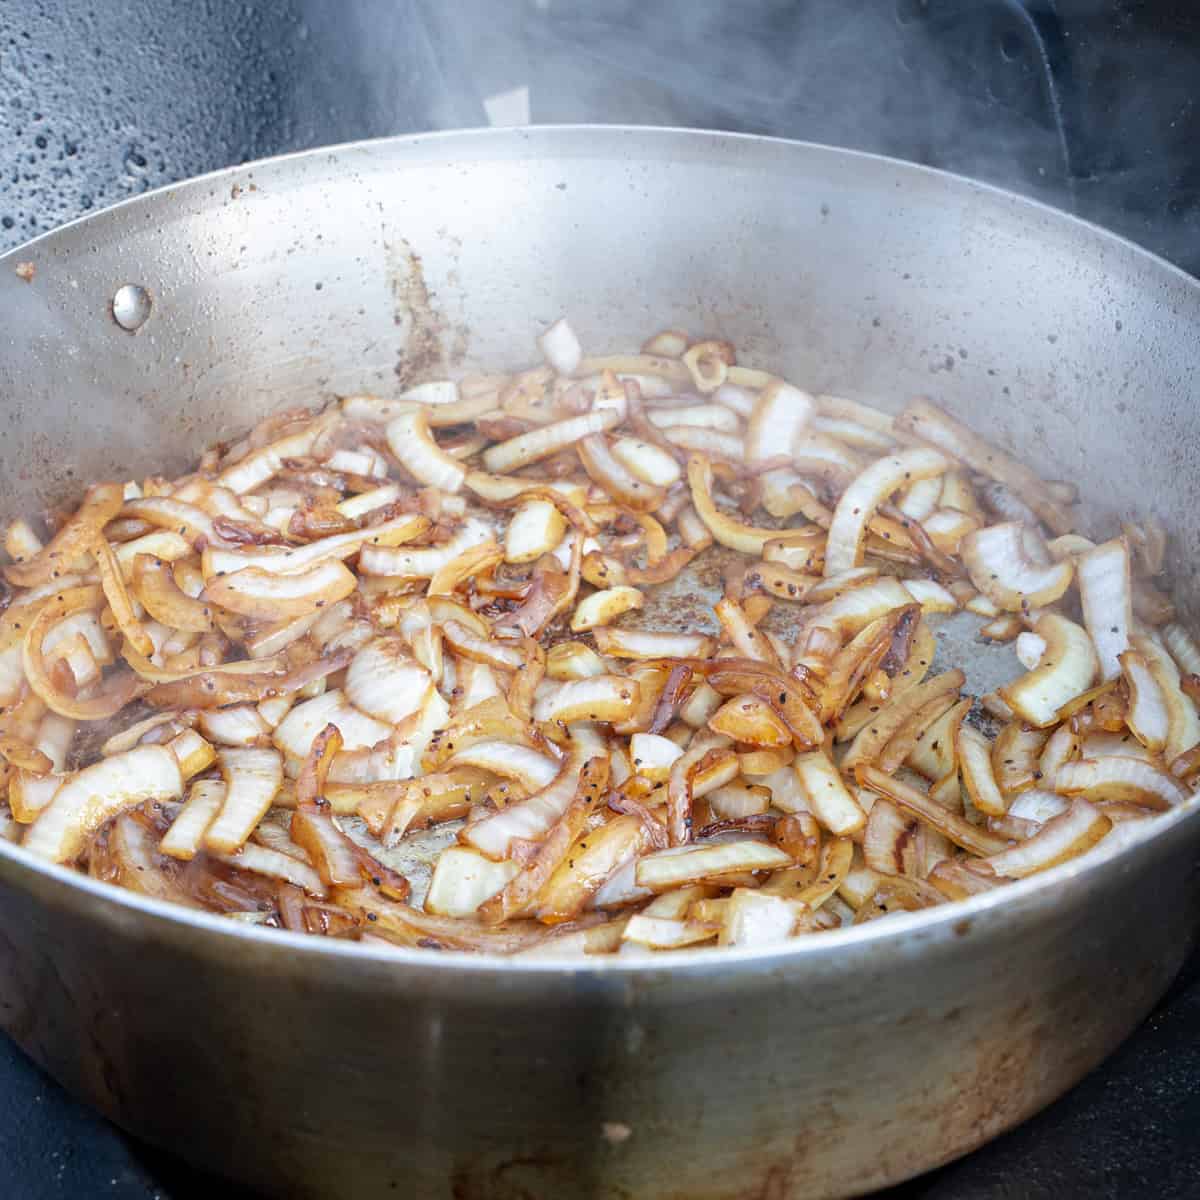
In the same pan, add the sliced onions and season lightly with salt. Cook until they soften and begin to take on color. Stir in 2 tablespoons of tomato paste until incorporated, then deglaze with red wine and reduce by roughly half.
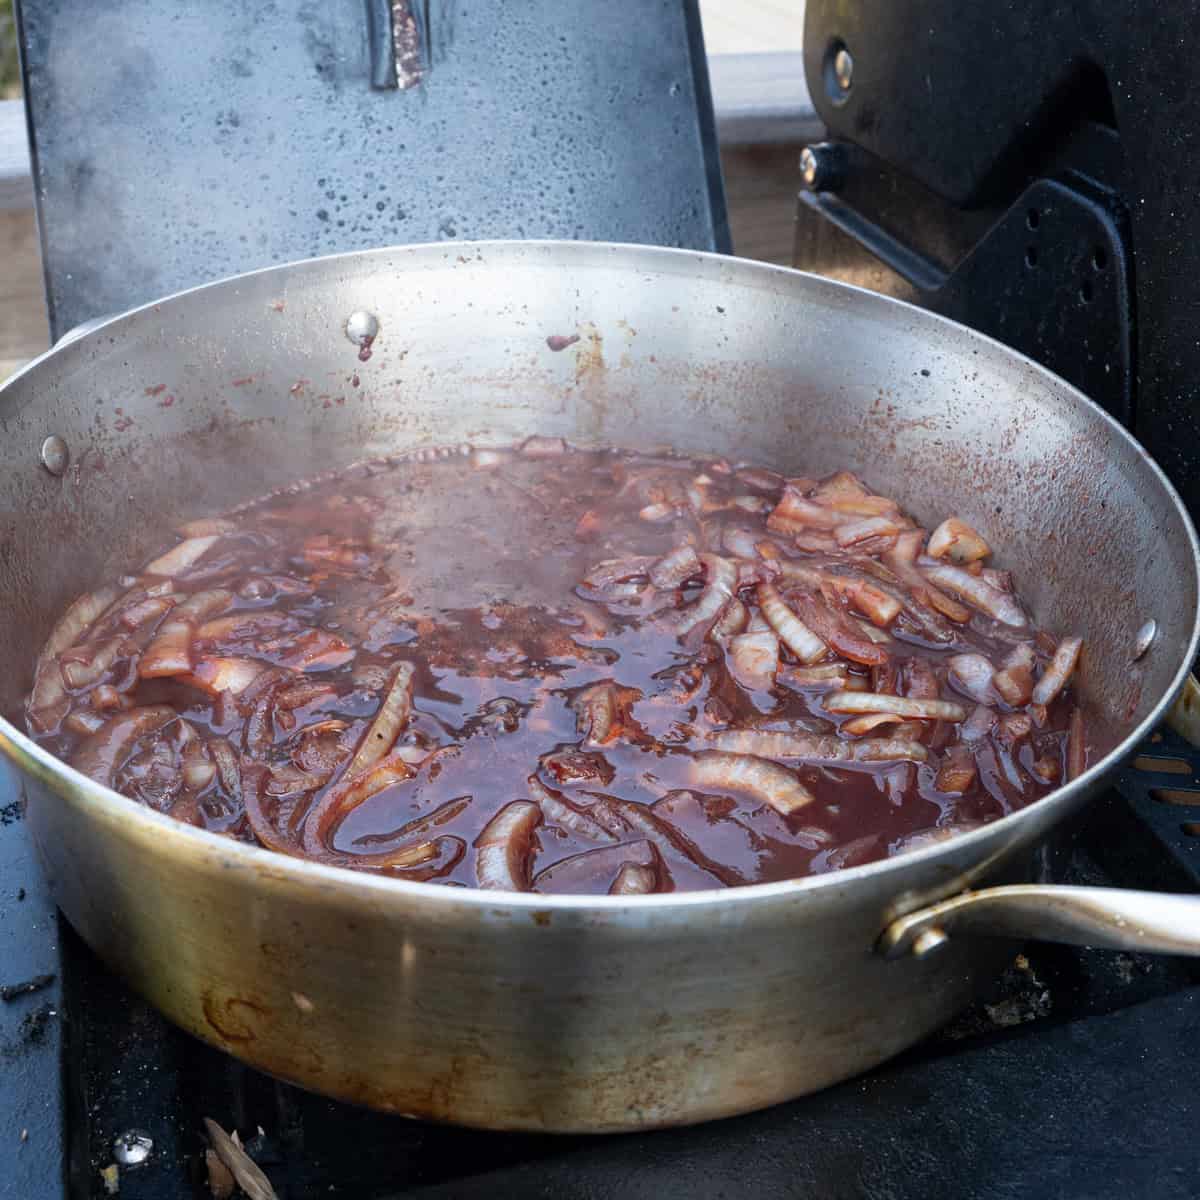
Return the roast to the pan. Add the head of garlic, Worcestershire sauce, thyme, bay leaves, and 3 to 4 cups of beef stock, or just enough to reach one-third to one-half up the side of the meat.
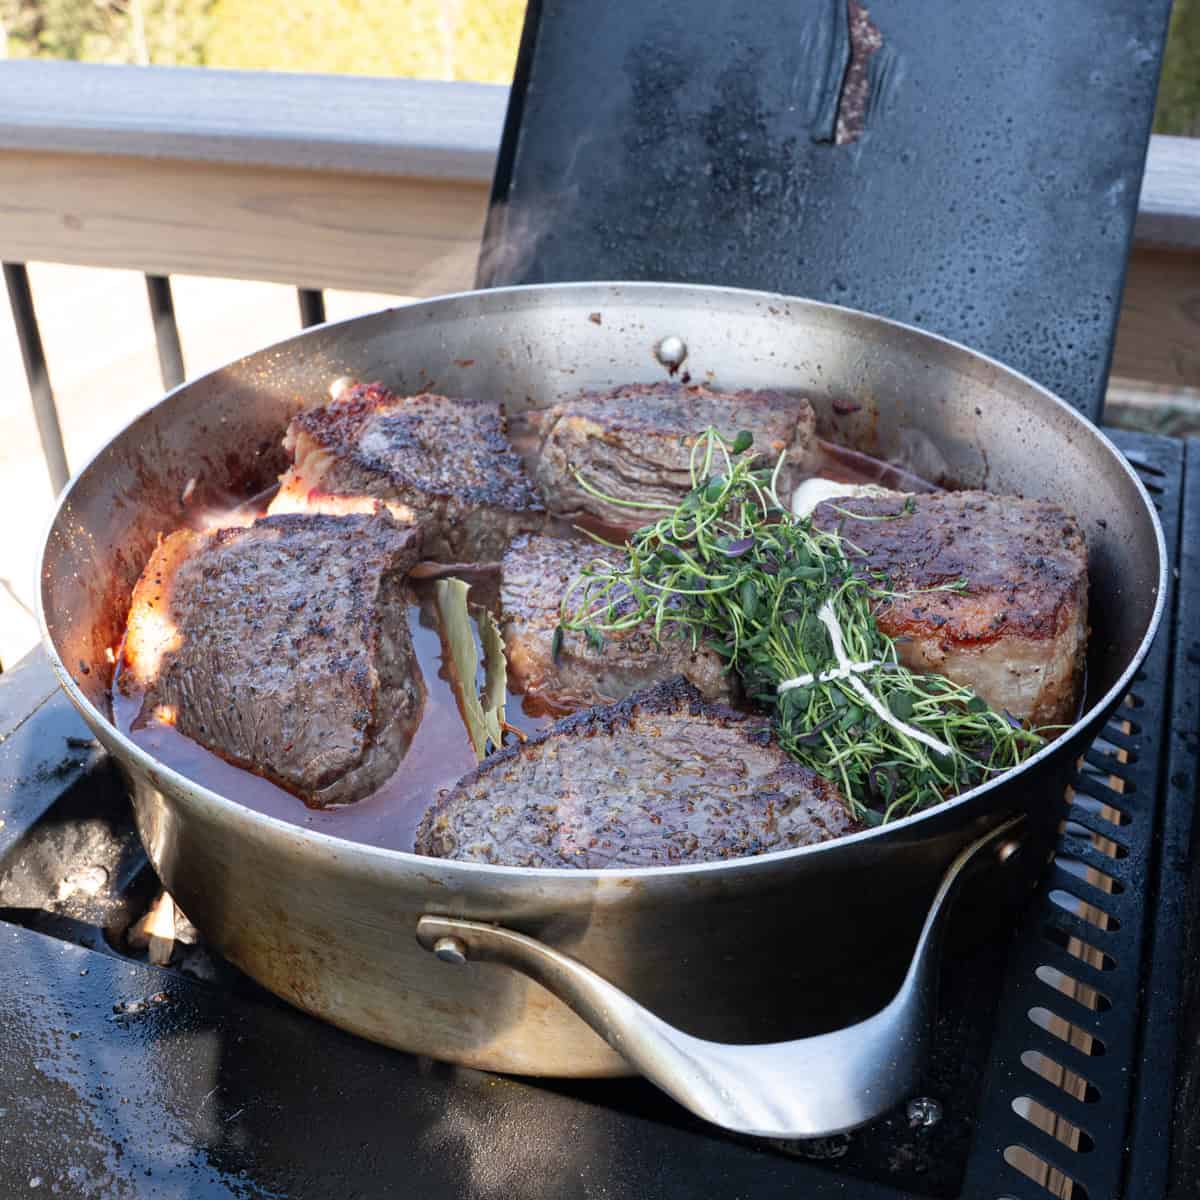
Step 4: Smoke and Braise
Partially cover the pan (¾ of the way) and place it in a smoker set between 250-275 degrees Fahrenheit. This temperature range allows the roast to braise gently, while slowly breaking down the muscle fibers. Keep this in mind, too: If a smoker is unavailable, a traditional oven set to the same temperature can be used as an alternative and does a great job.
After about 2 hours, add the carrots and potatoes, cover the pan fully, and return it to the smoker. By this time, the pot roast will have had plenty of time to take on smoke, and by adding the vegetables later, you ensure they retain some structure and don’t become mushy.
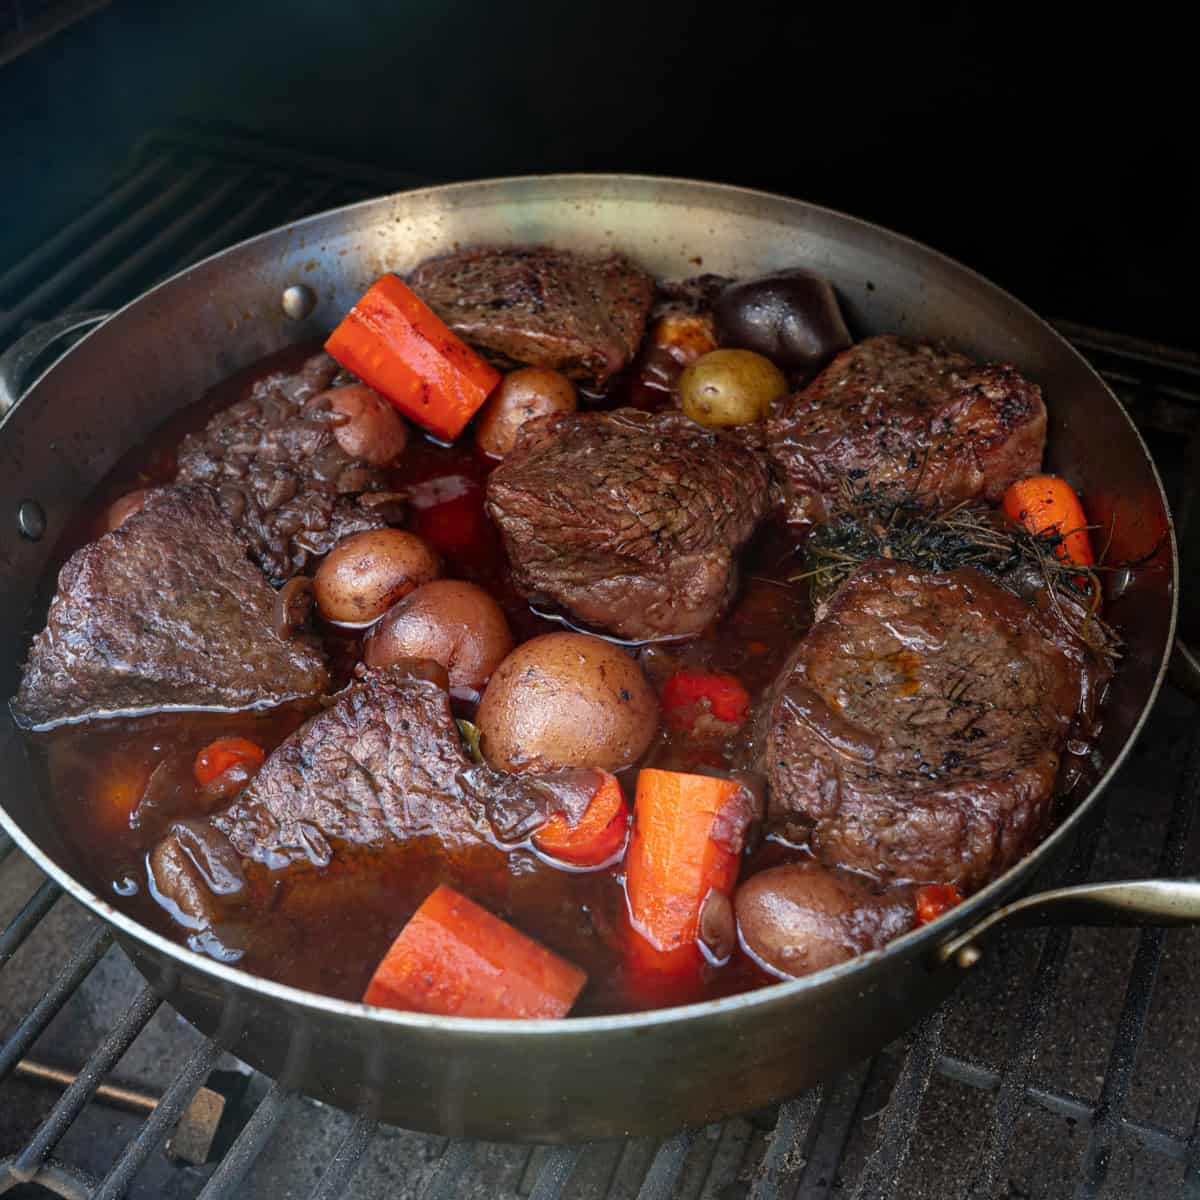
Step 5: Cook Until Tender
After ~3 hours, begin checking the internal temperature of the bottom round roast. Continue cooking until the roast reaches ~205°F and a probe slides in with little resistance (what we call probe tender). Total cook time is usually 3-5 hours, depending on roast size (and if you quartered it as I did). If the roast is still tough or feels dry as you approach the end of the cook time, extend the braising time by 30-minute intervals and consider adding more liquid to the pan to maintain moisture and tenderness. If the probe still meets resistance, give it more time — it’ll let you know when it's ready. Tenderness is more important than the exact number. Keep in mind, the bottom roast won’t fall apart — but that doesn’t mean it isn’t tender.
Step 6: Rest and Slice
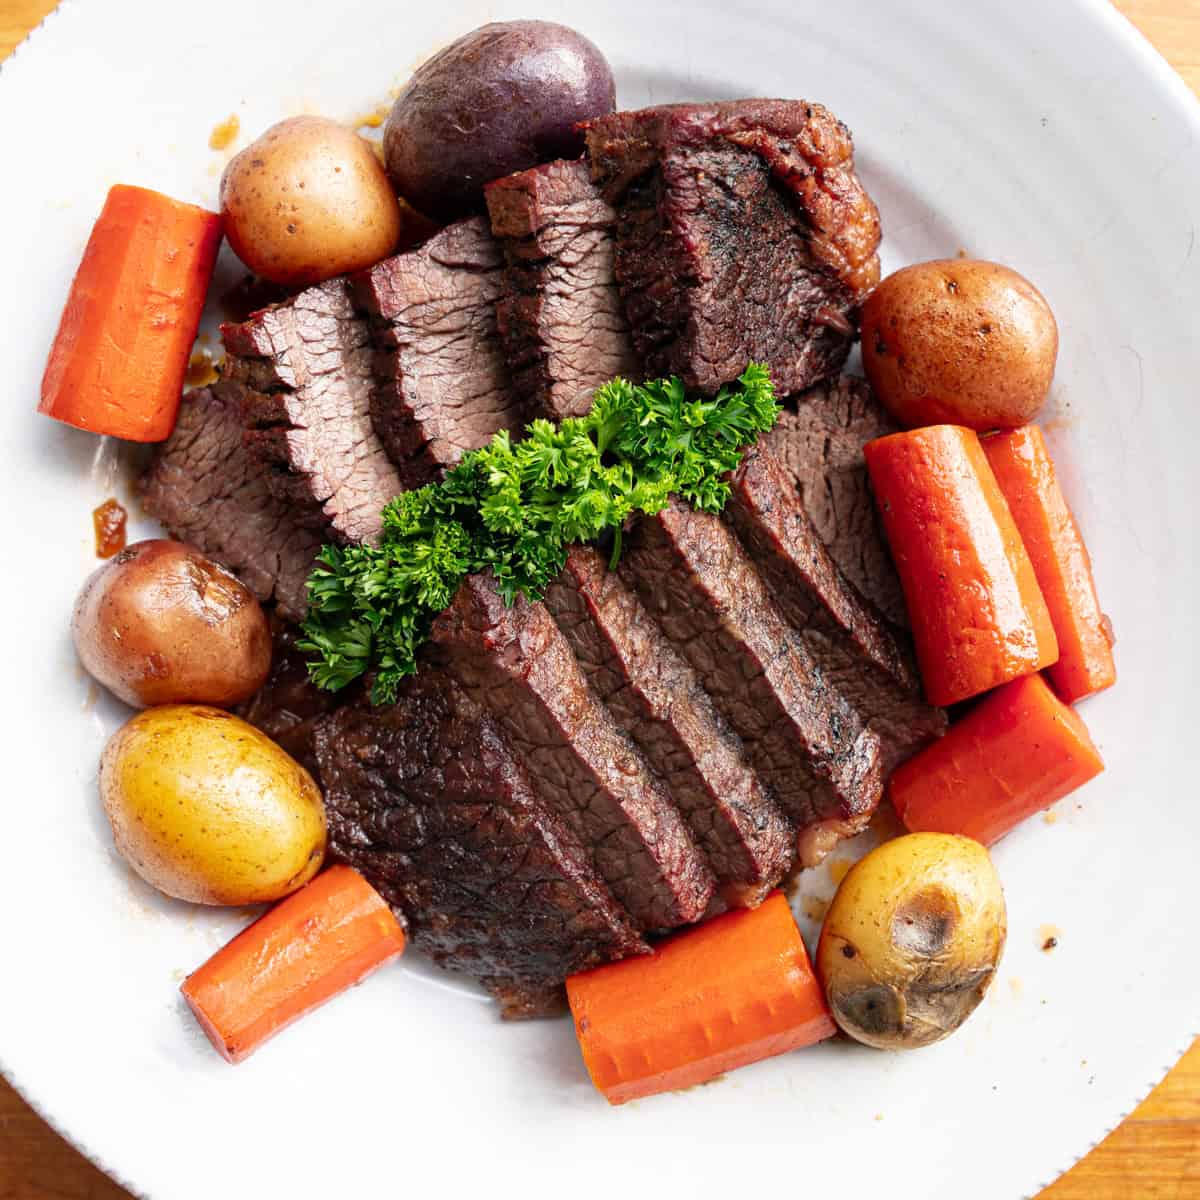
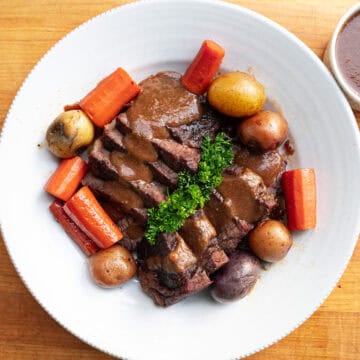
Remove the pan from the smoker and place the roast pieces on a cutting board. Let the roast rest briefly (at least 15 minutes), then slice across the grain — this will maximize its tenderness. Serve it with the potatoes and carrots and garnish with parsley (if desired). Enjoy!
Making the Gravy
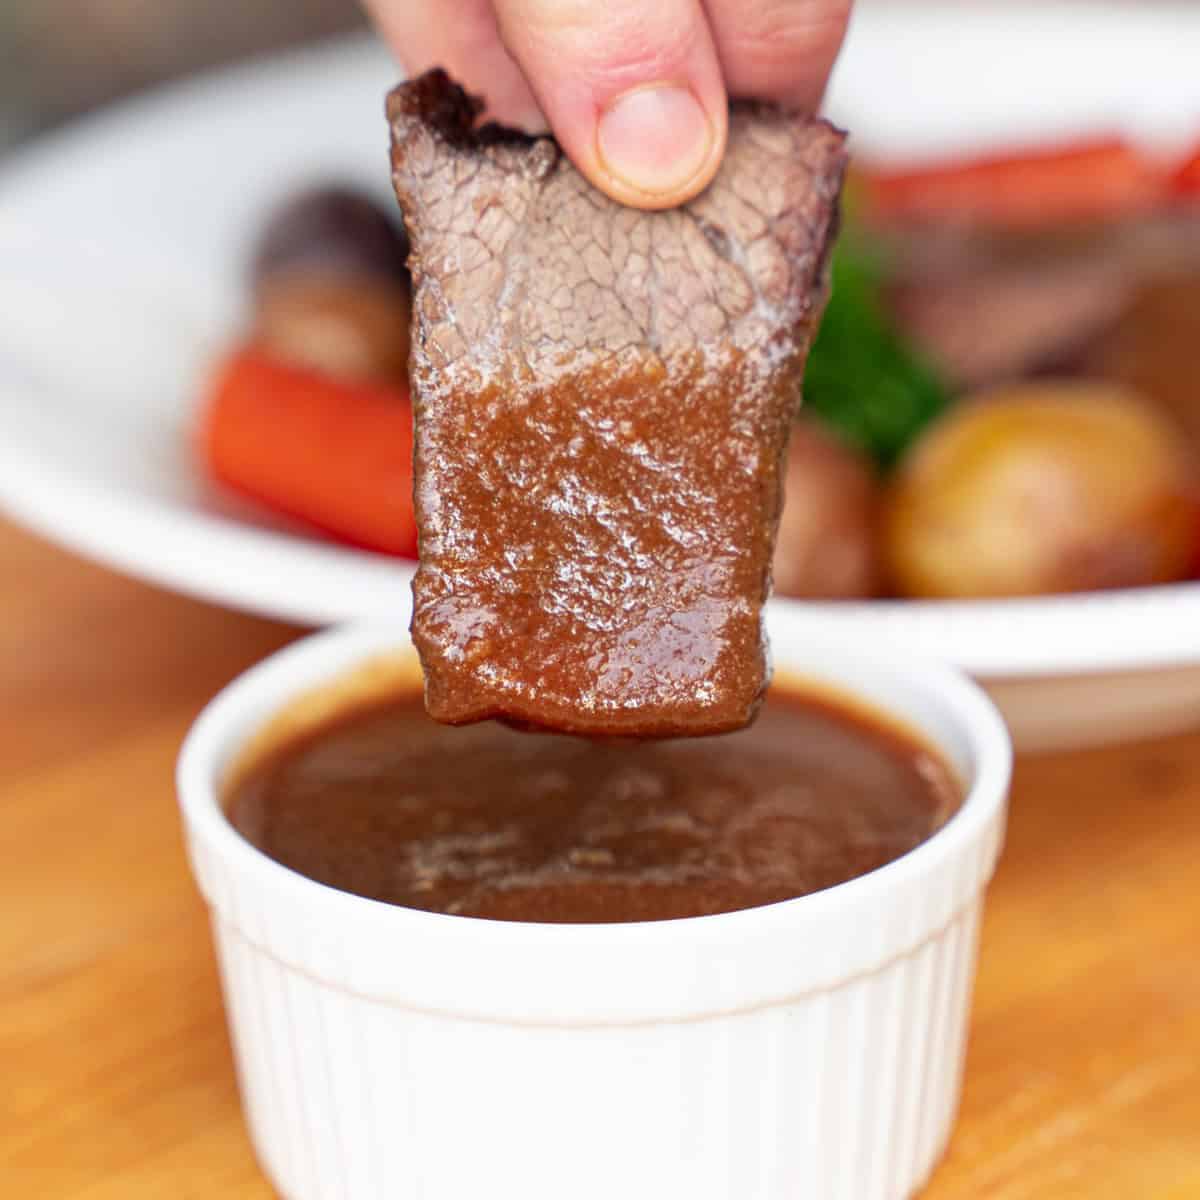
The gravy is what takes a good pot roast to a great one — especially if you make it the right way. There are a lot of ways you can do that, but I use beef tallow and flour for the base of mine, plus the braising liquid from the pot roast — I take this liquid once I’ve pulled everything from the smoker. The gravy comes together really quickly, so it’s perfect to make while the roast rests. The beef tallow gives the gravy an even richer, beefier flavor, and the braising liquid, loaded with all of those great flavors we added earlier, like wine, tomato paste, Worcestershire sauce, and beef broth, makes for one heck of a combination.
What’s better is that making the gravy is easy. Melt beef tallow in a saucepan over medium heat. Whisk in the flour in batches, and cook until a light blonde roux forms—make sure to stir continuously so it doesn’t clump. Gradually add the reserved braising liquid, whisking continuously, and simmer until the mixture thickens to your desired consistency. Finally, Season with salt to taste and serve the gravy over the sliced bottom round roast and vegetables. Absolutely delicious combination! If you want more information about my gravy, check out the post here.
Pro Tip: Don’t cook your gravy down to the thickness you want — leave it a little runny. It will naturally thicken up when it cools.
Substitutions and Adjustments
- Don’t have red wine on hand? White wine can be used instead. It will produce a slightly different flavor—lighter and brighter than red wine—but it still works well. In this recipe, the primary role of the wine is acidity, which helps balance richness and amplify the other flavors in the braise.
- Need different herbs? Rosemary can be used in place of thyme. It has a stronger flavor but goes very well with beef.
- Don’t have bottom round available? Chuck roast is the gold standard and is widely available. It has more internal fat and will become tender more easily, but it’s typically more expensive than bottom round.
Equipment
- Smoker, pellet grill, or conventional oven
- Refrigerator
- Heavy skillet or Dutch oven
- Tongs
- Wooden Spoon
- Measuring cups and prep bowls
- Instant-read thermometer
- Sharp slicing knife
- Cutting board
Storage and Leftovers
Once cooled, store the beef, vegetables, and some of the braising liquid together in an airtight container. Refrigerated, it will keep well for up to 4 days. Storing the meat with liquid is important—it helps prevent the roast from drying out and makes reheating more forgiving, especially if the beef has already been sliced.
Any cut of meat reheats more easily when left whole, but once it’s sliced—particularly a lean cut like bottom round—it can tighten up if reheated too aggressively. Because of that, I stick to gentle reheating methods.
I prefer:
- Reheating on the stovetop over low heat with a bit of extra stock or gravy
- Reheating in the oven, covered, at a low temperature until just warmed through
I avoid high heat, uncovered reheating, and especially the microwave. Lean cuts like bottom round tend to seize and dry out quickly when reheated too fast.
This roast also freezes well. Portion it with some of the braising liquid, allow it to cool completely, and freeze for up to 3 months. That storage time can be extended if the roast is vacuum-sealed, which is my preferred method for longer-term storage.
Recipe
Smoked Bottom Round Pot Roast
Equipment
- Smoker, pellet grill, or conventional oven
- Refrigerator
- Heavy skillet or Dutch oven
- tongs
- Wooden Spoon
- Measuring cups and prep bowls
- instant read thermometer
- Sharp slicing knife
- cutting board
Ingredients
Ingredients for the Pot Roast:
- 4-5 lbs. bottom round roast quartered
- Kosher Salt as needed
- Black pepper as needed
- 3 T Beef tallow
- 2 sweet onions sliced
- 1 head garlic
- 2 ½ T tomato paste
- 1 ½ C red wine
- 1 Qt. Beef stock plus more if needed
- 1 ½ teaspoon Worcestershire sauce
- 1 bunch fresh thyme
- 2 bay leaves
- 6-7 carrots cut into chunks
- 1 bag baby potatoes American Medley bite-sized potatoes
Ingredients for the Gravy:
- 2 T beef tallow
- 2 T flour
- 2 C braising liquid from the pot roast
Instructions
- Preparing the Beef: Take out the bottom round roast and season with the salt until well coated. Refrigerate for at least 4 hours and up to overnight (Note: If you have less time and still want to dry brine the meat, quarter the roast like I did. You can reduce the dry brine time down to ~1 hour to get the effects).
- When you’re ready to cook, take the roast out of the refrigerator. Add beef tallow to a hot skillet. Once melted, add in the bottom round roast and brown thoroughly on all sides. Once this occurs, remove the beef from the pot.
- Add in the onions, sprinkle with salt, and sauté until they begin to turn golden brown. Mix in the tomato paste until well incorporated, then pour in the wine. Allow the wine to simmer until it has reduced by half.
- Add the beef back into the pan along with the head of garlic. Pour in the beef stock until it covers the roast ~⅓ – ½ of the way up. Add the bay leaves and thyme, then partially cover and transfer to the smoker.
- After ~2 hours, add in the carrots and potatoes, cover, and continue cooking.
- Allow the beef mixture to braise in the smoker until probe tender, ~205 degrees. Once this occurs, remove the pan from the smoker and remove the beef, allowing the pieces to rest.
- For the Gravy: Melt 2 T beef tallow in a saucepan, then slowly whisk in the flour. Once a blonde roux has formed, pour in the braising liquid and reduce to desired consistency. Season with salt to taste.
- After about 10-15 minutes, slice the beef. Place the sliced beef with carrots and potatoes and top with gravy. Enjoy!
Notes
- Braising Liquid Level: Keep the braising liquid at about one-third to one-half the height of the roast. Too much liquid will prevent smoke exposure; too little can lead to drying.
- Storage Tip: Store leftovers with braising liquid whenever possible. Bottom round tightens quickly if reheated without moisture.
- Substitution Note: Chuck roast can be substituted if bottom round is unavailable. It will be more forgiving due to higher fat content but is typically more expensive.

Leave a Reply