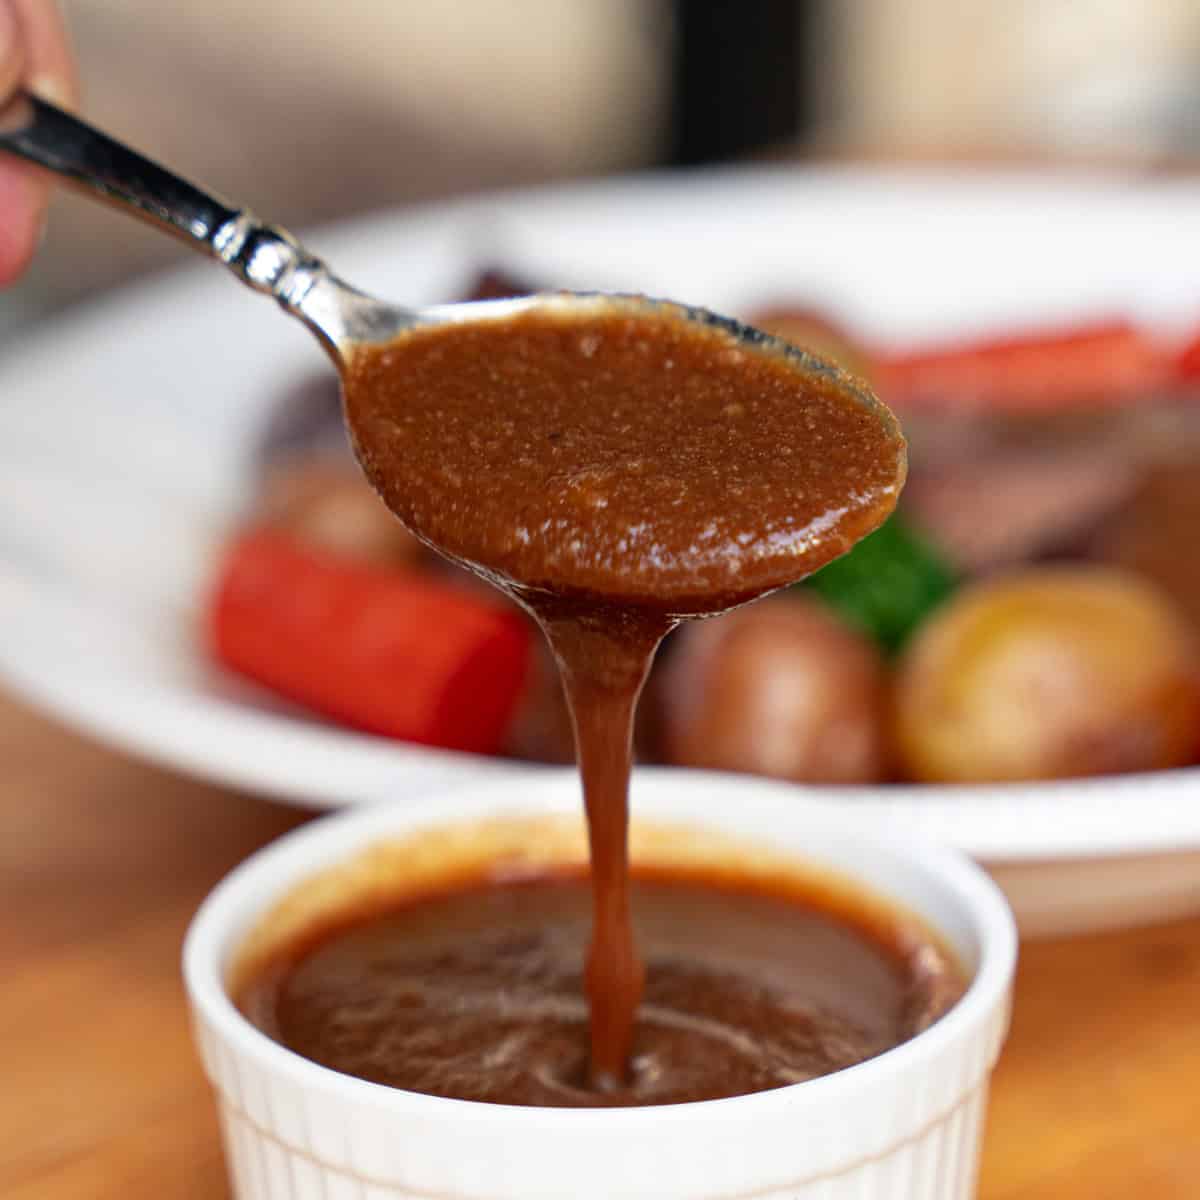
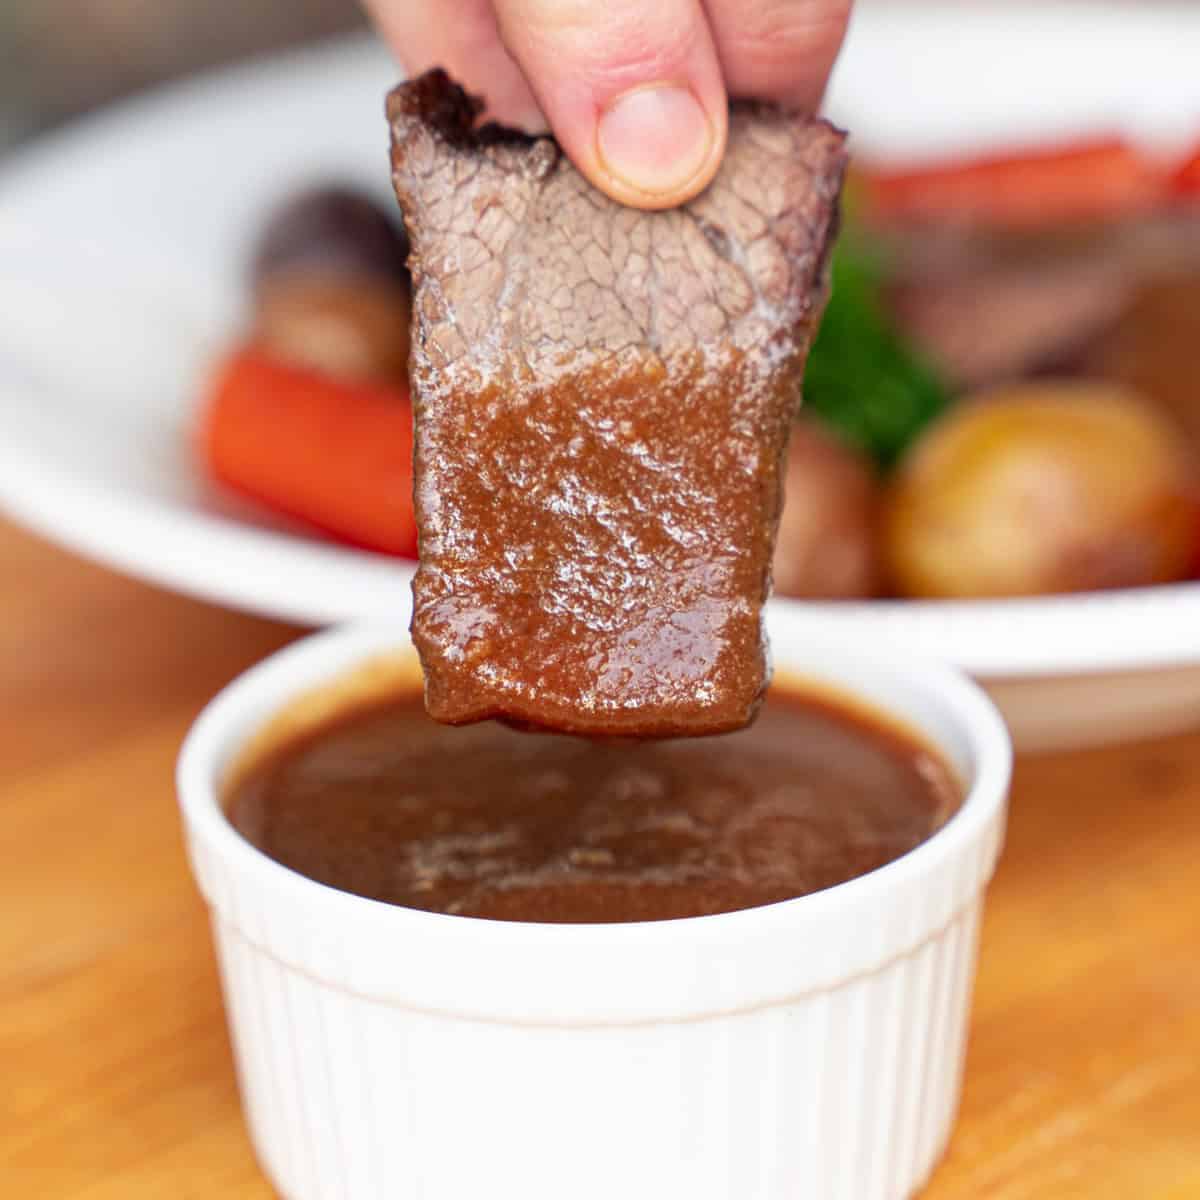
No pot roast is complete without a good homemade brown gravy. Luckily, gravy is surprisingly simple to make, and my version delivers deep, rich flavor using something you already have on hand—the braising liquid from the roast itself.
Keep reading, and I’ll walk you through the entire process step by step, including the ingredients I use that make this version stand out. Plus, I’ll share a few easy substitutions for when you want a dependable homemade brown gravy but don’t have all day to make a pot roast and get that flavorful braising liquid.
Jump to:
What Brown Gravy Is Made Of
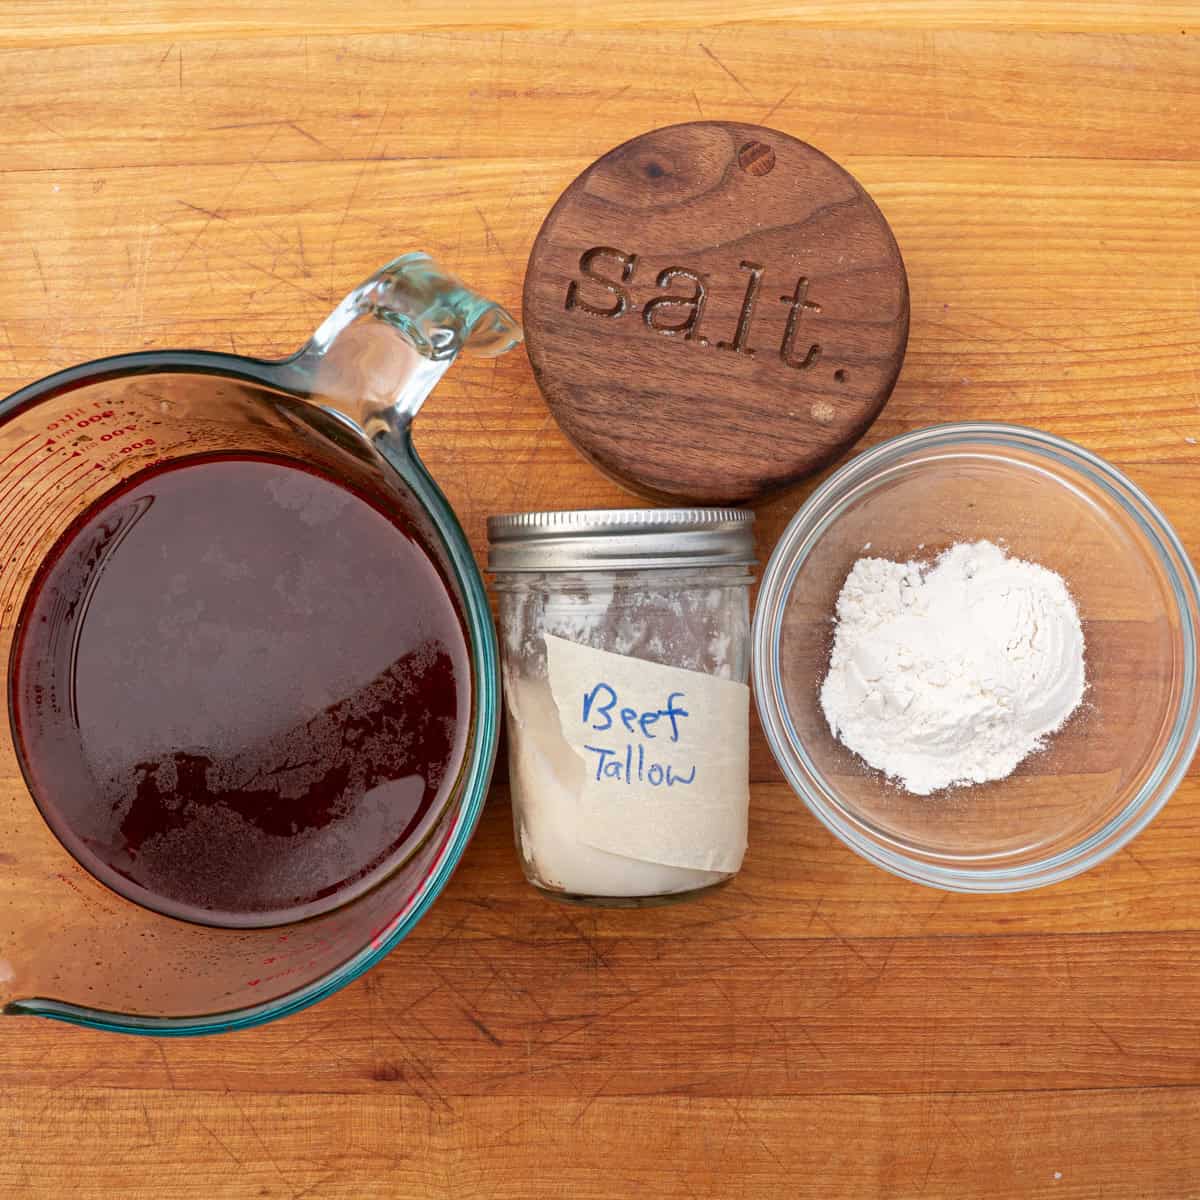
Brown gravy is built from three simple components: fat, flour, and liquid. That’s all that’s required for a proper homemade brown gravy. Understanding that basic structure makes it easy to adapt to whatever ingredients you have on hand.
Fat
I use beef tallow as the fat, which really helps this gravy stand out by adding depth and reinforcing the roast's natural flavor. There are two ways to get beef tallow: using fat trimmings from a large cut like a brisket to make it at home, or purchasing beef tallow from a retailer. Most of the time, I have enough fat trimmings on hand to make my own, but it’s becoming easier to find online. I’ve gotten great options recently from Golden Age, South Chicago Packing, and Fatworks, to name a few. That said, I know not everyone has beef tallow on hand. If tallow isn’t available, butter is my next go-to option, and a neutral oil such as vegetable or canola oil can also be used. The choice of fat will subtly influence flavor, so use what fits your pantry and the dish you’re serving.
Flour
I always use all-purpose flour for a gravy, which is because it’s a) what I (and most other people) tend to have on hand and b) ideal for making a roux. The combination of beef tallow and all-purpose flour makes one heck of a base for the gravy. If you don’t want to use all-purpose flour, you can use cornstarch, arrowroot flour, and tapioca starch.
Liquid
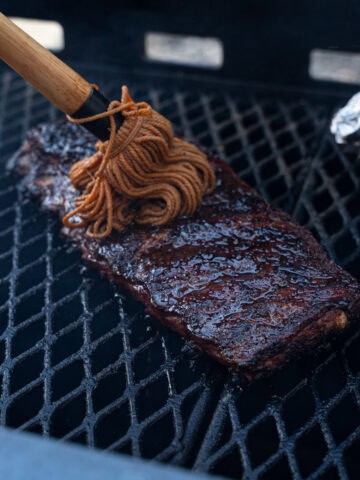
The liquid is the most important element and can really impart some phenomenal flavor. I use the braising liquid from my smoked bottom round pot roast recipe, which is loaded with beef stock, red wine, onions, and herbs. Because that liquid already carries concentrated flavor from the meat and aromatics, the finished gravy doesn’t need much else. That’s the beauty of it. If braising liquid isn’t available, beef broth or stock can be substituted, though you won’t get nearly as much flavor as you do with braising liquid.
Is Brown Gravy the Same as Au Jus?
No, they’re not the same—even though they’re often confused.
Au jus is made from drippings and broth without a thickener, while brown gravy contains not only that braising liquid, but the fat and flour that make the all-important roux. Au jus is thin and meant for dipping or lightly spooning over meat. It’s great for dipping a sandwich, but it’s not ideal for a hearty meal like a pot roast. Brown gravy, on the other hand, is much more full-bodied as it is designed to coat food. If you’re serving sliced roast, vegetables, or mashed potatoes, gravy is the better choice.
How to Make Brown Gravy from Scratch (Pot Roast Method)
This is the same process used in my smoked bottom round pot roast, which I referenced in the last section, and reflects how the gravy is meant to be finished once the meat is done. Brown gravy is thickened with a roux, which I’ve mentioned briefly but haven’t really gone into. Essentially, a roux is the flavorful thickener formed when fat and flour are combined over heat. It’s used as the base for many gravies, gumbos, and sauces because it is such a good thickener and can provide varying flavor profiles depending on the style of roux made. For my easy brown gravy recipe, I make a simple, blonde roux because a) it’s faster to make and b) it allows the braising liquid to be the flavor that really stands out. But enough about the roux, here’s how I make the full gravy recipe step by step.
Step 1: Separate the Braising Liquid
Once the roast has finished cooking and is resting, carefully ladle the braising liquid into a measuring cup or bowl, skimming off excess surface fat, too, if needed.
Note: If I want a cup of gravy, I aim for a little over a cup of braising liquid. Most of the time, I find that 2-2 ½ cups of braising liquid makes plenty of gravy for a crowd.
Step 2: Build the Roux
In a saucepan over medium heat, melt 2 tablespoons of beef tallow. Then whisk in 2 tablespoons of flour and cook, stirring constantly, until the roux turns a light golden brown. This color indicates that the roux has developed its full, rich flavor, providing a promising base for the gravy.
Note: I like to add the flour a tablespoon at a time. It minimizes the risk of the flour clumping up on me.
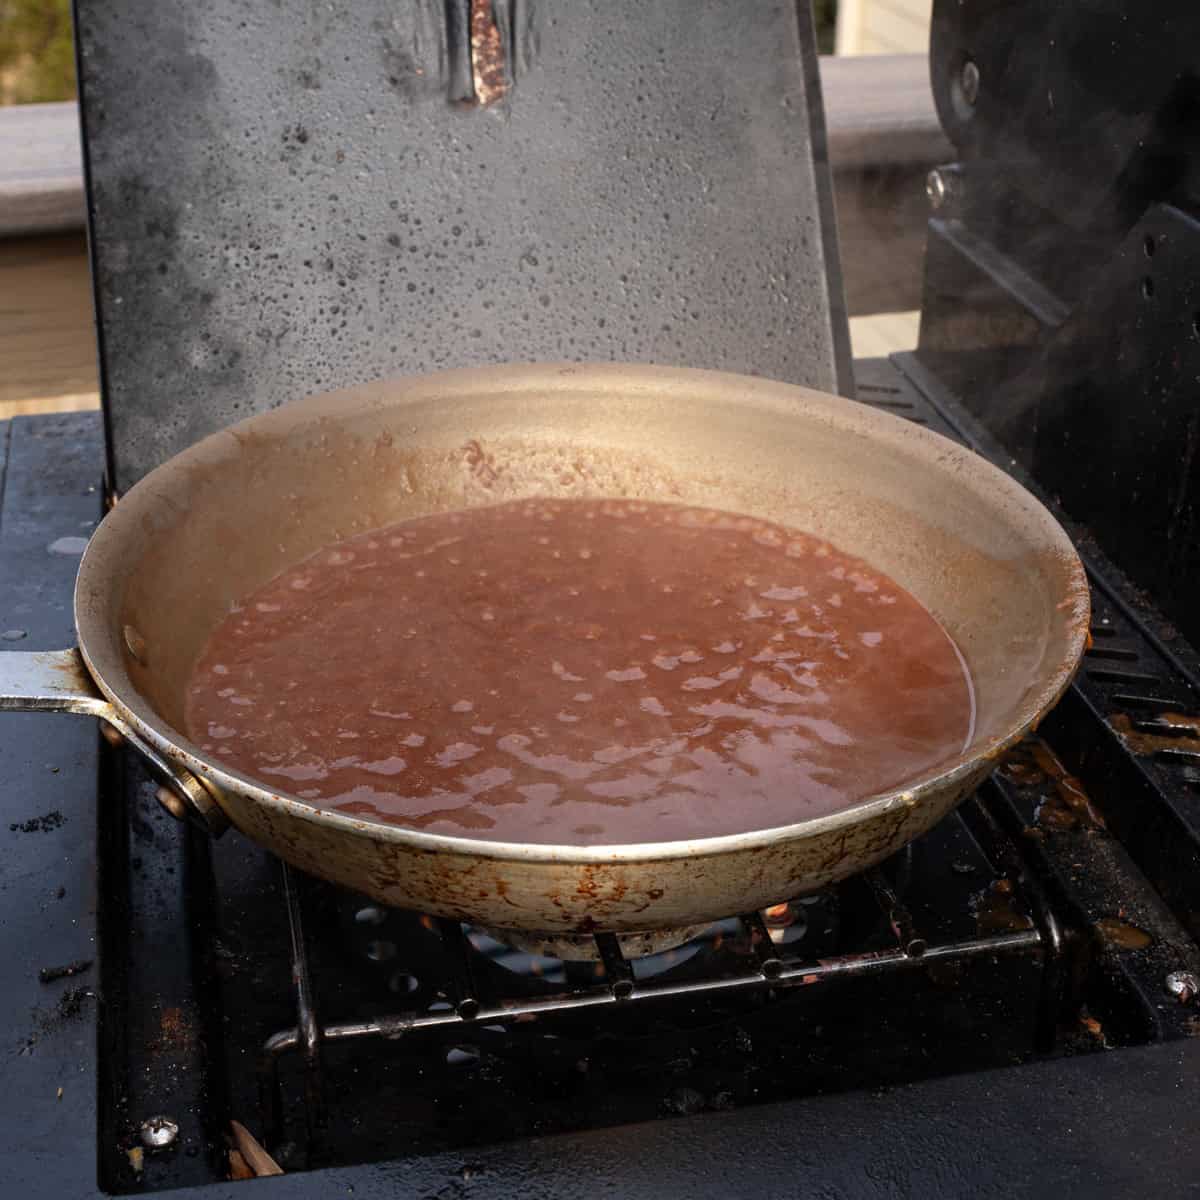
Step 3: Add the Braising Liquid
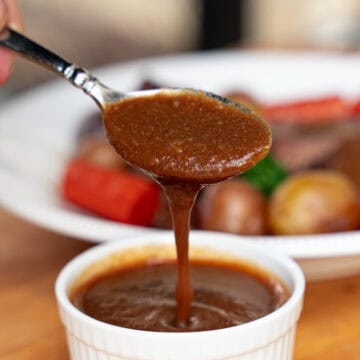
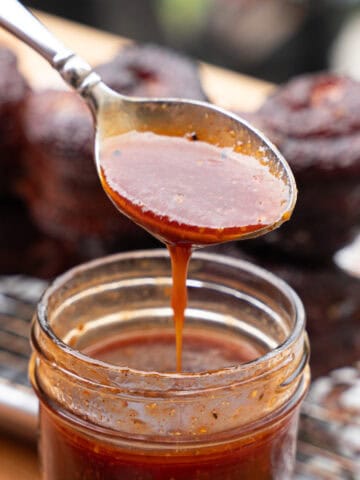
Slowly whisk in about 2 cups of the braising liquid, about ½ cup at a time, keeping the mixture smooth. The gravy will look thin at first, then begin to thicken as it heats. Let the gravy simmer gently for several minutes until it reaches your desired consistency. As you whisk, watch for visual cues, such as slowing bubbles, which indicate the gravy is thickening. You can tell the gravy is done when it coats the back of a spoon without running off and leaves a defined line when a spatula is drawn through it.
Season with salt only after it thickens, since the braising liquid is already seasoned, and it is easy to add too much. From start to finish, this brown gravy recipe comes together in about 10 minutes.
How to Adjust the Consistency of Brown Gravy
Knowing how to adjust the consistency of brown gravy is more important than exact measurements.
If the gravy is too thin, let it simmer longer. Reduction thickens it naturally and concentrates flavor. If it still needs help, combine one tablespoon of flour with two tablespoons of cold water to form a slurry, then whisk it in gradually. For a gluten-free alternative, you can use one tablespoon of cornstarch or another gluten-free thickener with the same method. You'll still capture the roast's natural flavor, ensuring the cornstarch version is equally delicious.
If the gravy becomes too thick, whisk in additional braising liquid or beef broth a little at a time until it loosens. Keep in mind that gravy continues to thicken as it cools, so try to leave some wiggle room.
How to Make Brown Gravy with Browning Sauce
If you don’t have braising liquid on hand and need a quick solution, store-bought browning sauce can help you build a fast brown gravy in minutes.
Start by making a simple roux just as described above. Then slowly whisk in warm beef broth until smooth and slightly thickened. Once the gravy is simmering, add a small amount of browning sauce—usually just a teaspoon or two is enough—to deepen the color.
Browning sauce is primarily for appearance. It darkens the gravy quickly and gives it that classic rich brown look, especially useful if you’re starting with lighter broth like chicken stock. It does add a mild savory note, but it shouldn’t replace proper seasoning or good broth.
This shortcut method works well when:
- You’re short on time
- You don’t have braising liquid or pan drippings available
- You want a darker, more traditional brown gravy appearance
Just keep in mind you want to use it sparingly. The goal is to enhance the gravy's appearance, not overpower it. Even with browning sauce, proper seasoning, and a well-cooked roux, it's still what makes the gravy taste balanced and homemade.
Equipment
- Saucepan
- Whisk or wooden spoon
- Ladel
- Measuring cups
Storage and Reheating
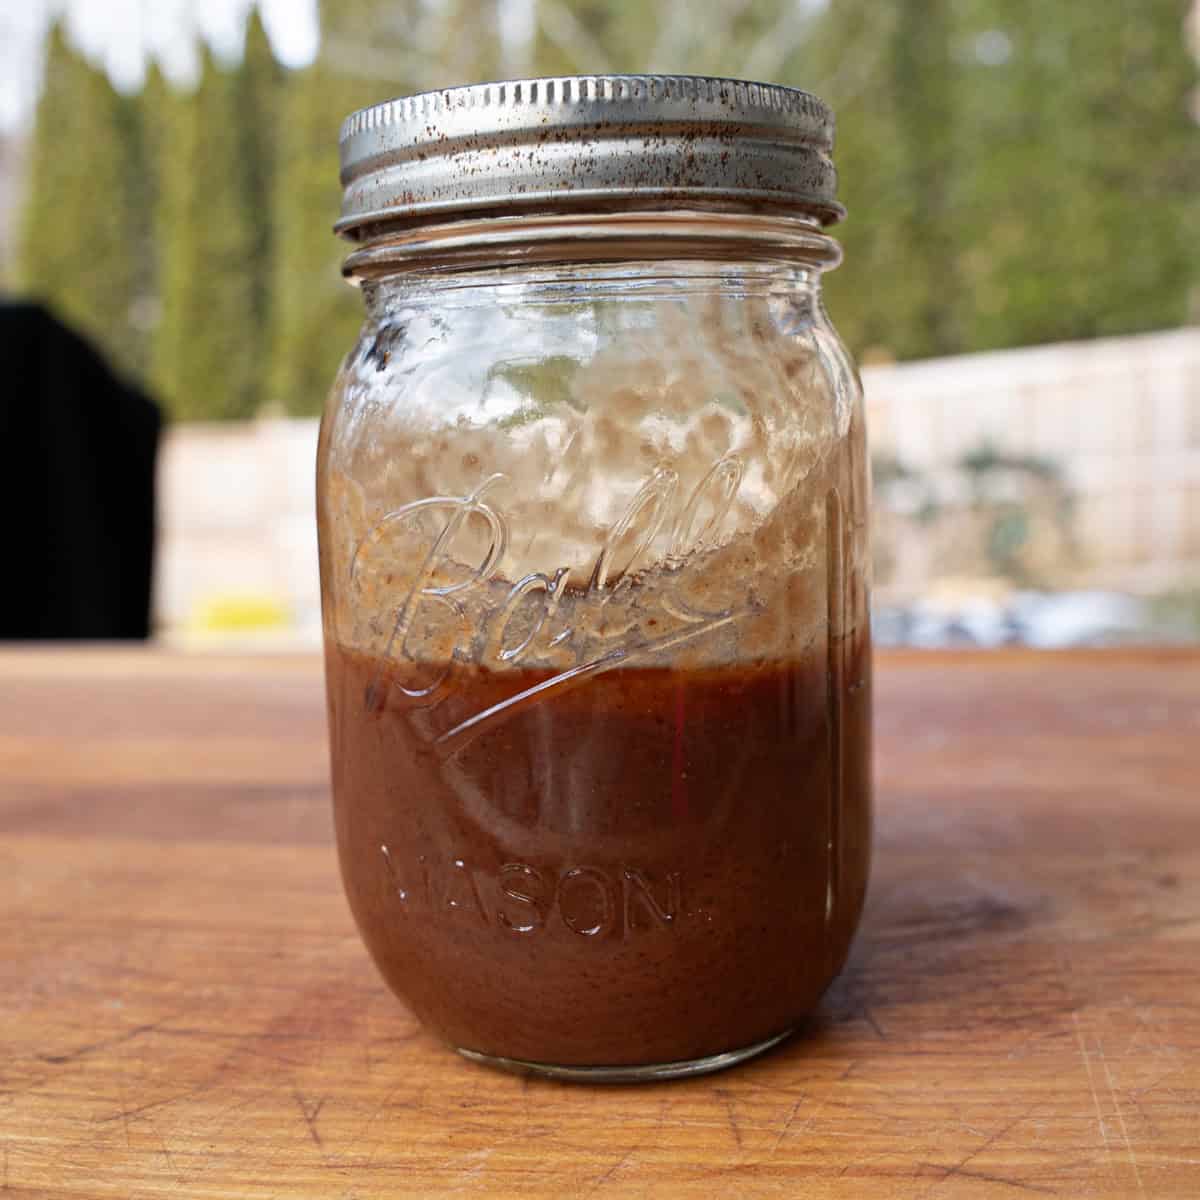
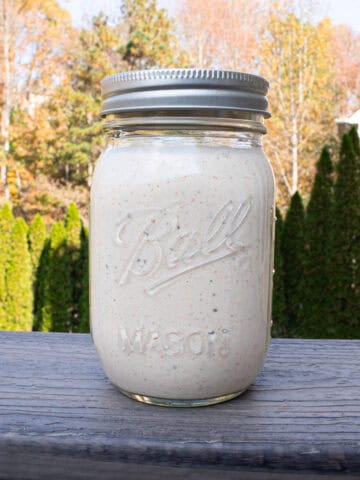
Brown gravy made from braising liquid stores and reheats well when handled properly.
Once cooled, transfer it to an airtight container and refrigerate for up to 4 days. When chilled, the gravy may appear very thick or even gelled—this is normal. The gelatin from the roast and the fat in the gravy firm up when cold.
To reheat, warm the gravy gently over low heat, whisking as it heats. Whisking is important—it helps reincorporate fat and restore a smooth texture. If needed, add a small splash of beef broth or water to loosen it.
This gravy also freezes well for up to 3 months. It can also be made a day or two in advance and stored in the refrigerator for convenient meal planning. When ready to serve, thaw overnight in the refrigerator if frozen and reheat slowly, whisking as it warms.
Recipe
Homemade Brown Gravy Recipe from Braising Liquid
Equipment
- saucepan
- Whisk or wooden spoon
- Ladle
- Measuring Cups
Ingredients
- 2 T beef tallow
- 2 T flour
- 2 C braising liquid from the pot roast
Instructions
- Melt beef tallow in a saucepan, then slowly whisk in the flour until smooth.
- Once a blonde roux has formed, pour in the braising liquid and reduce to desired consistency. Season with salt to taste. Serve and enjoy!
Notes
- Cook the Roux Properly: Cook the butter and flour together until lightly golden, then add the liquid. This removes the raw flour taste and builds depth in the finished gravy.
- Add Liquid Gradually: Whisk in broth or drippings slowly to prevent lumps. The gravy will look thin at first, but will thicken as it simmers.
- Adjusting Thickness: If the gravy is too thin, let it simmer longer or add a small flour slurry (1 tablespoon flour mixed with 2 tablespoons cold water). If too thick, whisk in additional warm broth a little at a time.
Leave a Reply